A BIAB Brewday (scoundrel)
Here is my typical brewday. The main reason for posting this is to show another example of BIAB. Additionally, we want to demonstrate that while BIAB is a general all-grain process, equipment and setting can have an impact on individual execution.
If you are new to BIAB, tknice and I hope you will see how easy this method is to learn and expect that you will modify it to suit your environment. For experts, hopefully you will see something in our process that might be useful in yours.
If you are new to BIAB, tknice and I hope you will see how easy this method is to learn and expect that you will modify it to suit your environment. For experts, hopefully you will see something in our process that might be useful in yours.

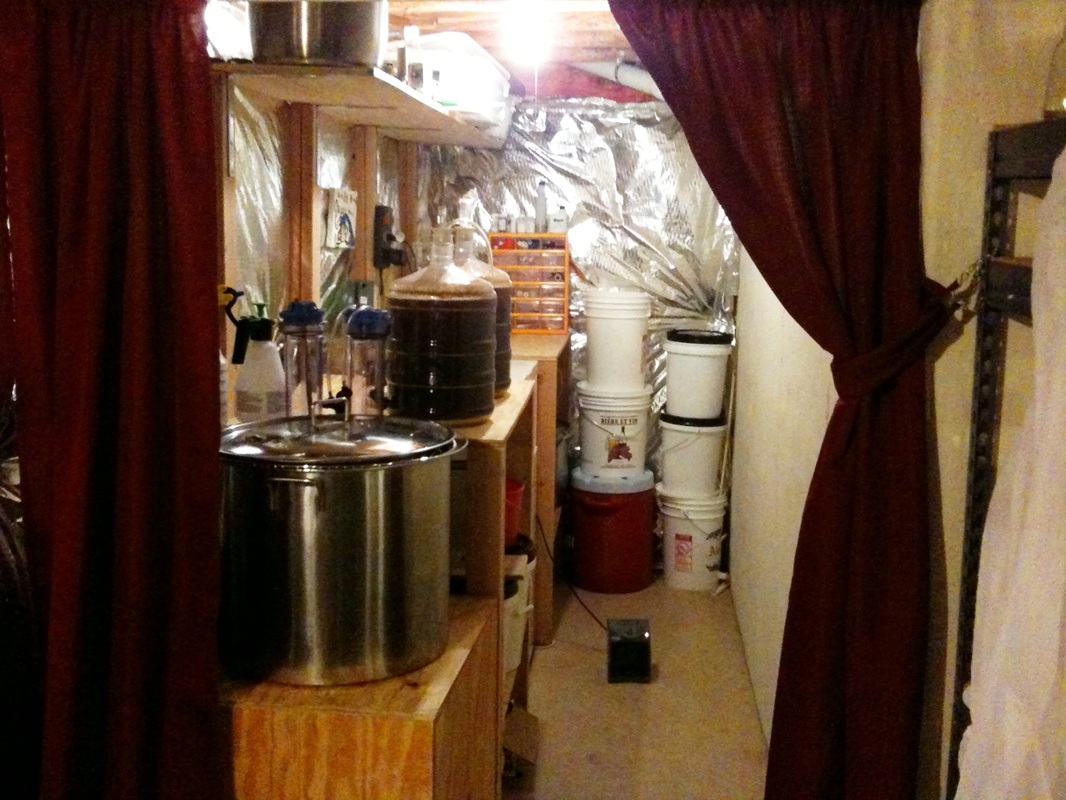
I start the day by heading down to the lab. It's a fine piece of real estate, in my basement, donated by my beautiful wife. She wouldn't let me use her real picture but here is a picture of a woman who looks almost as good.
|
|
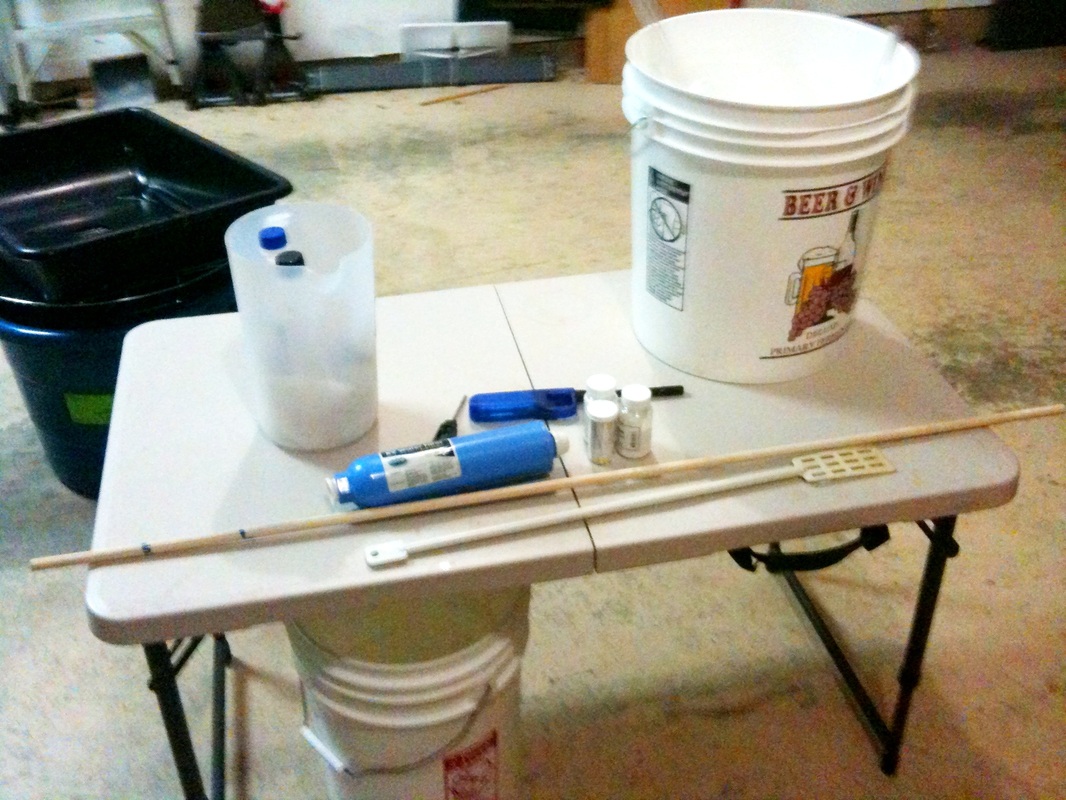
Since I brew in my garage, I like to bring everything I will need pre-boil and leave the rest until after my mash is complete. After the boil has started, I'll clean what I used, put it away and then bring up anything I'll need once the boil is complete.
I don't have a sight glass on my kettle so I need to get my water by measuring with one of my buckets. Today we're brewing an Imperial Porter, so we will need a lot of water, 15.9 gallons to be exact. I should have added 14.9, but we'll discuss that later.
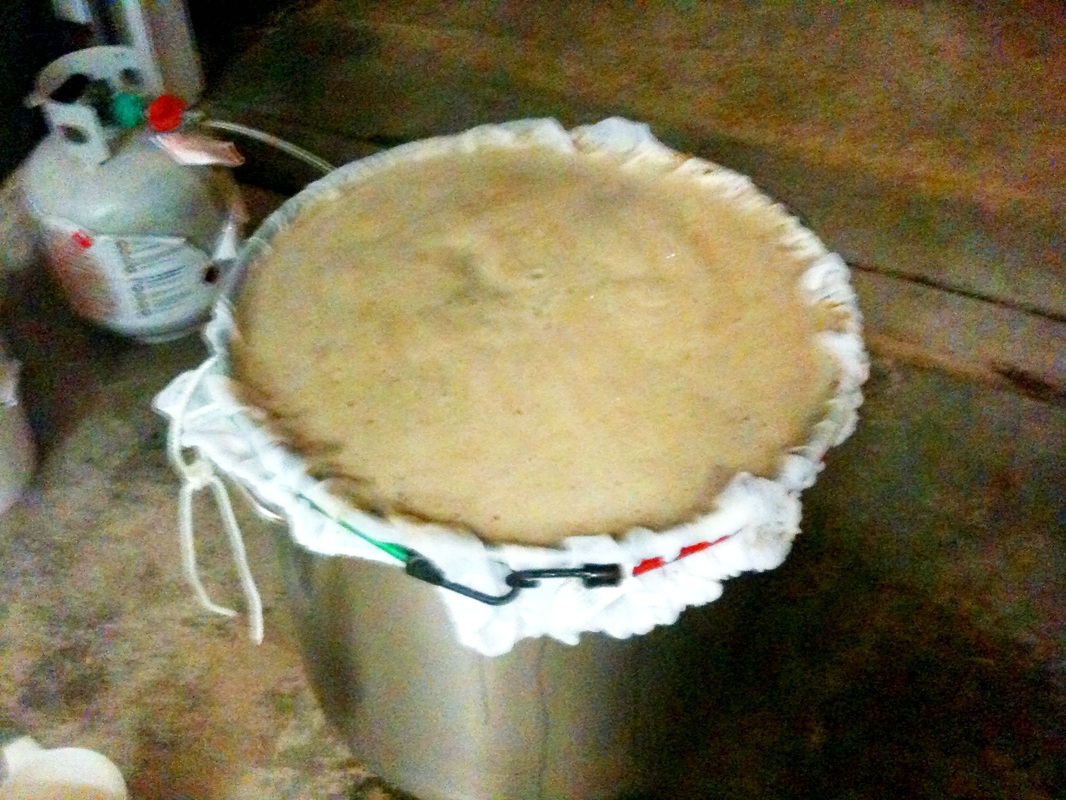
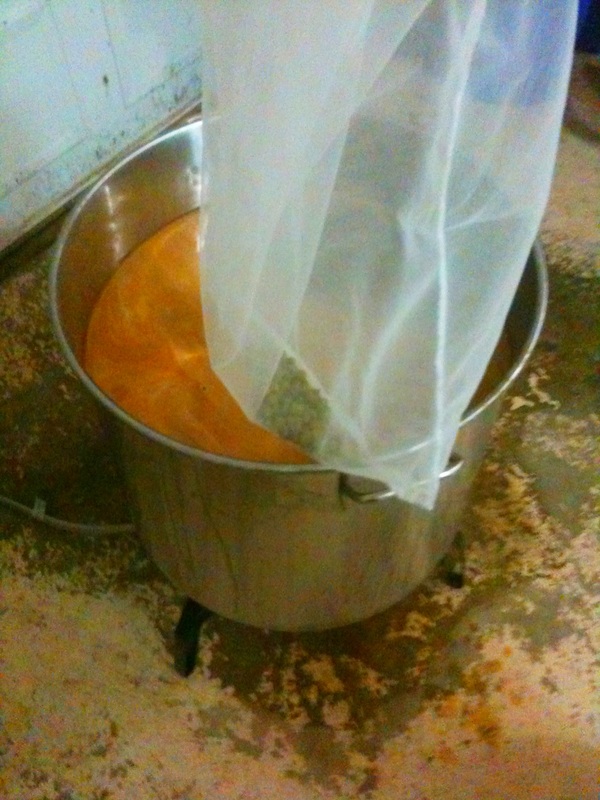
Now that we have our water, it's time to get the bag ready. I have a fairly wide kettle, so I decided to go with a voile curtain for my bag. It's made from 100% polyester and I picked it up from Walmart for $4.87. At around 60 inches, it fit my kettle without having to cut it up. One thing to note, however, is that if you go this route, you may want to trade somebody with sewing skills beer and have them sew the top so that you can insert a polyester drawstring.

|

|
I was a bit ambitious with the 40.5 pound grain bill today!
Usually, I try to keep my grain to water ratio between 1.25-1.50 qt per pound, so I will top off a gallon or two after the mash to achieve my pre-boil volume. At the last minute I bumped the water volume to 15.9 to get my grain to water ratio to around 1.5. I figured that I should be able to pull it off with a 20.5 gallon kettle. I was wrong, so if you plan to buy this kettle, treat it like it's only 20 gallons. I ended up losing about 1/2 gallon to the floor but I extended my mash for an extra 15 minutes; hoping to make up for the lost volume with increased efficiency.
Usually, I try to keep my grain to water ratio between 1.25-1.50 qt per pound, so I will top off a gallon or two after the mash to achieve my pre-boil volume. At the last minute I bumped the water volume to 15.9 to get my grain to water ratio to around 1.5. I figured that I should be able to pull it off with a 20.5 gallon kettle. I was wrong, so if you plan to buy this kettle, treat it like it's only 20 gallons. I ended up losing about 1/2 gallon to the floor but I extended my mash for an extra 15 minutes; hoping to make up for the lost volume with increased efficiency.
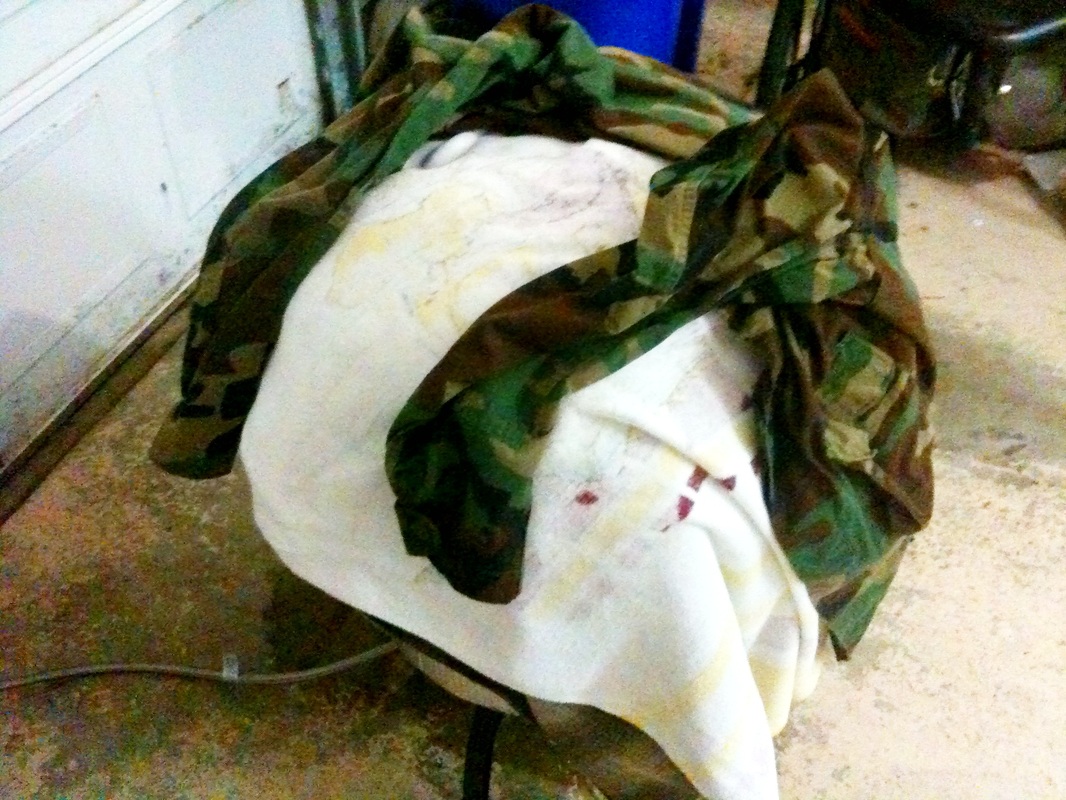
I mashed in at 152 for 90 minutes then wrapped my kettle in reflectix. Then I just toss what ever clothing/towels I have available in the garage on top for additional insulation.
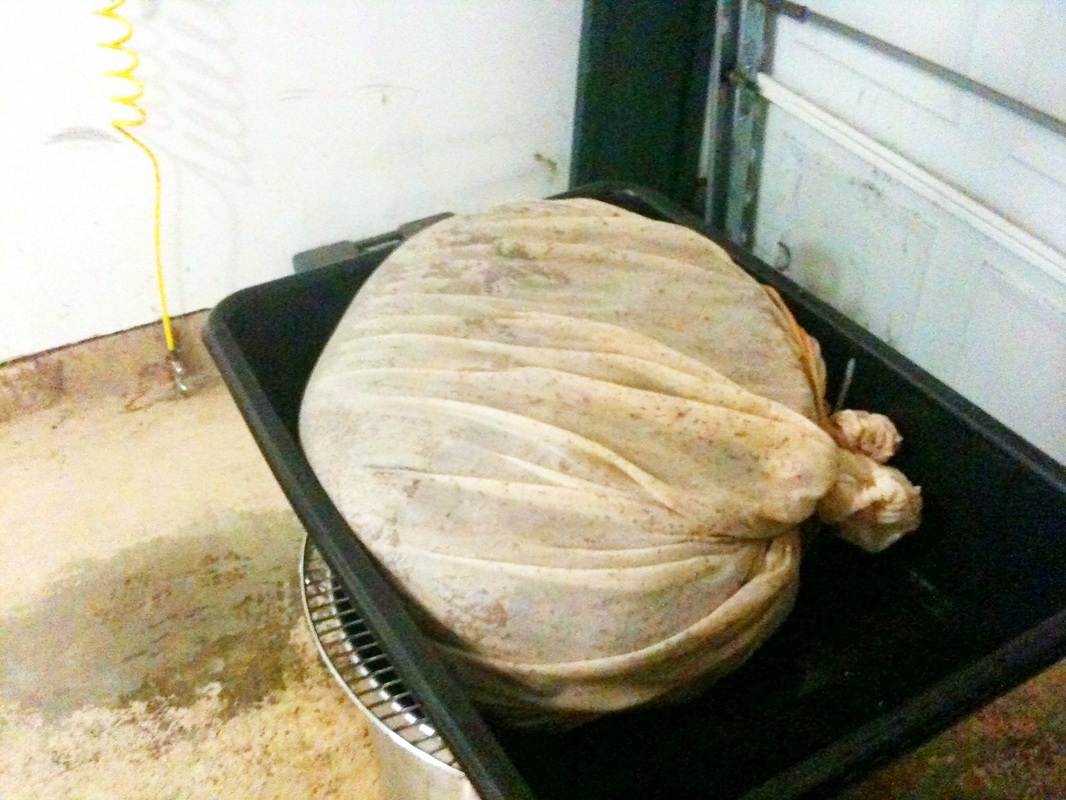
Tknice and I have discussed many times how we were concerned about hanging the bag over the pot, especially for large grain bills. So together we engineered this solution where we cut a large hole in a mixing tub, that you can buy from any hardware store and attached it to a grill grate for support. I don't think I would have been able to pull off a 40 pound grain bill without it.
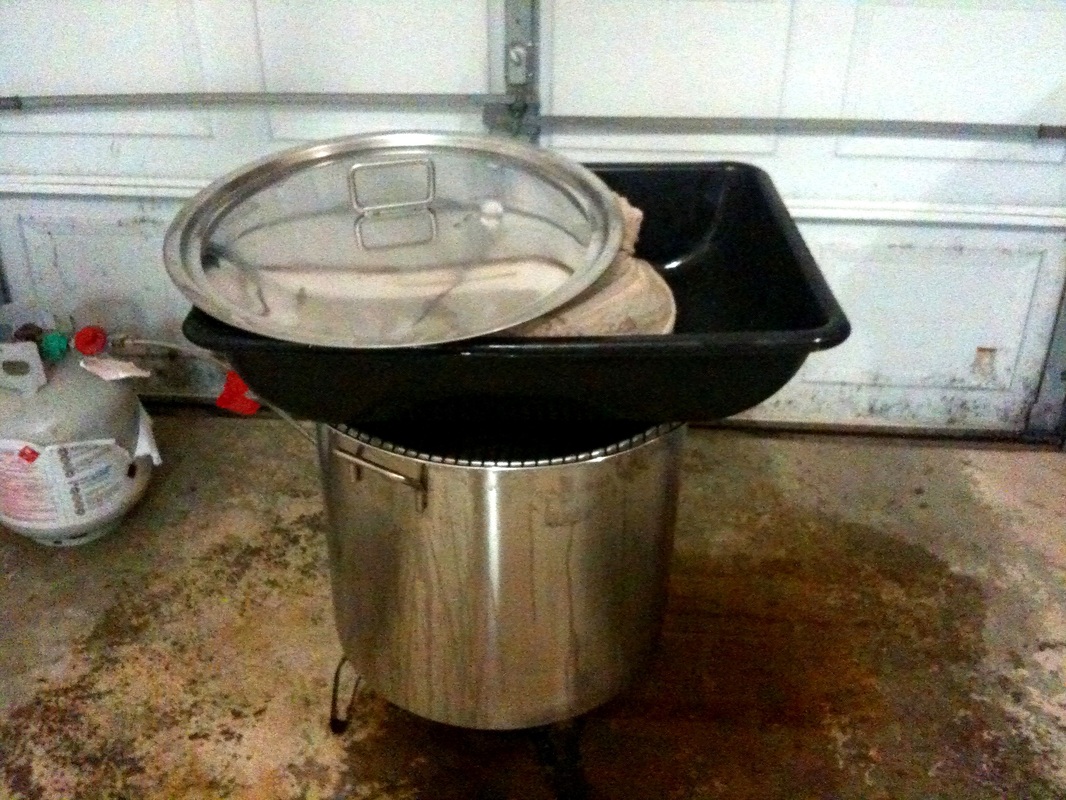
I use the top of my pot to squeeze as much liquid out of the grain as possible.

As I bring the wort to a boil, I skim the top to prevent a boil over and get rid of break material.
OK, now that the wort is boiling, it's time for the first hop edition. The hop schedule is straight forward with 4 oz of hops at 60,30,15, and 10. Usually, I would dig out my scale and hop hanger, but not today. I won't need to weigh anything since each addition is 1oz and I usually use my hop hanger when I need to add more than 5 oz of hops to the boil.
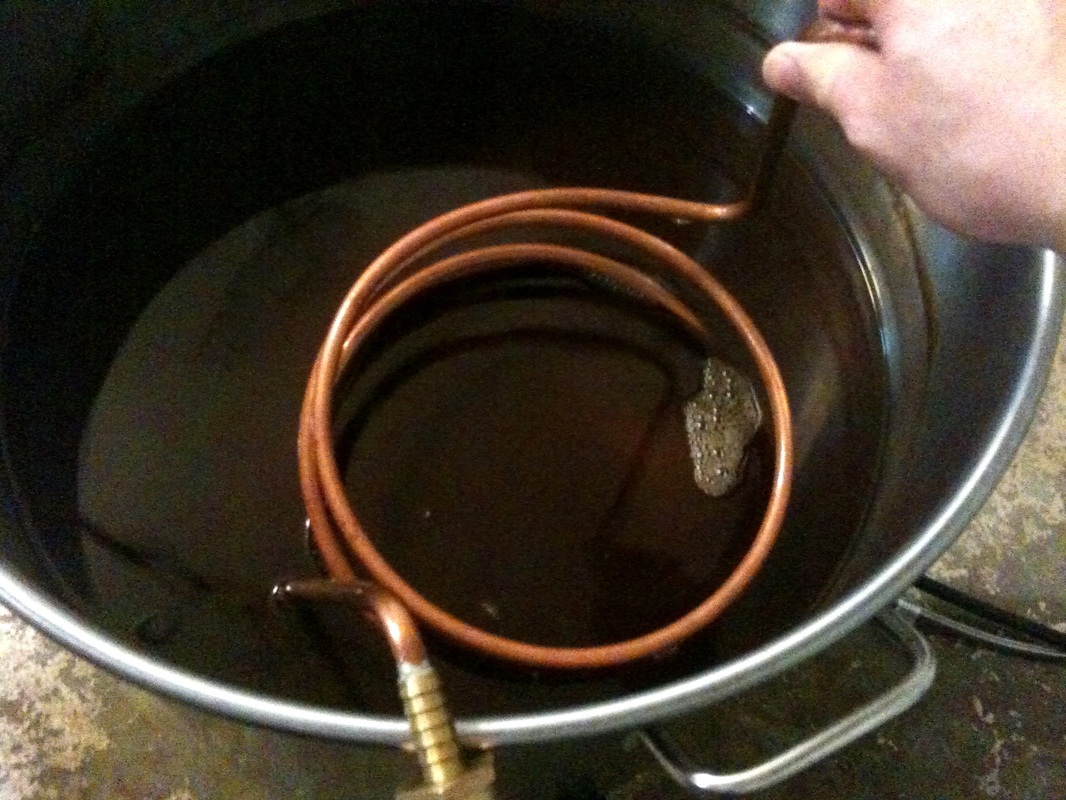
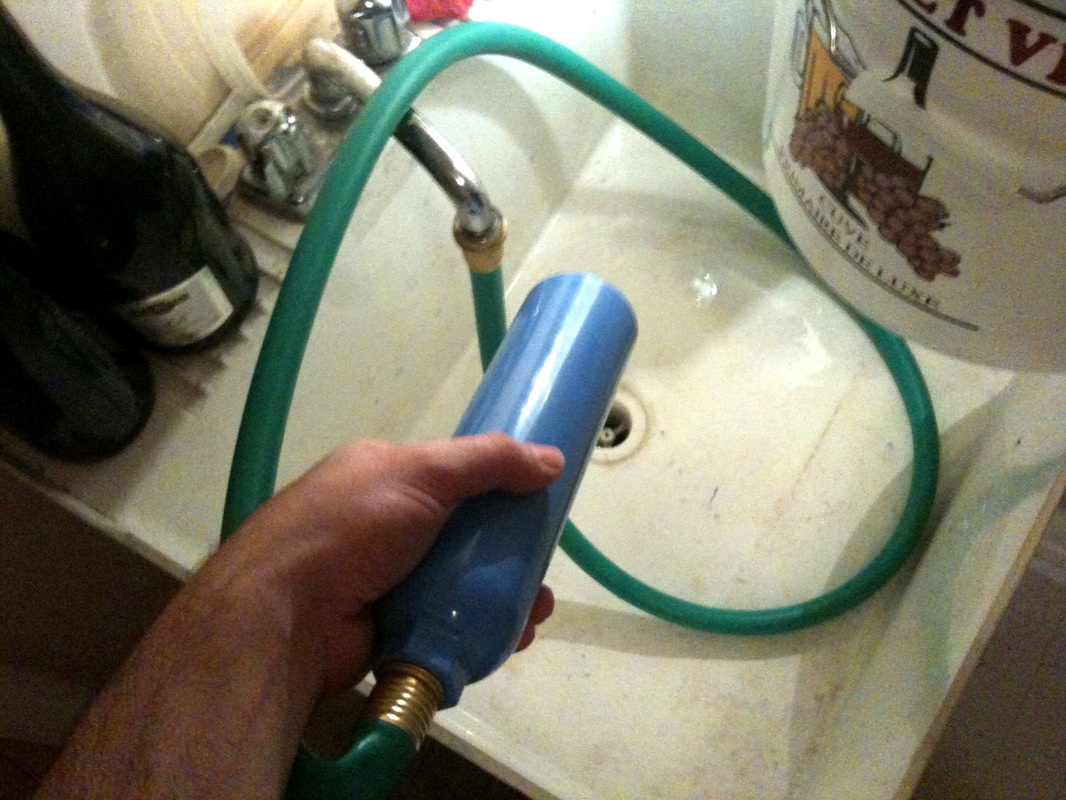
Now that the boil is over, it's time to chill it down. It's winter here, so I won't need to worry about the water source being too warm. When I brew during the summer, I like to run my source hose through a party bucket of ice to help speed up the cooling process.
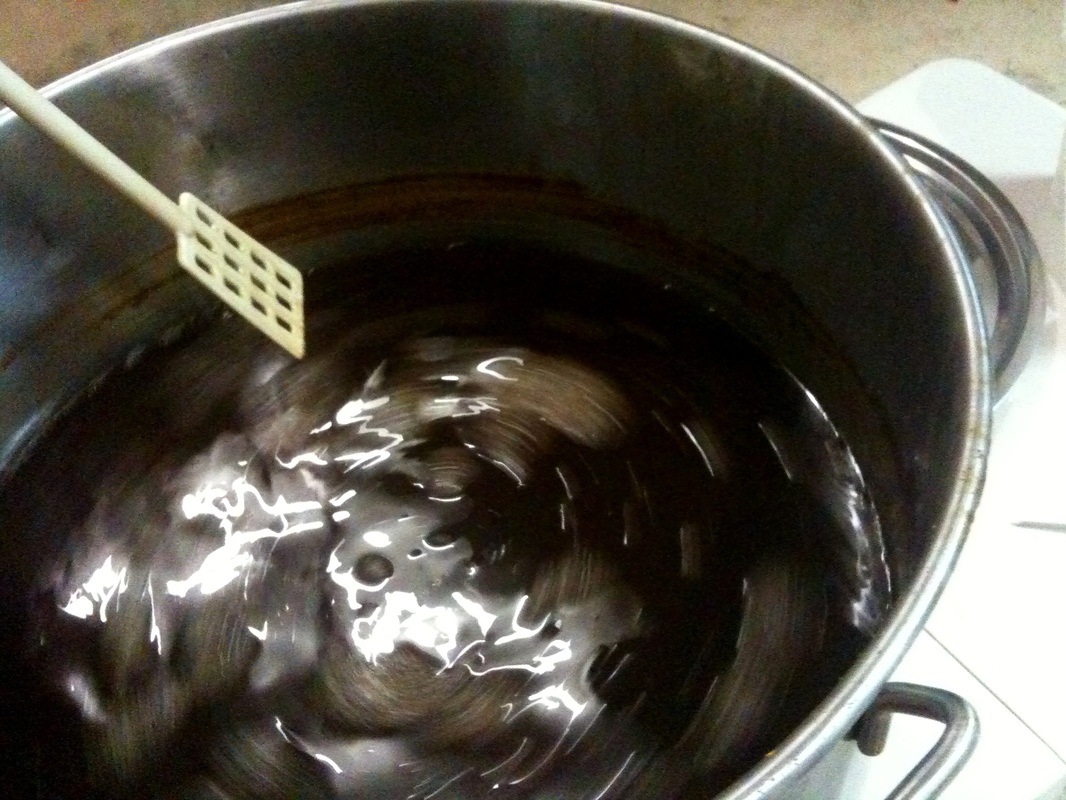
It's whirlpool time! We need to get the break material to the center so we can siphon only clear beer!
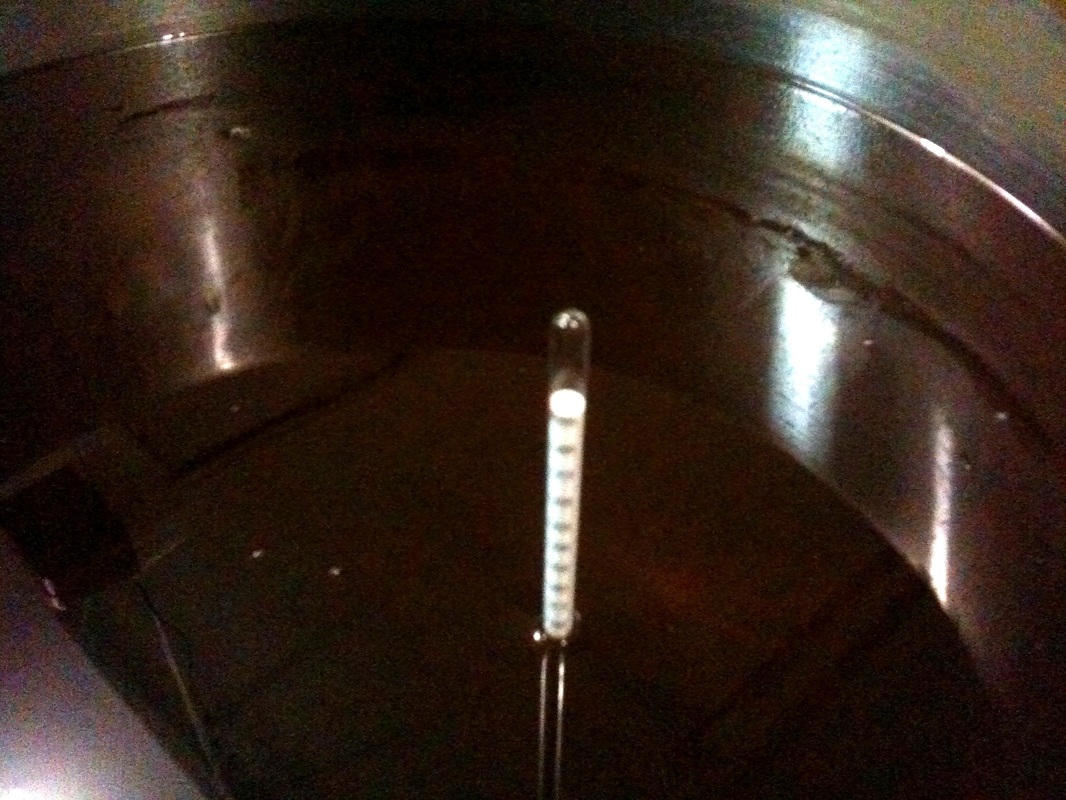
Here is an example where when you advance as a brewer that you need to re-think your process. Back when I would brew partial boils, I would take a gravity reading after topping off the fermenter with water. I haven't brewed a partial boil beer in a looong time, yet I was still taking readings after filling my fermenter. Then Tknice said to me one day that maybe we should take a reading before we add the wort to the fermenter. I didn't know what to say other than...uh...uh...duh!
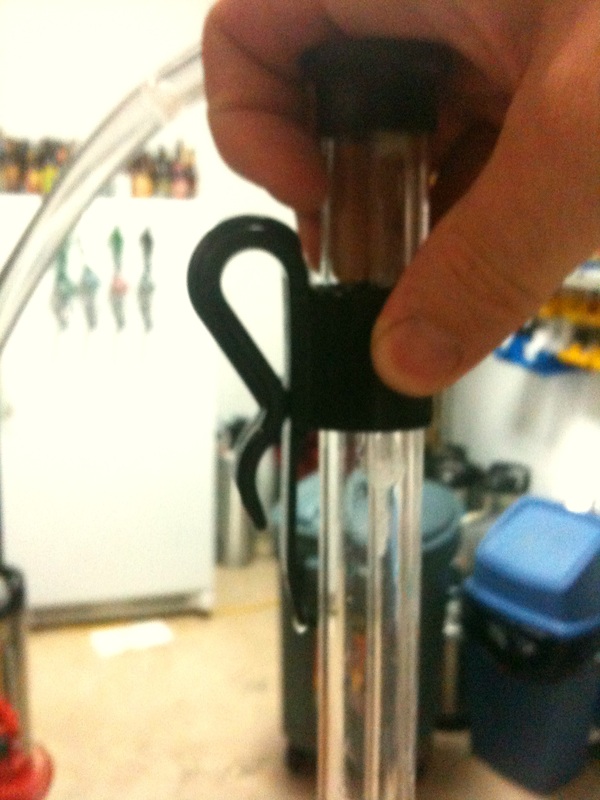
I don't have a spigot on my kettle so I need to use my trusty auto siphon. If you go this route I highly recommend an auto siphon clamp.
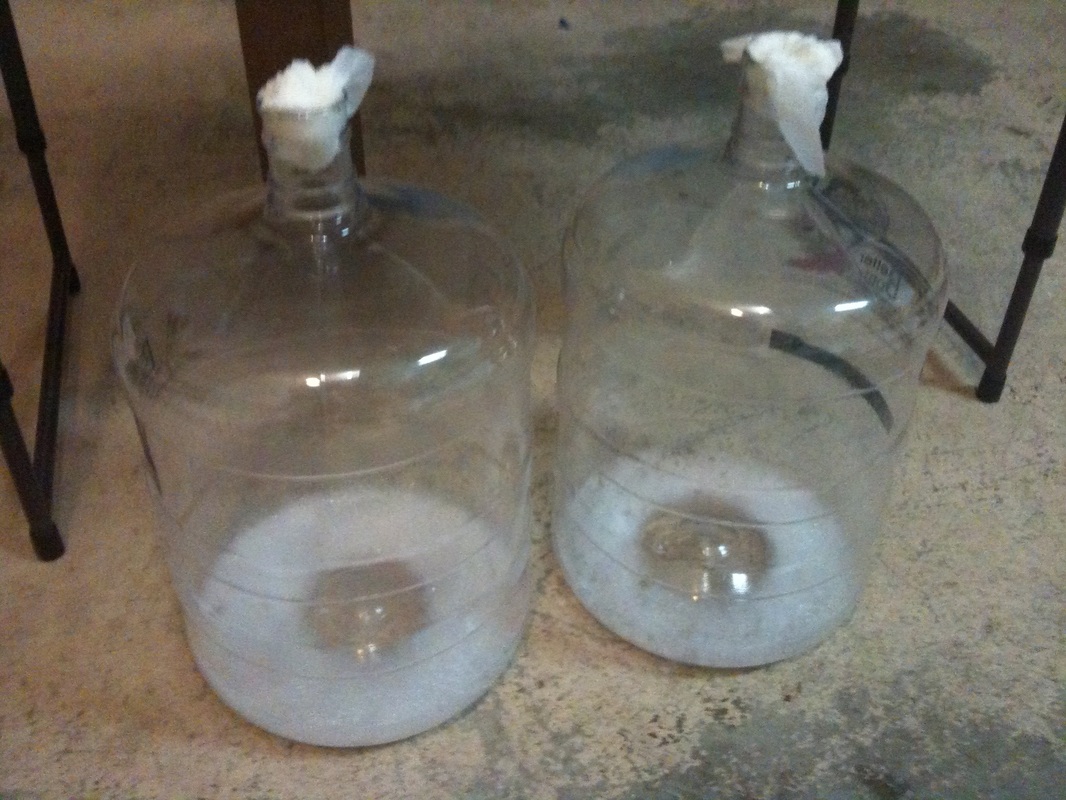
My two 6-gallon Better Bottles are sanitized and yes I did remember to empty the Star San.

We're off! Like Tknice, I usually go back and forth between fermenters to ensure the wort and what's left of the break material is distributed evenly.
There are times, however, when I want to harvest yeast, so I will fill one fermenter all the way and leave the break material in the second. That way the yeast in the first fermenter is nice and clean.
There are times, however, when I want to harvest yeast, so I will fill one fermenter all the way and leave the break material in the second. That way the yeast in the first fermenter is nice and clean.
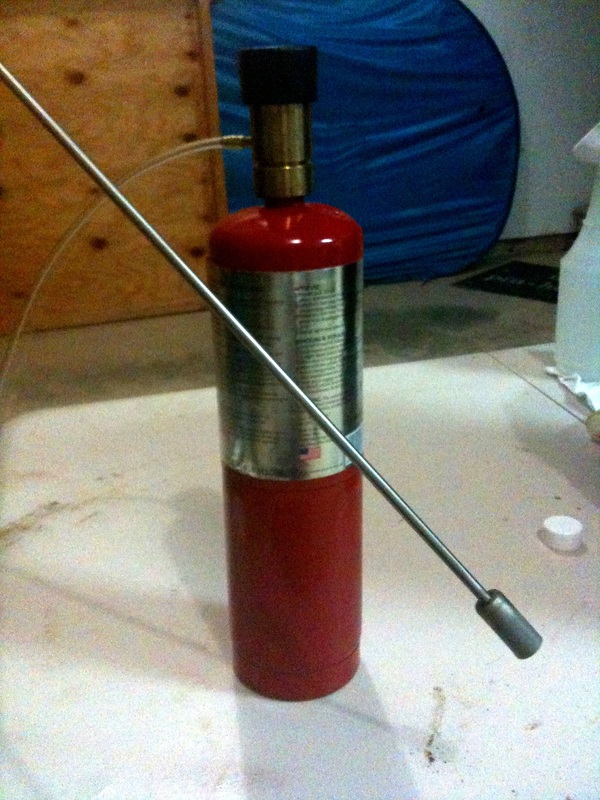
I was sick shaking my beer to death and only getting some oxygen absorbed in the beer, so I invested in a O2 wand.
You can also buy O2 tanks for about $8 at hardware stores.
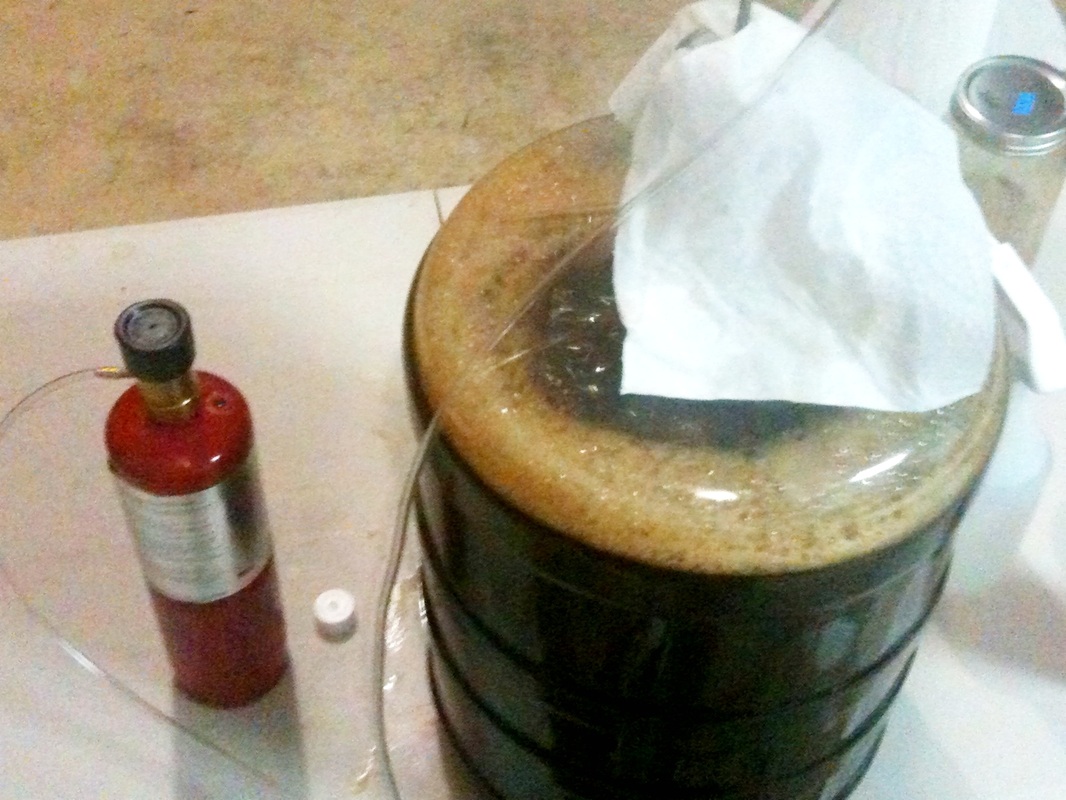
You can buy medical regulators to measure the O2 exactly, but I decided to set a timer for 1 minute and just be consistent with each beer.
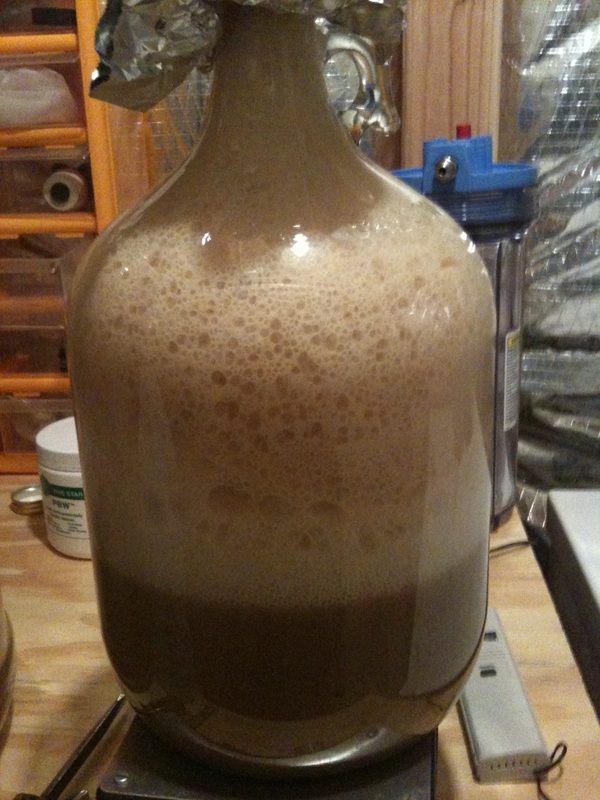
The yeast is ready... really ready!
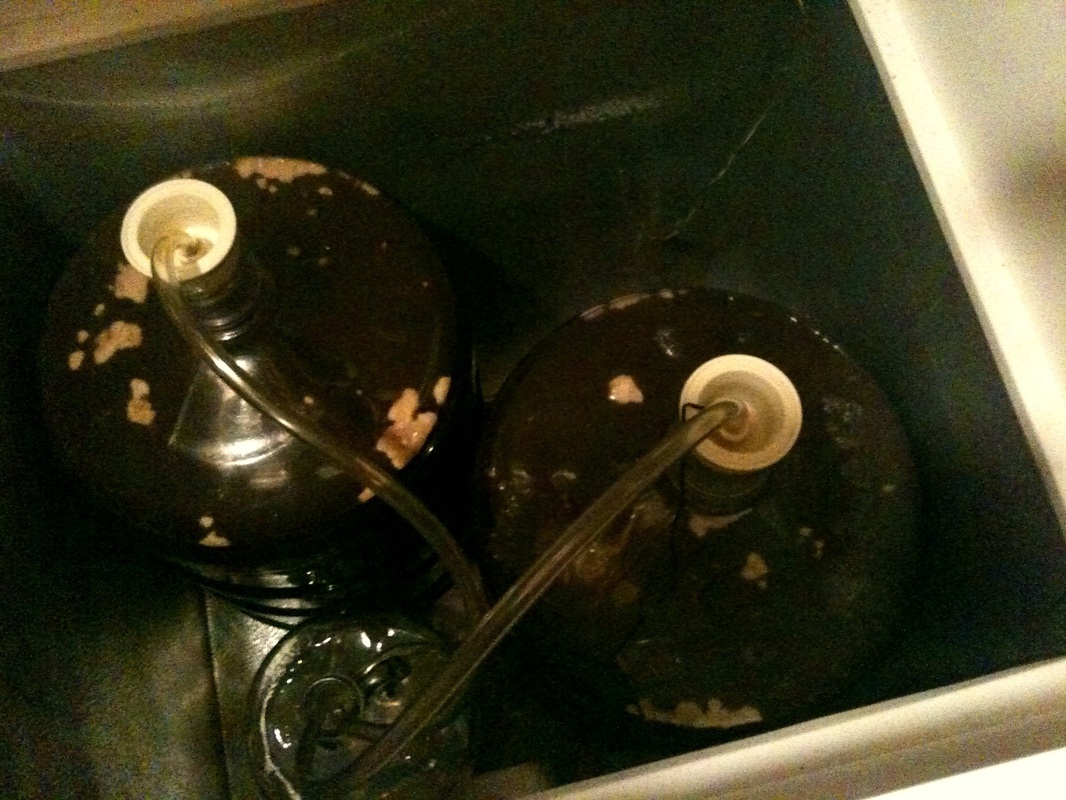
The yeast is pitched and the blow off tubes are in place! We're ready to rock!
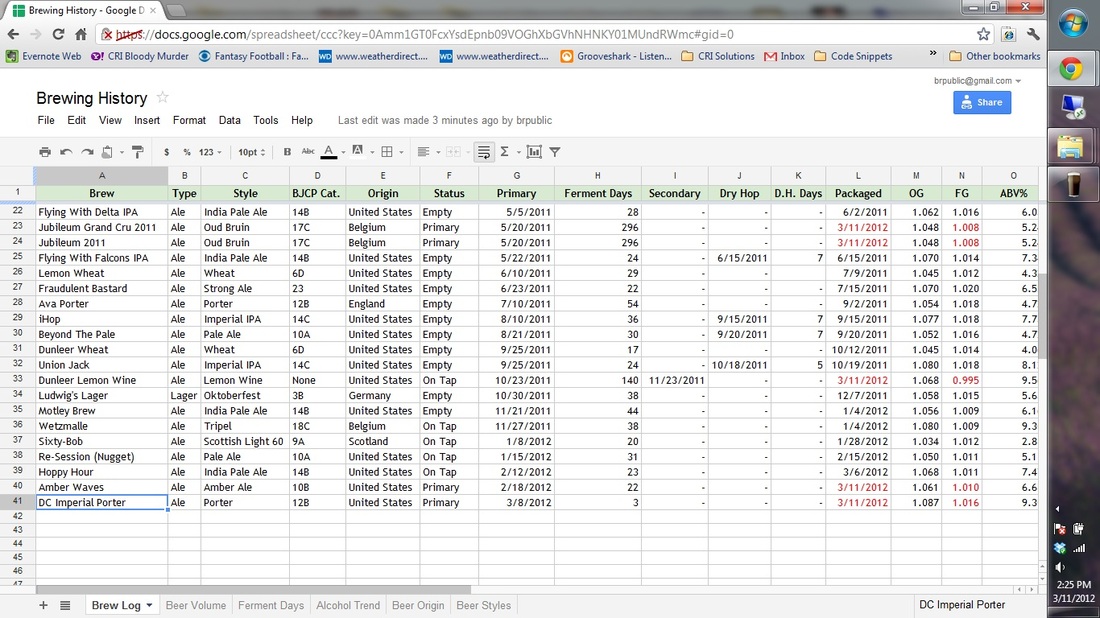
I like to update my brew log right away before I forget my gravity. You can see my log here. Feel free to copy and modify it for your beer, if you like it.
It's time for a pitch party! I used to drink while brewing but that was a bad idea. My beer turns out better now that I don't pitch the yeast in my Star San bucket anymore.
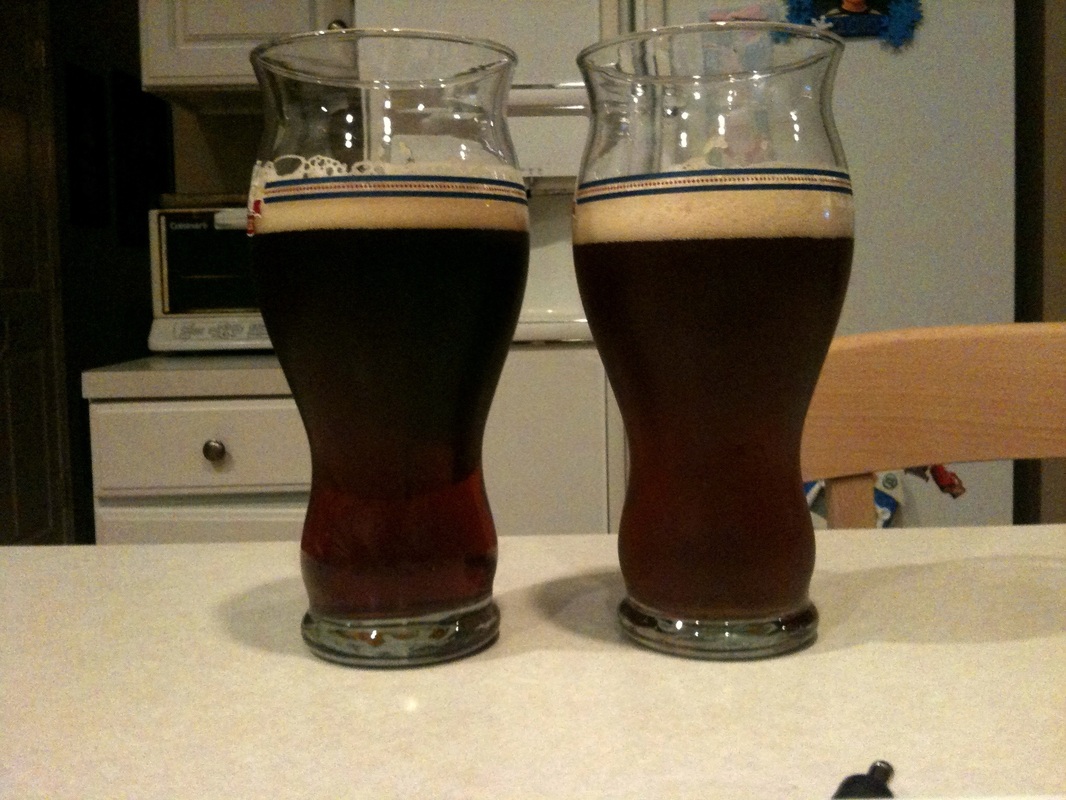
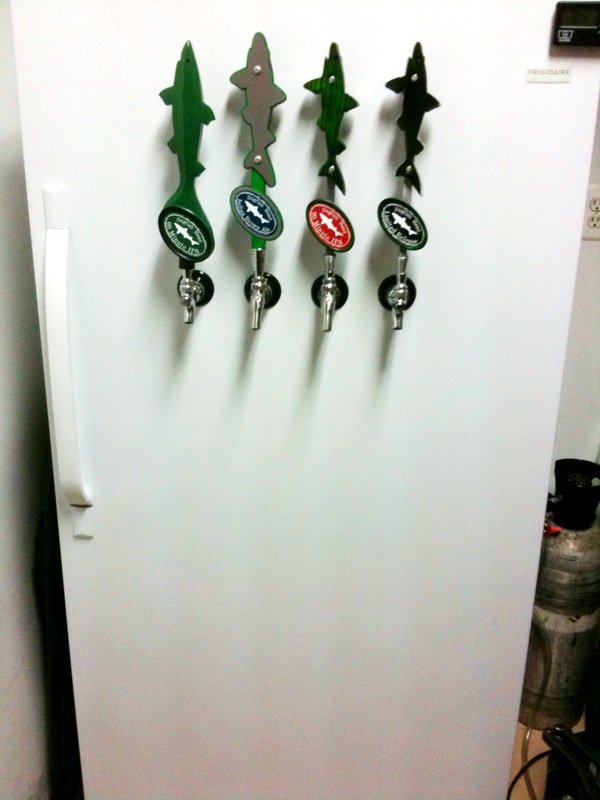
We're done. All that's left is to share a beer with my assistant brewer...me!
If you liked this guide, please have a look around at the rest of our site. We have written many articles on various homebrewing topics as well as showcased lots of DIY projects from around the web. Everything on the site can be found using the navigation menu at the top-left corner of the page.
Here are a few links to get you started:
Process
Equipment > DIY Projects
Cheers,
Scoundrel
Here are a few links to get you started:
Process
Equipment > DIY Projects
Cheers,
Scoundrel
