Get more aroma with dry hopping!

Hops are added in the last 10 minutes of the boil to contribute less to bitterness and more to aroma but many of these oils are boiled off in the process. How can you add even more aroma?
Dry hopping is a perfect way to add fresh hoppy aroma to your beer. The basic idea is to add whole leaf or pellet hops to the fermenter (or keg) after fermentation is complete. These hops soak in the beer for anywhere from a few days to a week. We've found that the flavor peaks at 5-7 days and makes a noticeable difference in aroma. Our typical schedule for a beer is 2 weeks in primary fermentation, add dry hops the 3rd week, rack and carbonate in week 4.
Dry hopping is a perfect way to add fresh hoppy aroma to your beer. The basic idea is to add whole leaf or pellet hops to the fermenter (or keg) after fermentation is complete. These hops soak in the beer for anywhere from a few days to a week. We've found that the flavor peaks at 5-7 days and makes a noticeable difference in aroma. Our typical schedule for a beer is 2 weeks in primary fermentation, add dry hops the 3rd week, rack and carbonate in week 4.
Which hops varieties are best to use?
It is often said that lower alpha acid hops are ideal for dry hopping because they contain a larger percentage of the aromatic oils that are great for dry hopping. I'd say feel free to experiment with this because we have had success using hops with many different alpha acid levels including cascade, willamette, fuggle, centennial, nugget, chinook, simcoe, warrior and columbus. Check out this document for help in comparing and selecting hops (and grain).
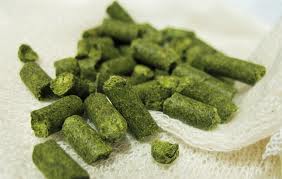
Should I use pellet or whole leaf hops?
Both work very well. Traditionally, people choose whole leaf hops over pellets because they tend to leave very little hop matter behind in the finished beer.
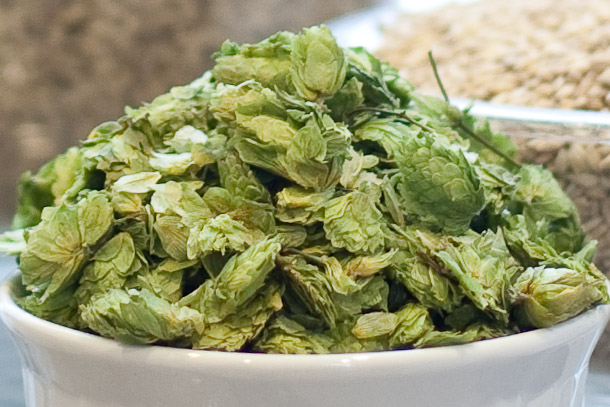
If you plan to put the hops in a nylon bag like we do, then you can use either pellet or leaf. One slight advantage to using leaf over pellet in nylon bags is that hop material doesn't move through the small holes as easily.
If you plan to put the hops in a nylon bag like we do, then you can use either pellet or leaf. One slight advantage to using leaf over pellet in nylon bags is that hop material doesn't move through the small holes as easily.
Methods of Dry Hopping
There are three common methods of dry hopping which include:
If you choose the keg method, consider tying the bag closed with non-flavored dental floss so it can be raised up to the lid after some time has passed, otherwise the beer may end up with a "grassy" flavor if left in too long. The floss is very thin and should not affect the o-ring's ability to hold pressure as long as it's well lubricated. If you have a spray bottle filled with Star San sanitizer, spray a little on the top of the keg. No bubbles and you have a tight seal!
- Adding hops to the primary fermenter AFTER fermentation is complete.
- Moving beer to a secondary fermenter, then adding hops.
- Putting hops directly in the keg.
If you choose the keg method, consider tying the bag closed with non-flavored dental floss so it can be raised up to the lid after some time has passed, otherwise the beer may end up with a "grassy" flavor if left in too long. The floss is very thin and should not affect the o-ring's ability to hold pressure as long as it's well lubricated. If you have a spray bottle filled with Star San sanitizer, spray a little on the top of the keg. No bubbles and you have a tight seal!
Let's Dry Hop!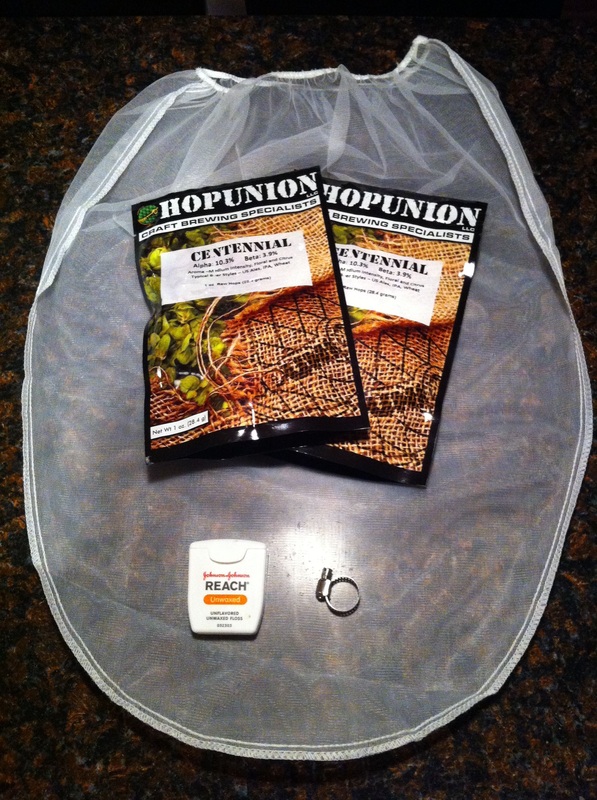
|
Cheap, disposable paint strainer bags work great for dry hopping and they come in 5 gal (19 L) and 1 gal (3.8 L) sizes.
I use dental floss to tie the bag closed because is very strong, made of nylon, and perfect for suspending the bag. I usually buy flavorless, no wax floss. Don't forget to put a bolt, hose clamp, stopper, or something similar on the other end of the floss so it doesn't end up in the fermenter. 
|
Sanitize Everything
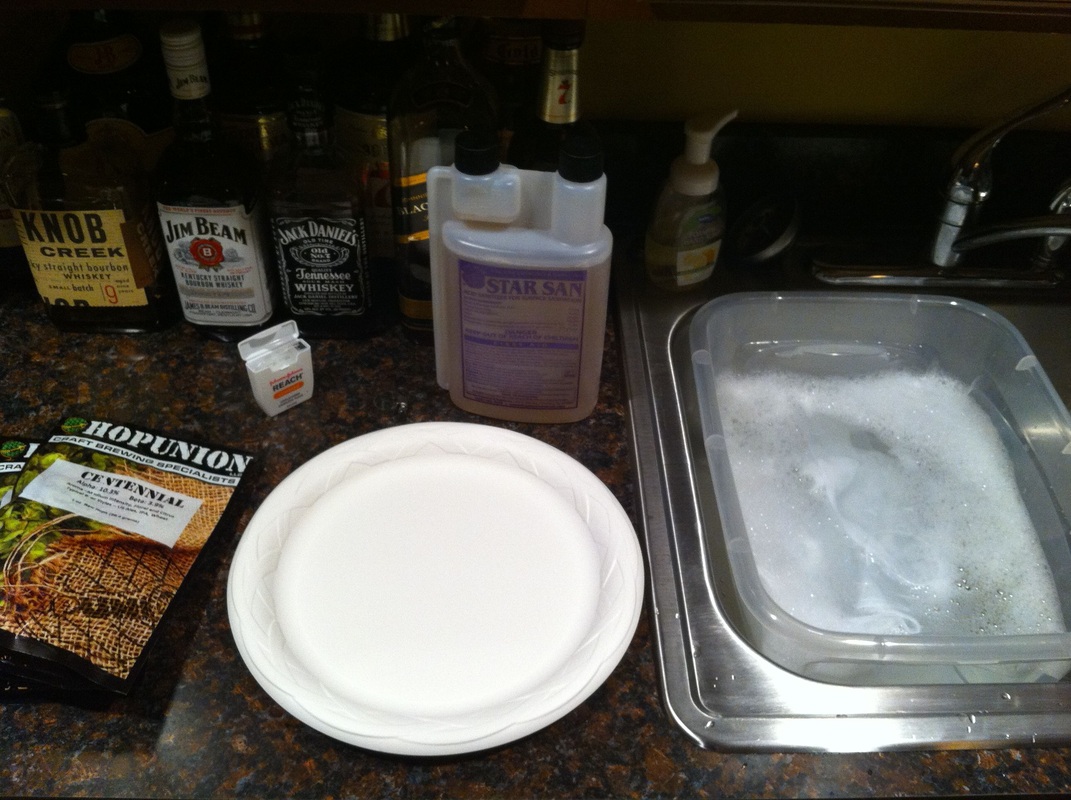
Be sure to sanitize the nylon bag, floss, and your hands!
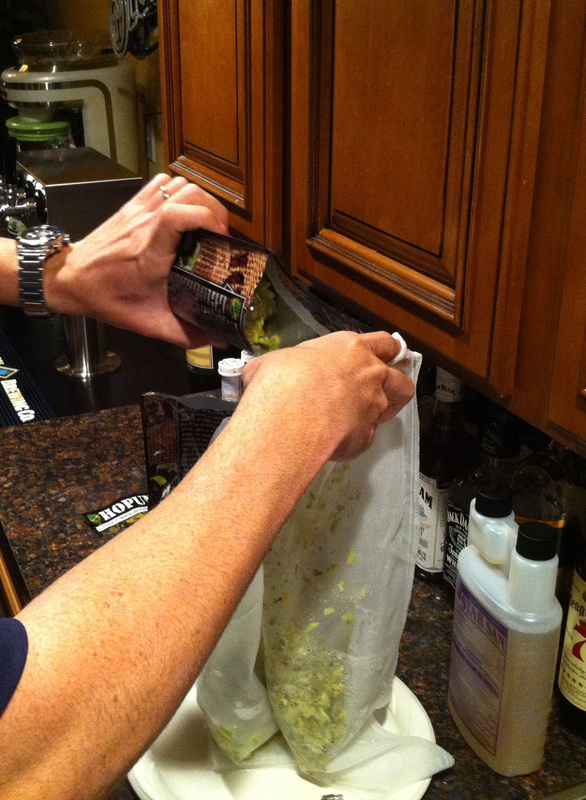
Pour in the hops! MMMmmm Love that smell.
We've tried both bag sizes and the 5 gal (19 L) tends to work better because the hops can move around freely and don't get as jammed up when it's time for removal.
If you are dry hopping just an ounce of pellet, or in a keg and plan on pulling the bag out of the beer, then the smaller bag is probably best. In this case, I would tie the knot just above the ball of hops and leave a little room for them to expand.
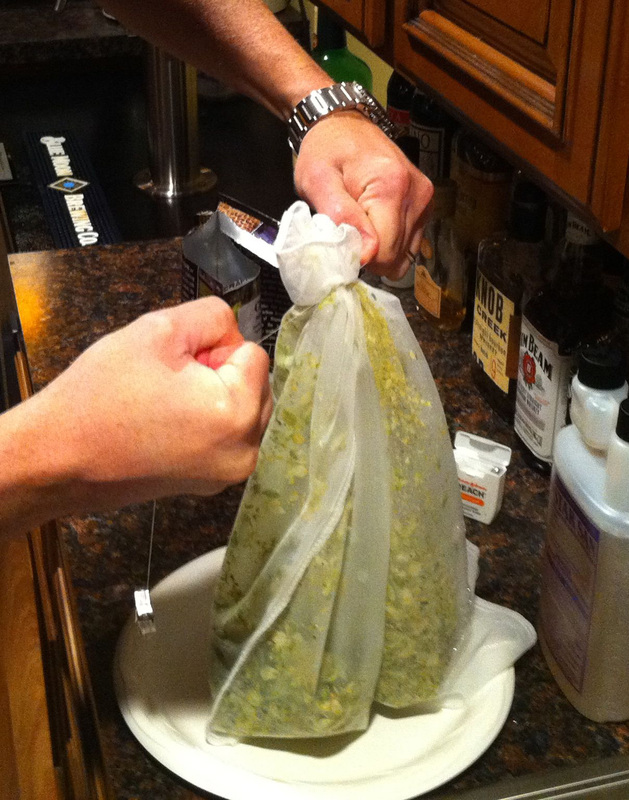
Tie a tight knot around the top of the bag.
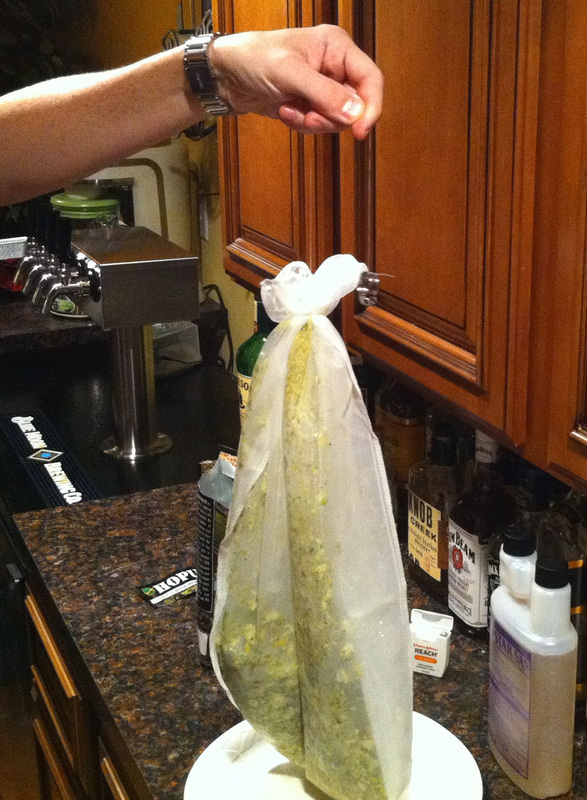
How's it hangin?
Adding hops to the fermenter

Compared to a bag of pellets that drop right in, whole leaf hops are a little more difficult to add. They tend to float where pellets usually break apart and sink. I've heard of people adding sanitized marbles or other safe objects to weigh down the bag. We use either a small length of stainless steel chain or a stainless steel thermowell (for the temp probe) which is perfect for holding down leaf hops.
RDWHAHB. Don't worry about touching the bag and hops. Active fermentation is over at this point so an infection is unlikely with the alcohol present. Hops also have natural antimicrobial abilities that reduce the likelihood of an infection even further.
Here we are adding two ounces (57g) and it looks more like the carboy is erupting!
When removing the hops a week later, I usually place a towel around the neck of the carboy to absorb any liquid as it's pulled out. Another option is to move the bag aside with the auto siphon and rack the beer without removing it.

And there you have it, fresh hops soaking for a week to give this IPA a little more magic!
If you liked this guide, please have a look around at the rest of our site. We have written many articles on various homebrewing topics as well as showcased lots of DIY projects from around the web. Everything on the site can be found using the navigation menu at the top-left corner of the page.
Here are a few links to get you started:
Process
Equipment > DIY Projects
Cheers!
Here are a few links to get you started:
Process
Equipment > DIY Projects
Cheers!
