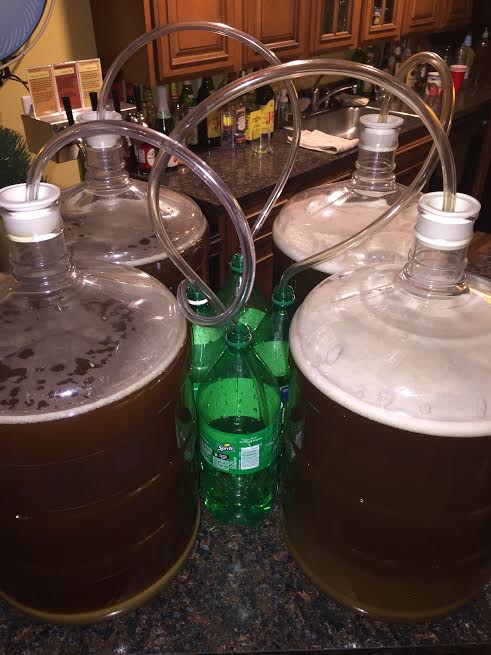
Get More Aroma With Dry Hopping
 | Hops are added in the last 10 minutes of the boil to contribute less to bitterness and more to aroma but many of these oils are boiled off in the process. How can you add even more aroma? Dry hopping is a perfect way to add fresh hoppy aroma to your beer. The basic idea is to add whole leaf or pellet hops to the fermenter (or keg) after fermentation is complete. These hops soak in the beer for anywhere from a few days to a week. We've found that the flavor peaks at 5-7 days and makes a noticeable difference in aroma. Our typical schedule for a beer is 2 weeks in primary fermentation, add dry hops the 3rd week, rack and carbonate in week 4. [Read More] |
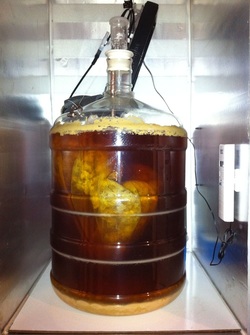
The Life Cycle of Yeast
 | What is yeast doing during beer fermentation? It is consuming wort sugars, and turning that sugar into new yeast cells, ethanol, CO2, and flavor compounds. Brewers are primarily concerned about flavor compounds. In order to maximize the correct flavor compounds, it is helpful to know how yeast ferments beer. Ale fermentation of brewers wort follows three phases: the lag phase for 3-15 hours, an exponential growth phase for 1-4 days, and a stationary phase of yeast growth for 3-10 days. Each of these phases will be described in terms of yeast behavior. [Read More] |
Clean Corny Kegs
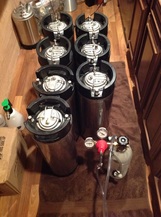 | While I'm not much of a betting man these days, I'd bet a large sum of money that cleaning kegs is not on anyone's list of fun things to do. Hopefully, this guide will make it less painful. Our process breaks down to the following steps: Cleaning, rinsing, and sanitizing. Cleaning and rinsing can be done manually or by using keg washer and I'll review both in this guide. [Read More] |
Build a Fermentation Chamber
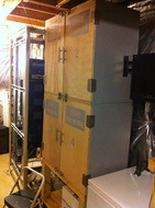 | The basic idea of a fermentation chamber is to control the temperature of yeast while they are active. This is not to say that excellent beer can't be brewed without one, but in my case, I was limited to the ambient temperature of the basement, which is quite different in the month of January than it is in August. So why temperature control? [Read More] |
Make a Carbonator Cap
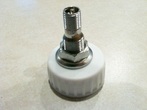 | So you're on your way to a park where glass bottles are off limits or maybe you just racked that award-winning Imperial Double Barleywine that you want to try, while you wait for your keg to carb up. So you scour the web and there it is... The Carbonator Cap; it injects CO2 into plastic water and soda bottles by attaching a gas side ball lock to it. You're sold! You head on down to your LHBS to buy a few until you see the price; $20 for a piece of molded plastic! There's gotta be a better way that won't break the bank. There is! [Read More] |
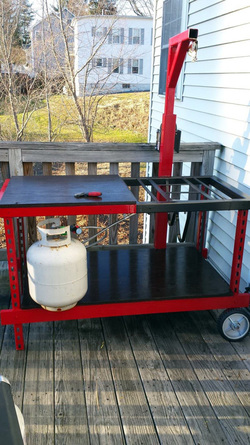
The Doghouse Brew Rig
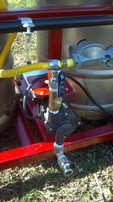 | What is the Doghouse you ask? Well…it’s a single tier brew stand based loosely on the Brutus 10 and like the Brutus it is a fully automated system. I had several design goals in mind when I started. First, it needed to be fully automated (duh…). Second, it needs to be fully self-contained when stored away. Third, it needs to be maneuvered easily. Fourth, it needs to fit in my truck. And lastly, it needed to have adjustable burners. [Read More] |
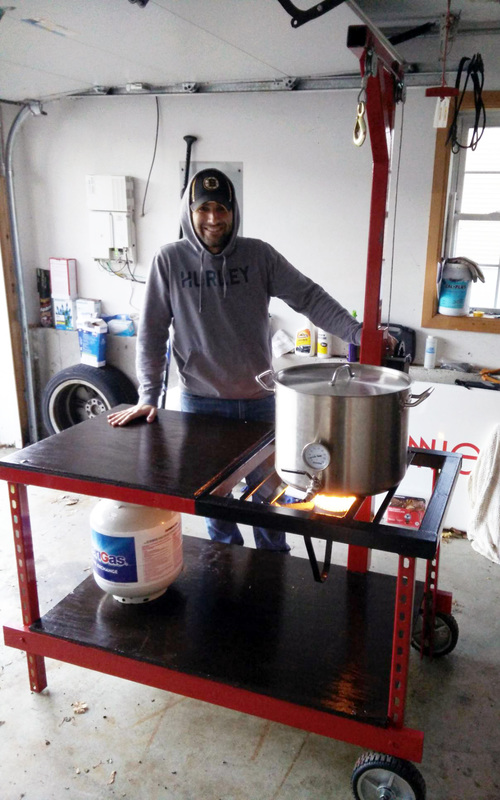
A BIAB Brewday (tknice)
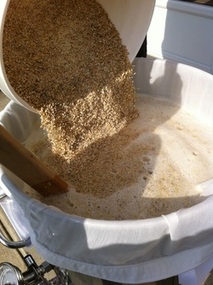 | This post outlines a typical brewday. My goal has always been to brew great beer while minimizing time and equipment and above all, find a process that works for me. [Read More] |