Clean Corny Kegs
While I'm not much of a betting man these days, I'd bet a large sum of money that cleaning kegs is not on anyone's list of fun things to do. Hopefully, this guide will make it less painful.
Our process breaks down to the following steps: Cleaning, rinsing, and sanitizing. Cleaning and rinsing can be done manually or by using keg washer and I'll review both in this guide. I'll also illustrate how to fully break down a keg (a process that is done less frequently) versus the cleaning that you'll want to do every time.
Our process breaks down to the following steps: Cleaning, rinsing, and sanitizing. Cleaning and rinsing can be done manually or by using keg washer and I'll review both in this guide. I'll also illustrate how to fully break down a keg (a process that is done less frequently) versus the cleaning that you'll want to do every time.
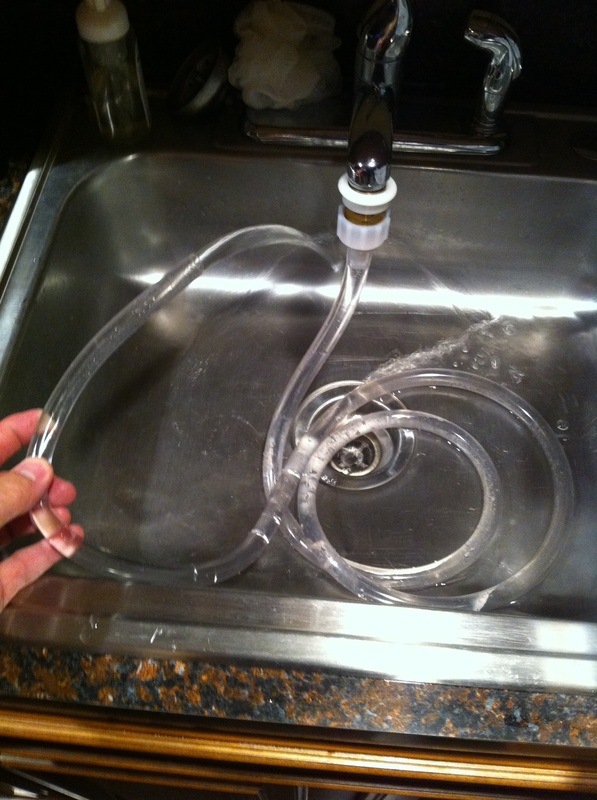
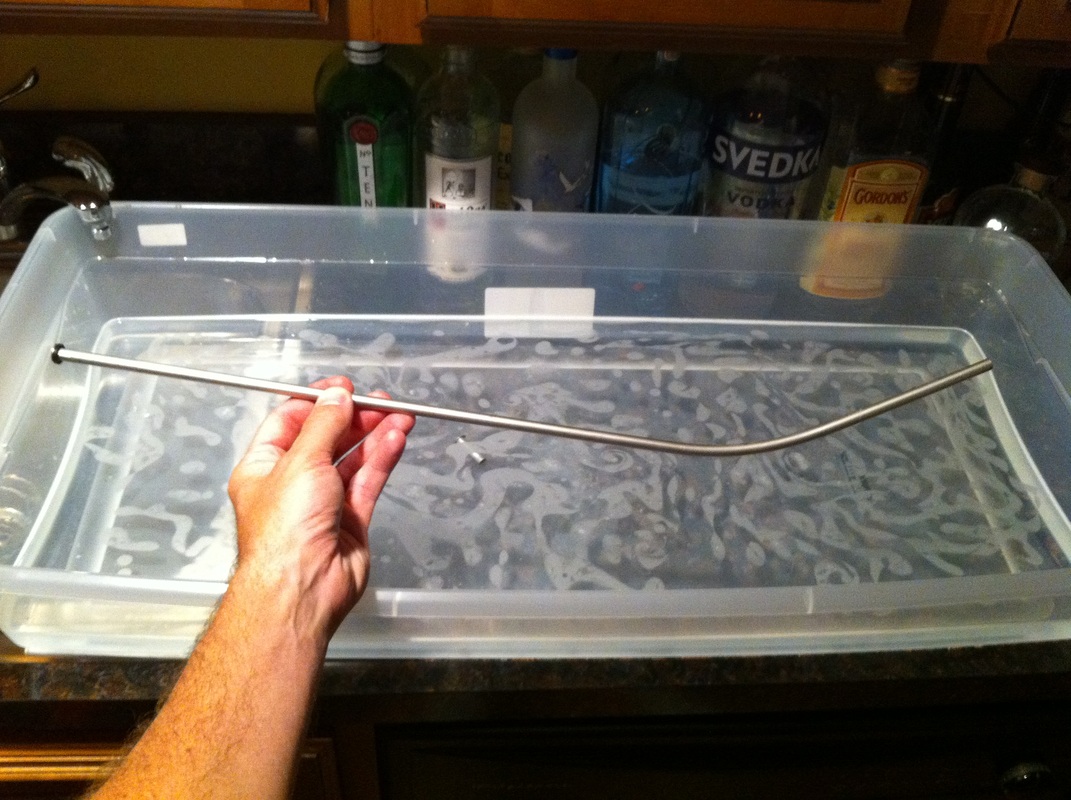
TIP: We've found that rinsing kegs immediately after they kick makes cleaning much easier down the road. To help with this, consider adding a high-flow connection to the faucet where a hose can be attached.
Hot and cold water can easily be directed anywhere it's needed.
Hot and cold water can easily be directed anywhere it's needed.
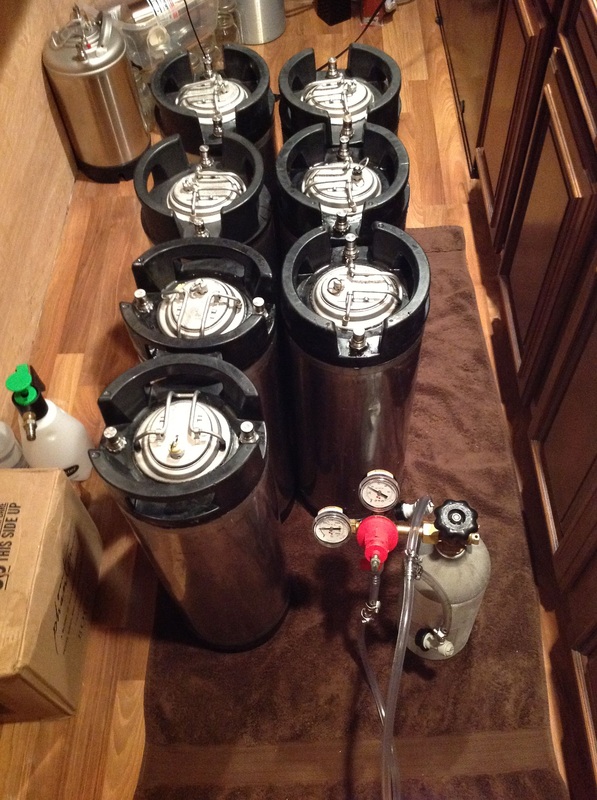
Begin by prepping the area
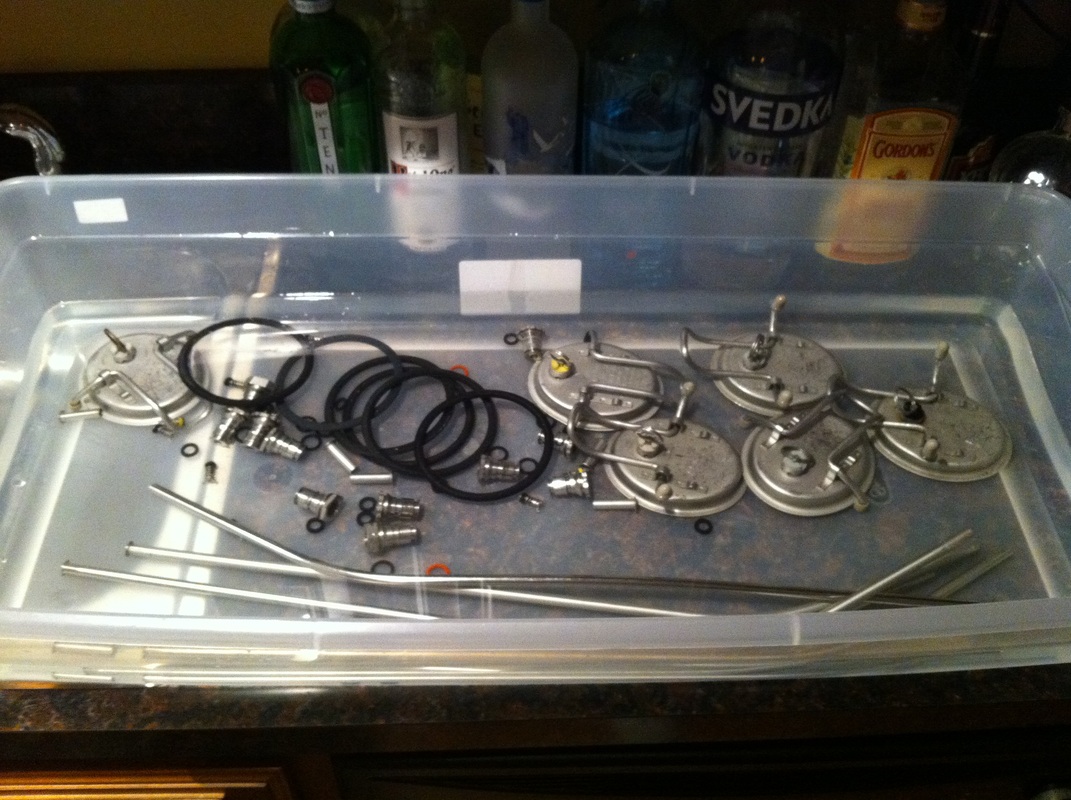
Cleaning kegs can be messy and it should be done somewhere with access to water. This can be outside or as in my case, downstairs at the bar. I lay a towel on the floor so SWMBO doesn't get pissed and another on the bar top where the kegs are rolled. When doing a full breakdown, grab any type of large-sized basin to soak all of the parts. We like to use a simple storage bin that you can find at any all-purpose store.
The Full Breakdown
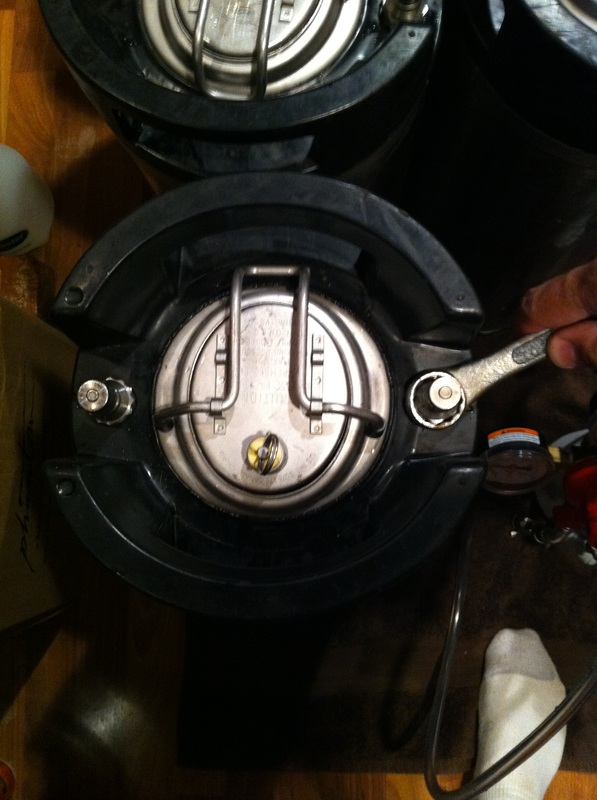
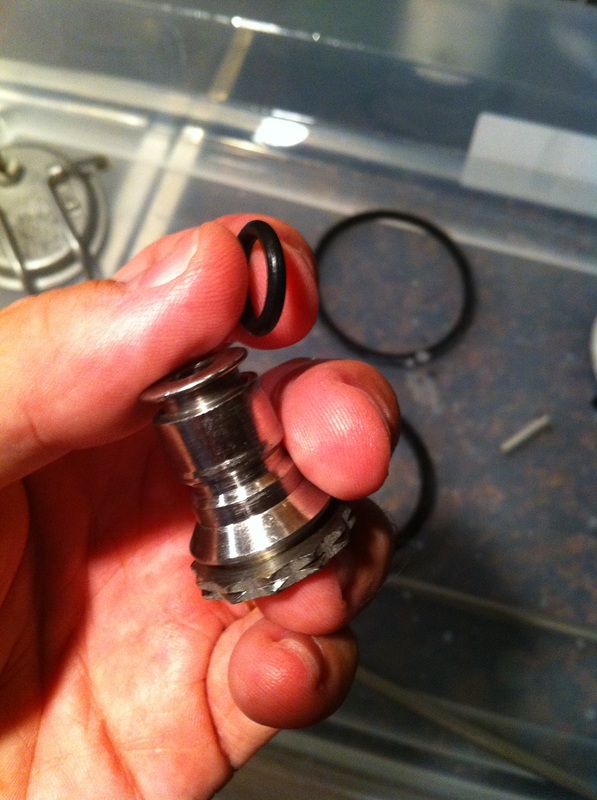
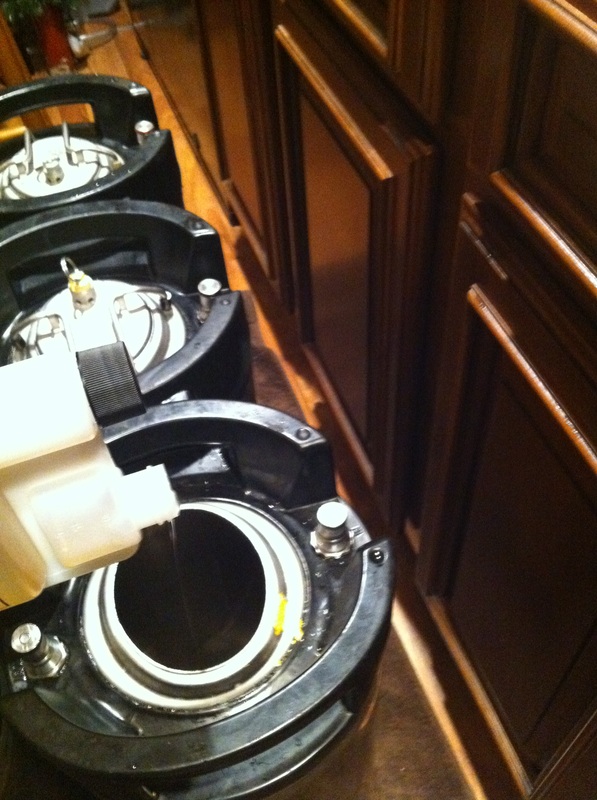
It is recommended that you disassemble the keg completely every 6 months or 2-3 uses. To take it apart, grab a 7/8" or 11/16" wrench (22 metric?) and remove both the gas and liquid posts. Each post exposes a liquid and gas side dip tube and contains a small poppet valve inside. Both dip tubes have a small o-ring that should also be removed.
Cleaning kegs can be messy and it should be done somewhere with access to water. This can be outside or as in my case, downstairs at the bar. I lay a towel on the floor so SWMBO doesn't get pissed and another on the bar top where the kegs are rolled. When doing a full breakdown, grab any type of large-sized basin to soak all of the parts. We like to use a simple storage bin that you can find at any all-purpose store.
The Full Breakdown
It is recommended that you disassemble the keg completely every 6 months or 2-3 uses. To take it apart, grab a 7/8" or 11/16" wrench (22 metric?) and remove both the gas and liquid posts. Each post exposes a liquid and gas side dip tube and contains a small poppet valve inside. Both dip tubes have a small o-ring that should also be removed.
|
|
|
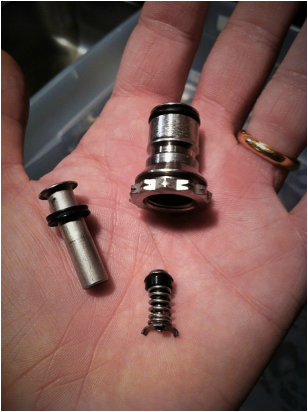
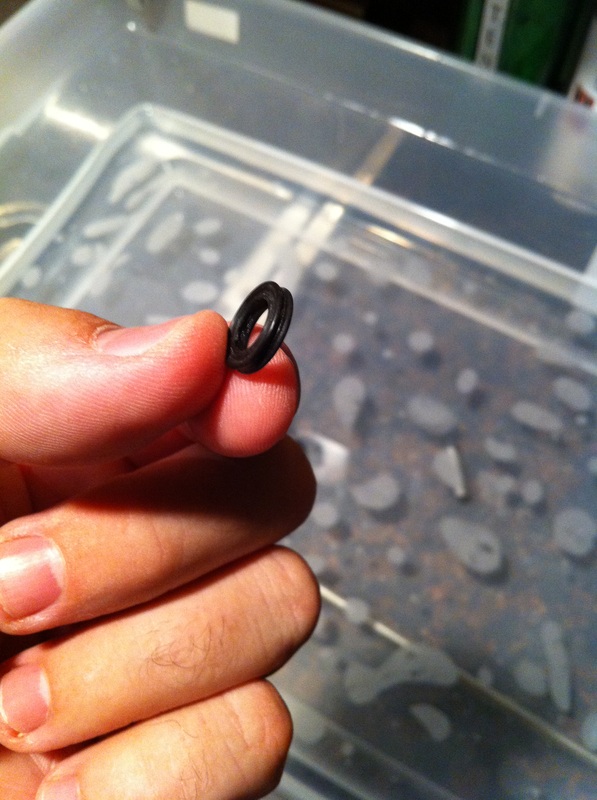
NOTE ON O-RINGS: If there is one thing to take away from this guide that will improve a kegging system and reduce frustration, this is it:
Replace all dip tube o-rings with square style, double seal rings (pictured right). We bought ours at MCMaster-Carr and the part number is 90025K368. They are described as Double Seal Buna-N O-Ring AS568A Dash Number 109. I believe a pack of 100 costs $5. This is important because most used kegs come with crappy round o-rings that require the posts to be tightened very hard to seal properly. Doing so will eventually strip or ruin the threads and the keg will likely need to be trashed.
Replace all dip tube o-rings with square style, double seal rings (pictured right). We bought ours at MCMaster-Carr and the part number is 90025K368. They are described as Double Seal Buna-N O-Ring AS568A Dash Number 109. I believe a pack of 100 costs $5. This is important because most used kegs come with crappy round o-rings that require the posts to be tightened very hard to seal properly. Doing so will eventually strip or ruin the threads and the keg will likely need to be trashed.
|
|
There are also rings on the top of each post that should be removed for cleaning. We like to use the end of a corkscrew to get these off.
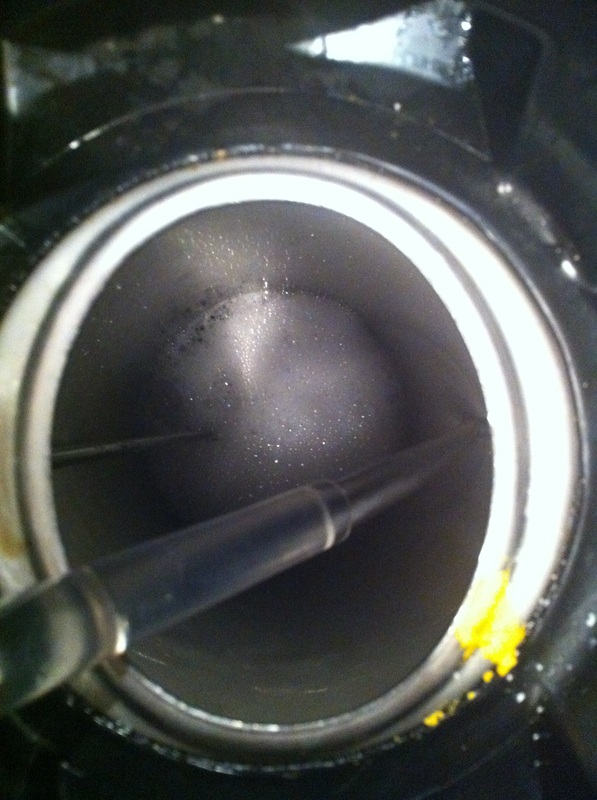
Finally, remove the keg lid and large o-ring and place all of these parts into the tray filled with water and a few teaspoons of Powdered Brewery Wash. I usually let these soak for around 10-15 minutes.
Drain the PBW water and add fresh, clean water to rinse the parts.
Finally, remove the keg lid and large o-ring and place all of these parts into the tray filled with water and a few teaspoons of Powdered Brewery Wash. I usually let these soak for around 10-15 minutes.
Drain the PBW water and add fresh, clean water to rinse the parts.
|
|
Reassemble
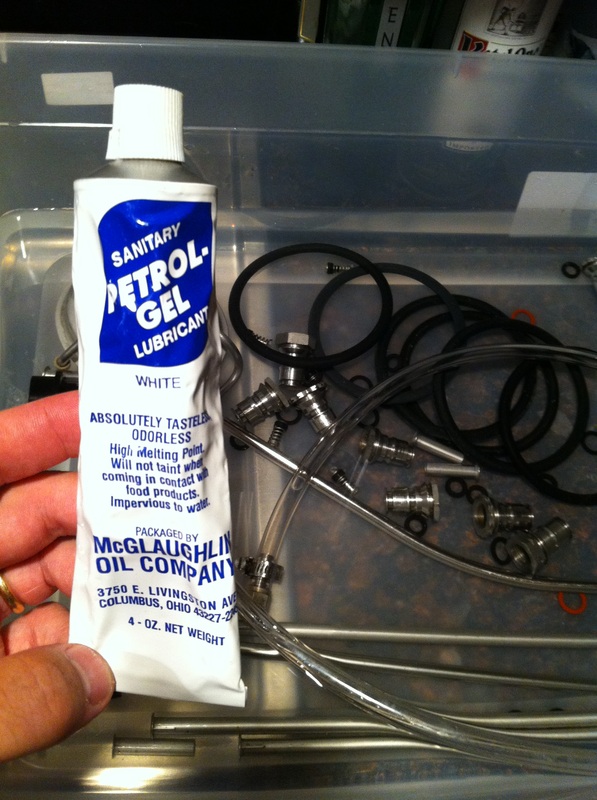
Don't put the ass in reassemble by forgetting to use keg lube. Grab some food-grade lubricant and lube up all of the rubber parts. This includes every ring and the end of all poppets. The gas side is usually labeled "IN" and the beer side is labeled "OUT". Some gas posts have a kind of star shape around the edge that can make for easy identification. I look for these when selecting a keg. Another idea we had (still need to do it to mine) was to paint an indication on the top edge of the black handles--maybe gold for beer and blue for gas.
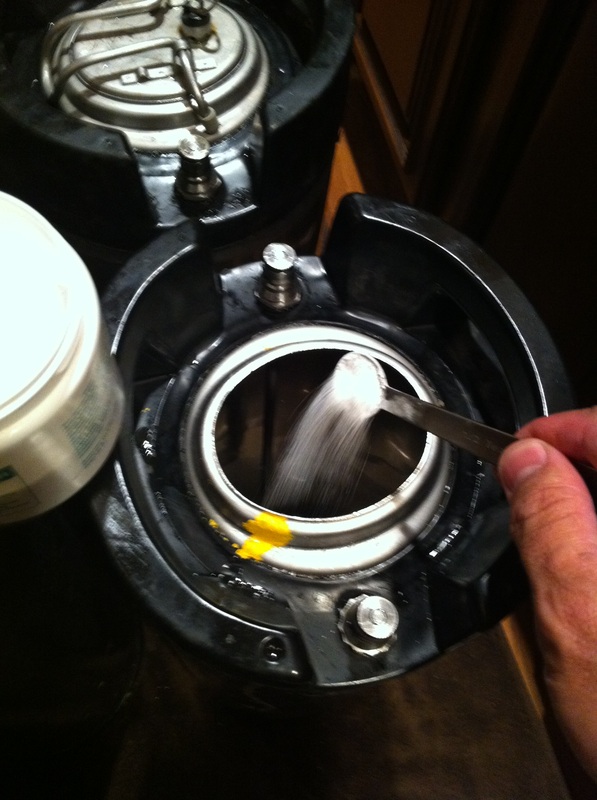
Once the dip tubes, poppets, and posts are back in place, line the kegs up so you can easily move from one to the next. Add a few teaspoons of PBW to the first keg and fill with hot water to around half full. This is also the point in the process where a typical, "regular" cleaning begins.
Don't put the ass in reassemble by forgetting to use keg lube. Grab some food-grade lubricant and lube up all of the rubber parts. This includes every ring and the end of all poppets. The gas side is usually labeled "IN" and the beer side is labeled "OUT". Some gas posts have a kind of star shape around the edge that can make for easy identification. I look for these when selecting a keg. Another idea we had (still need to do it to mine) was to paint an indication on the top edge of the black handles--maybe gold for beer and blue for gas.
Once the dip tubes, poppets, and posts are back in place, line the kegs up so you can easily move from one to the next. Add a few teaspoons of PBW to the first keg and fill with hot water to around half full. This is also the point in the process where a typical, "regular" cleaning begins.
|
|
|
Keg Rolling
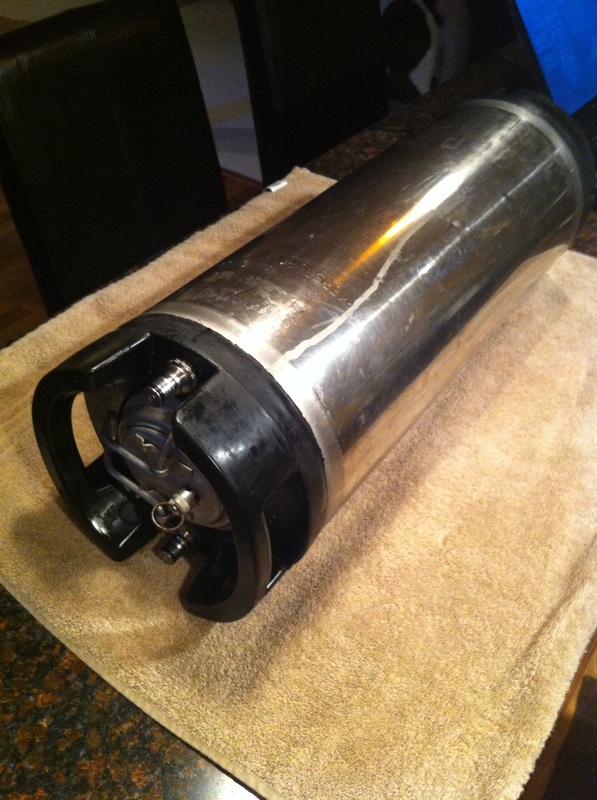
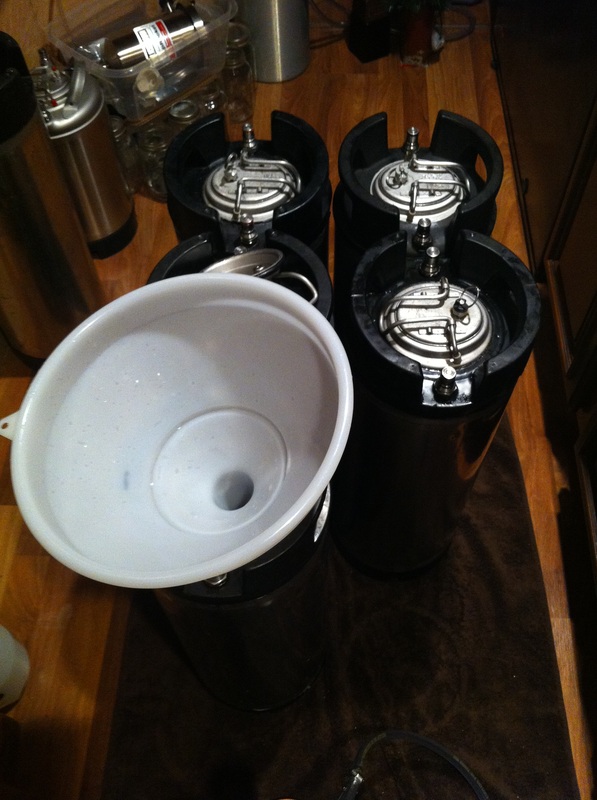
Be sure the pressure relief valve is closed and lay the keg on its side with the gas post toward the top. I normally don't need to add pressure for this step, but you may depending on how long it's been since the seals were lubed. Roll back and forth for about a minute. Depending on how dirty the keg was to begin with, try to reuse the PBW water for the next keg. Use a large funnel to pour from keg to keg. The idea here is to get a rotation going of PBW, cool water to rinse, and then sanitized water.
Be sure the pressure relief valve is closed and lay the keg on its side with the gas post toward the top. I normally don't need to add pressure for this step, but you may depending on how long it's been since the seals were lubed. Roll back and forth for about a minute. Depending on how dirty the keg was to begin with, try to reuse the PBW water for the next keg. Use a large funnel to pour from keg to keg. The idea here is to get a rotation going of PBW, cool water to rinse, and then sanitized water.
|
|
|
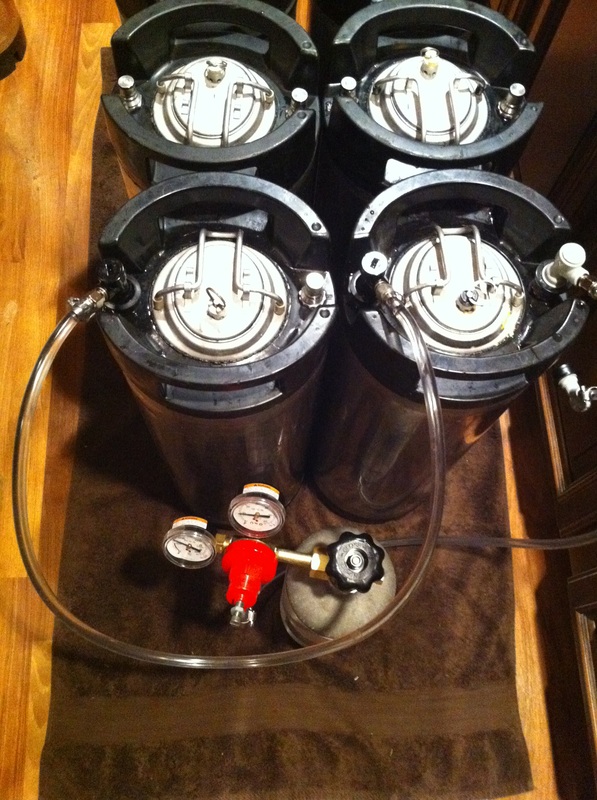
If you want to get fancy, you can do each of these stages with the lids closed by moving water from one keg to the next through connecting liquid side "OUTS". This takes a little longer (and wastes CO2 unless you use a compressor) but will guarantee the dip tubes are clean between breakdowns. Just get a short hose and put a liquid ball lock on each end. Connect the "OUTS" and put gas on the transfer "from" keg and be sure it's relief valve is closed. Water will begin to flow quickly once you open the relief valve on the other keg. This "closed" method of transferring is great for keeping air out of the keg. If you rack beer through the liquid ball lock as well, contact with air is almost eliminated!
|
|
|
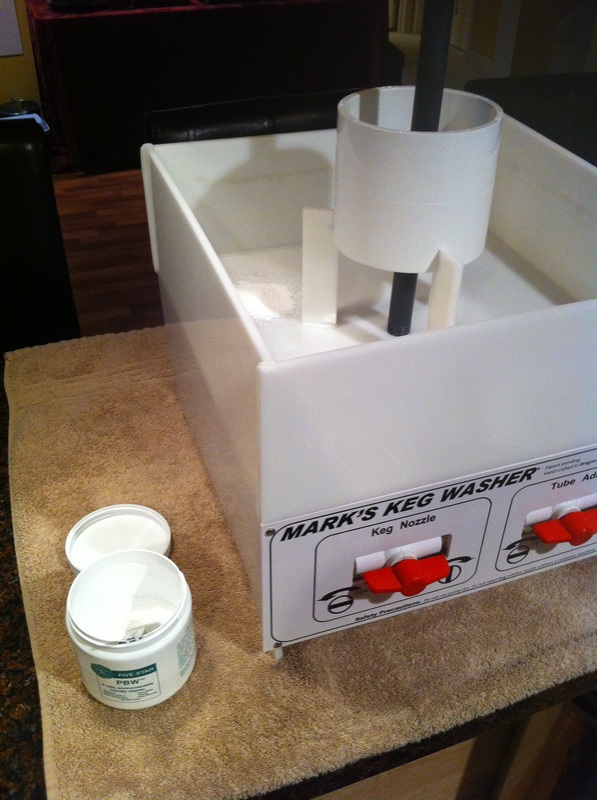
The Keg Washer
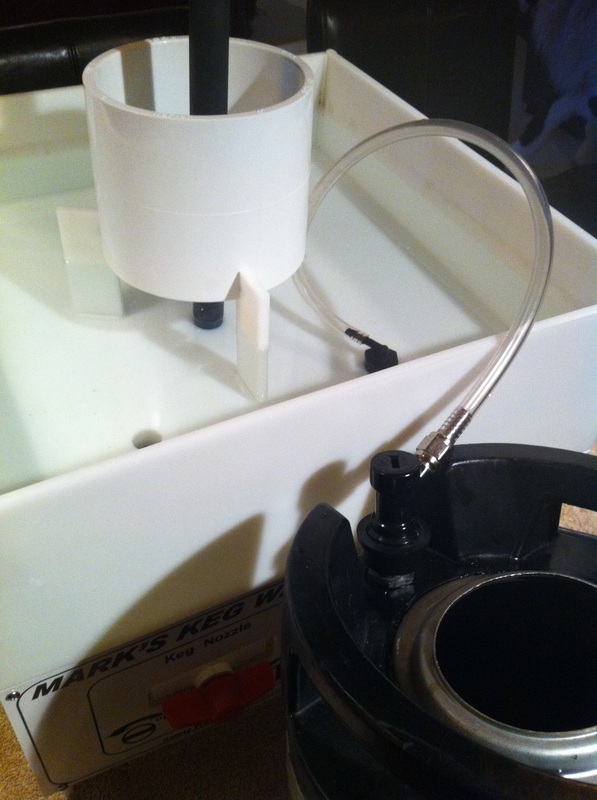
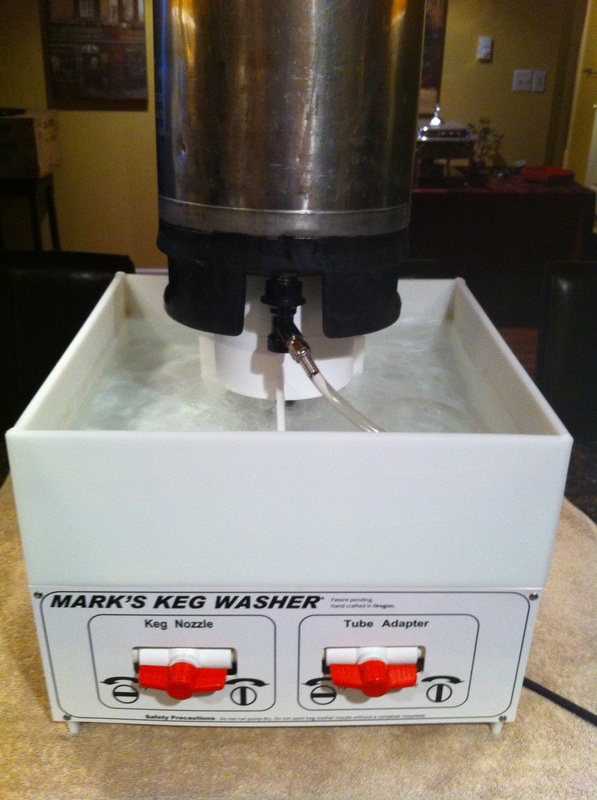
A DIY or store bought keg/carboy washer is a great thing. Everything you just read is simplified by this machine. Most of them consist of a water reservoir and pump, and some have a tube adapter to clean the dip tube as well. Each keg is placed on top with the liquid ball lock attached and runs for 5 minutes. Once all of the kegs are cleaned with PBW, replace with clean water and repeat. I guess you can run sanitizer in it as well, but I typically use the "closed" method described above.
A DIY or store bought keg/carboy washer is a great thing. Everything you just read is simplified by this machine. Most of them consist of a water reservoir and pump, and some have a tube adapter to clean the dip tube as well. Each keg is placed on top with the liquid ball lock attached and runs for 5 minutes. Once all of the kegs are cleaned with PBW, replace with clean water and repeat. I guess you can run sanitizer in it as well, but I typically use the "closed" method described above.
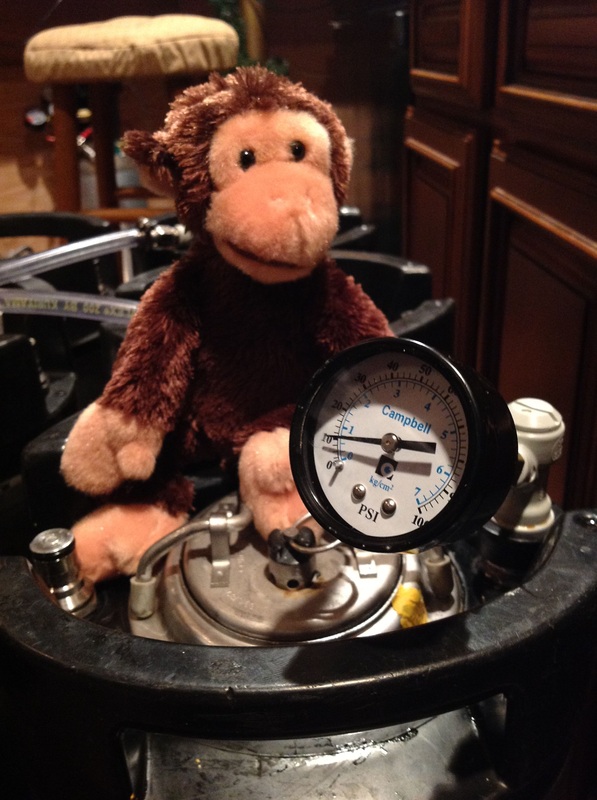
Test The Pressure
We like to test the pressure of newly cleaned kegs by using a DIY pressure gauge. This will allow time to solve any problems before it contains beer. Of course, you can always bleed off pressure to know it doesn't have a leak, but using a gauge to show the exact PSI and that it hasn't dropped is well... geeky!
Tip: If you do have a leak, try flipping the lid around 180 degrees and see if that helps or switch up lids with a different keg. Cranking the PSI to 30+ can help it seat as well or there's always the old penny trick. Place a coin under each arm for extra pressure.
