Make a Pressure Guage
Why do you need one? Well, when kegs are stored for a period of time, you'll want to make sure the CO2 in the beer is fully absorbed so an adequate seal is maintained until you are ready to cool it for serving. You can use this chart to figure out how many volumes of CO2 you prefer (or appropriate for the style) and at what temperature to slow carbonating the beer. If the guage drops overnight, you know the beer is not yet fully carbonated.
In my process, I rack the beer and immediately put it on warm gas at around 28-30 PSI. Once it sits this way for about a week, the beer will be fully carbonated and then goes in the keezer to cool to serving temp. If you need the beer carbonated a little more quickly, cool it immediately and put it on gas at 35 PSI. Since CO2 absorbes in cold liquid faster, it should be nicely carbed after about two days.
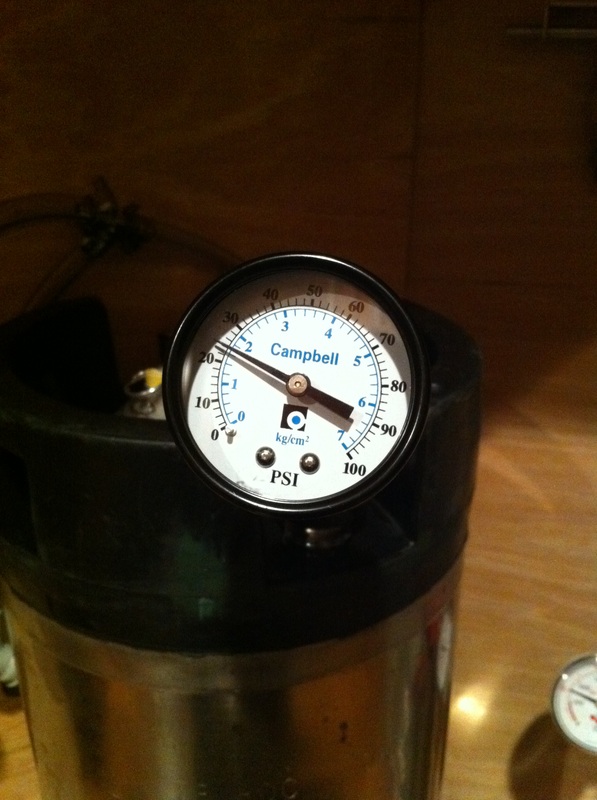
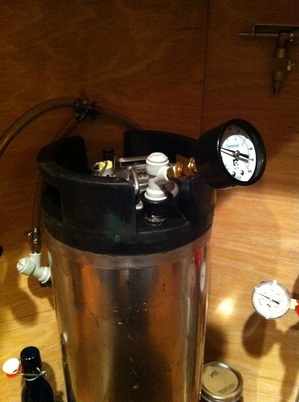
To use it, set the regulator to the PSI that you think should be maintained (probably around 10 for cold serving) and connect the gas from the regulator to pressurize the headspace. Next, remove the gas from the regulator and replace with the pressure guage, the guage should also read 10 PSI. Look for it to drop after some time has passed.
For more details on this, check out our guide on Carbonating Beer With CO2.
I bought all of my parts except the ball lock from Ace Hardware.
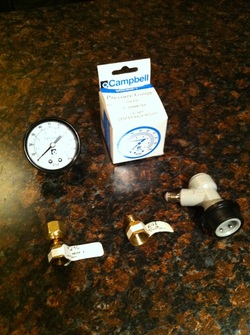
Here's what you need:
$5.50 - Gas Ball Lock w/ threaded fitting
$7.79 - PSI Guage (look for one that is max 100--200 is not ideal)
$2.59 - Flare ADPTR104x1/4"BRS (This steps down from the guage size to 1/4")
$5.49 - 1/4 Flare Swivel Connector (Female on both sides)
Total: $21.37
Here's what you need:
$5.50 - Gas Ball Lock w/ threaded fitting
$7.79 - PSI Guage (look for one that is max 100--200 is not ideal)
$2.59 - Flare ADPTR104x1/4"BRS (This steps down from the guage size to 1/4")
$5.49 - 1/4 Flare Swivel Connector (Female on both sides)
Total: $21.37
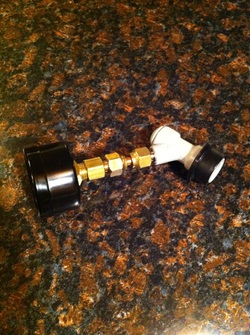
Put the pieces together and tighten. Use thread tape if you like, although it's probably unnecessary for 30 PSI. There are other variations of this where you can use barbed fittings and a length of clear tube inbetween so it's flexible in the middle. This might be useful for testing in hard to reach places. With a configuration like this, I'd go with a bottom mounted guage which were actually $3 cheaper than the one I bought.
I needed one that easily fits in my keg tackle box and is viewable from above since my kegs sit under the bar.
I needed one that easily fits in my keg tackle box and is viewable from above since my kegs sit under the bar.
