Ahh yes... the Carbonator Cap!
So you're on your way to a park where glass bottles are off limits or maybe you just racked that award winning Imperial Double Barleywine that you want to try, while you wait for your keg to carb up. So you scour the web and there it is... The Carbonator Cap; it injects CO2 into plastic water and soda bottles by attaching a gas side ball lock to it. You're sold! You head on down to your LHBS to buy a few, until you see the price; $20 for a piece of molded plastic! There's gotta be a better way that won't break the bank. There is!
What you'll need to buy
I bought the parts listed at Ace hardware but you can easily find them at most auto part or hardware stores.
$3.99 - 1/4 inch barbed female air chuck
$5.99 - Tire valve stem (2 pk)
$.99 and up - Soda bottle
Now you might think "$11 isn't much cheaper", but there are advantages. First, tire stem valves come 2 to a pack, so each valve is really $3 each. Second, the air chuck is a one time purchase. Lastly, you can replace the bottle caps if they wear out or use the stems with different size caps.
|
|
Other stuff you'll need
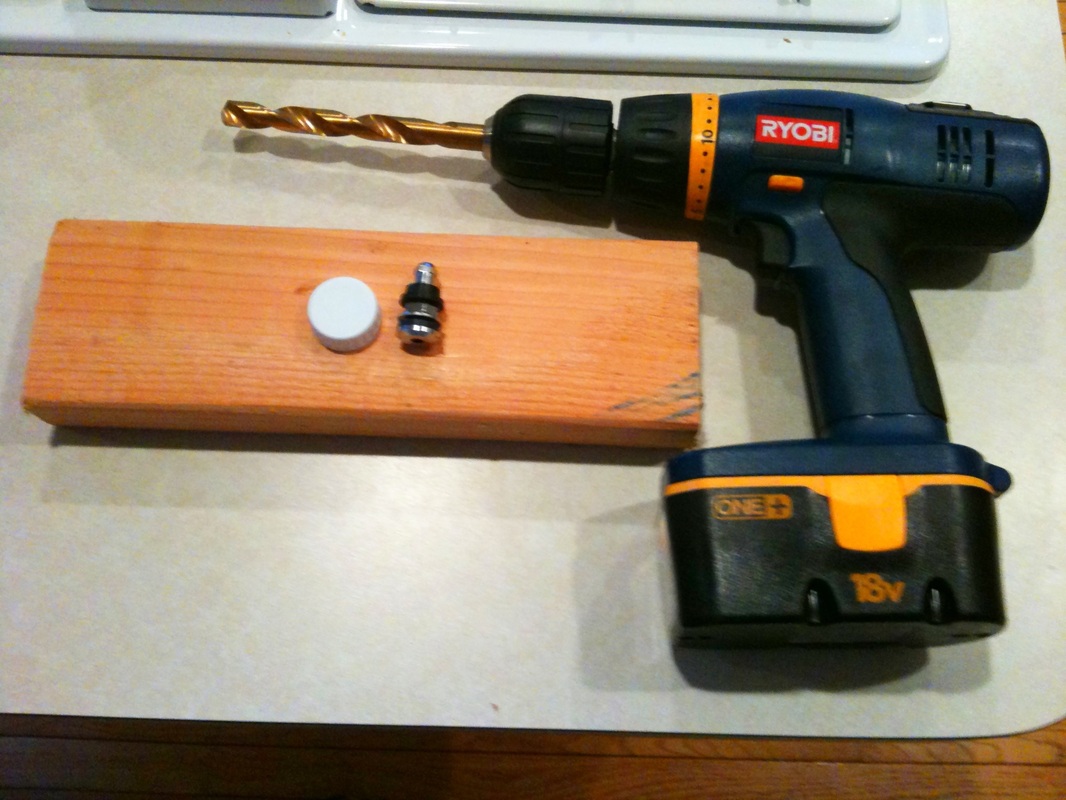
You'll need a drill with a 1/2 inch bit and a piece of wood, plastic or whatever to make sure you don't drill into your counter top. Additionally, I recommend you get something to hold the cap in place. I use a Quik Grip clamp but you can use whatever you want.
|

|
Now What?
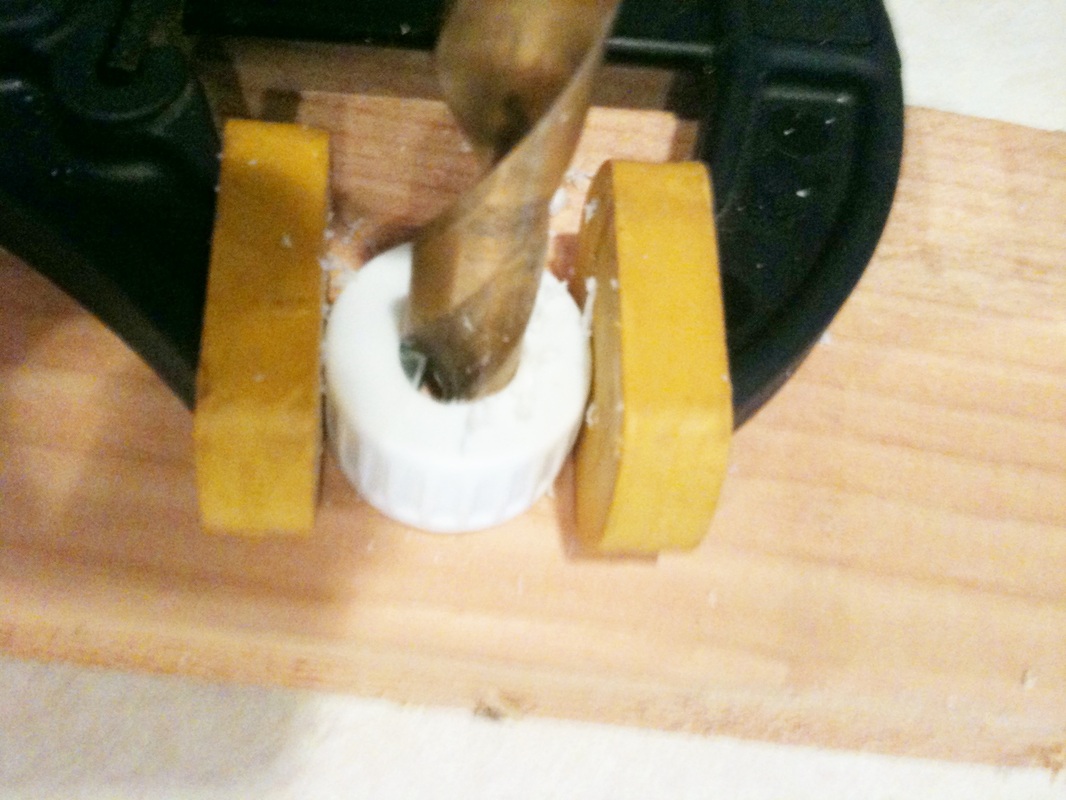
Drill!!! Drill a hole through the center of the cap.
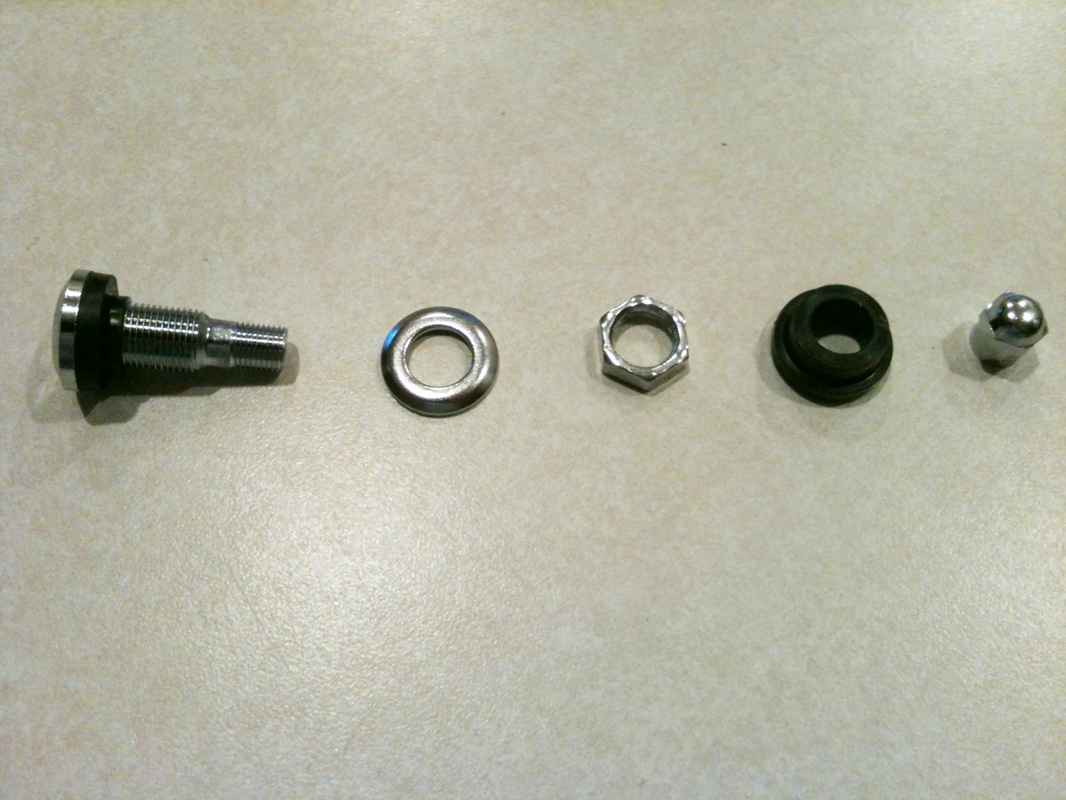
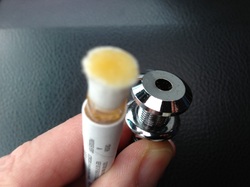
Next, dismantle the stem valve. You can toss the rubber grommet (2nd from the right).
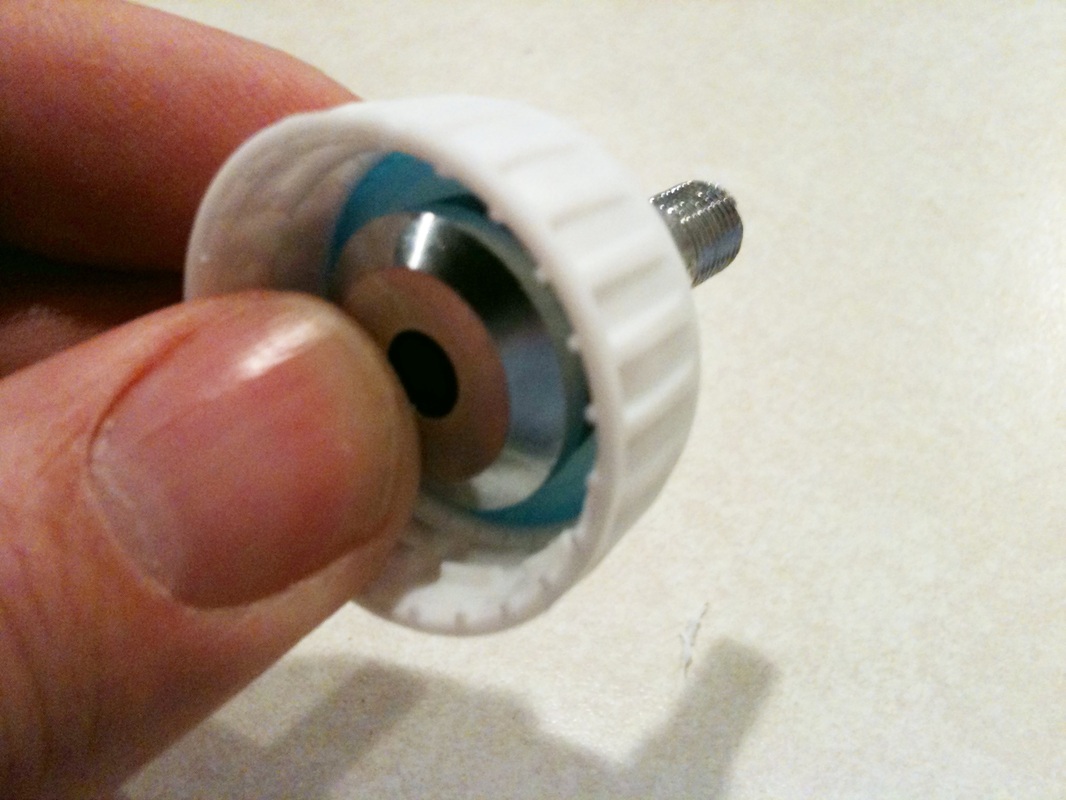
Now fish the stem through the hole you drilled.
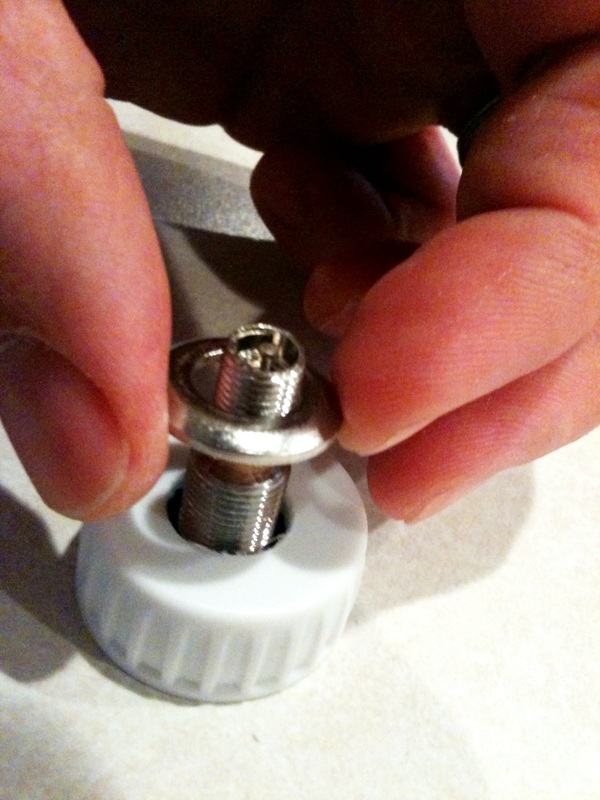
Place the washer over the stem. Make sure the crowned side is up.
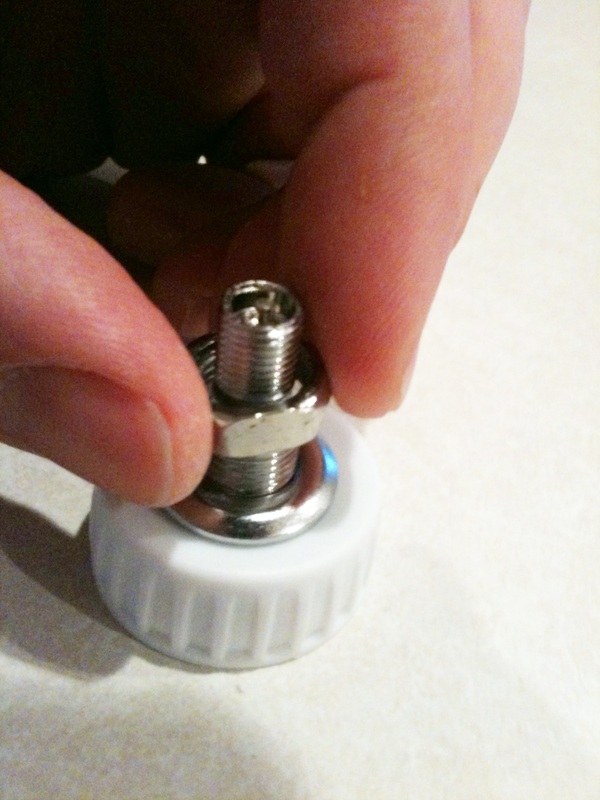
Now screw the nut on the stem.
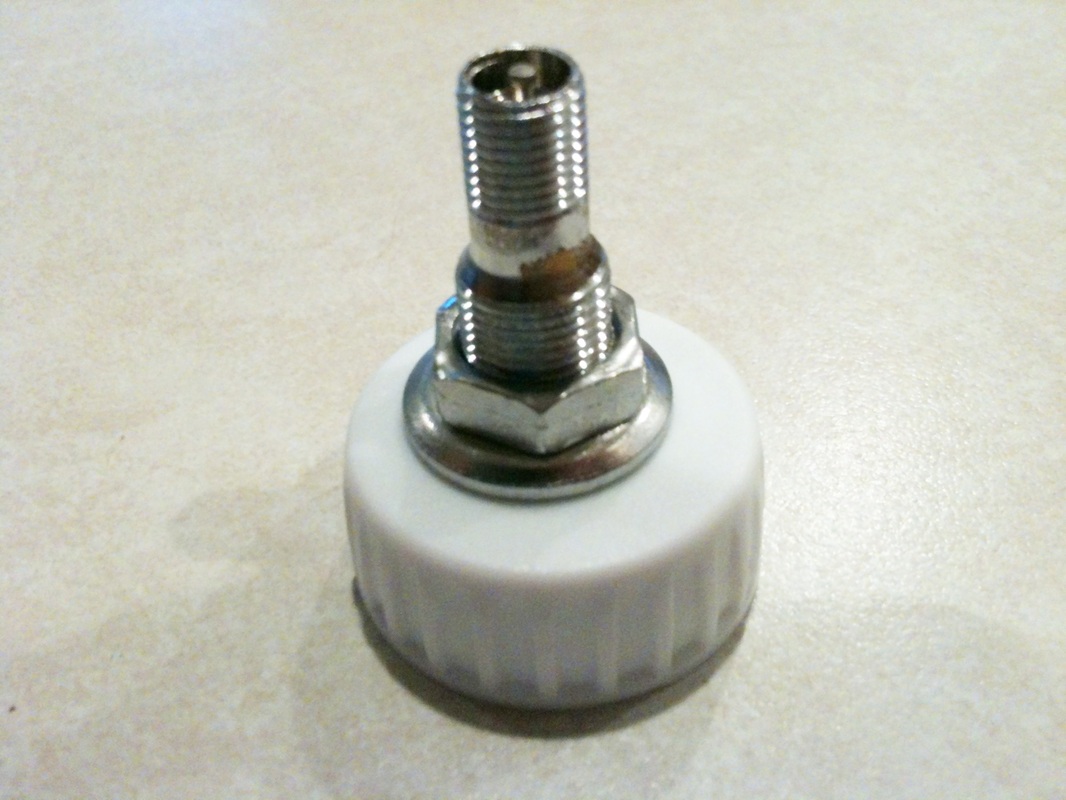
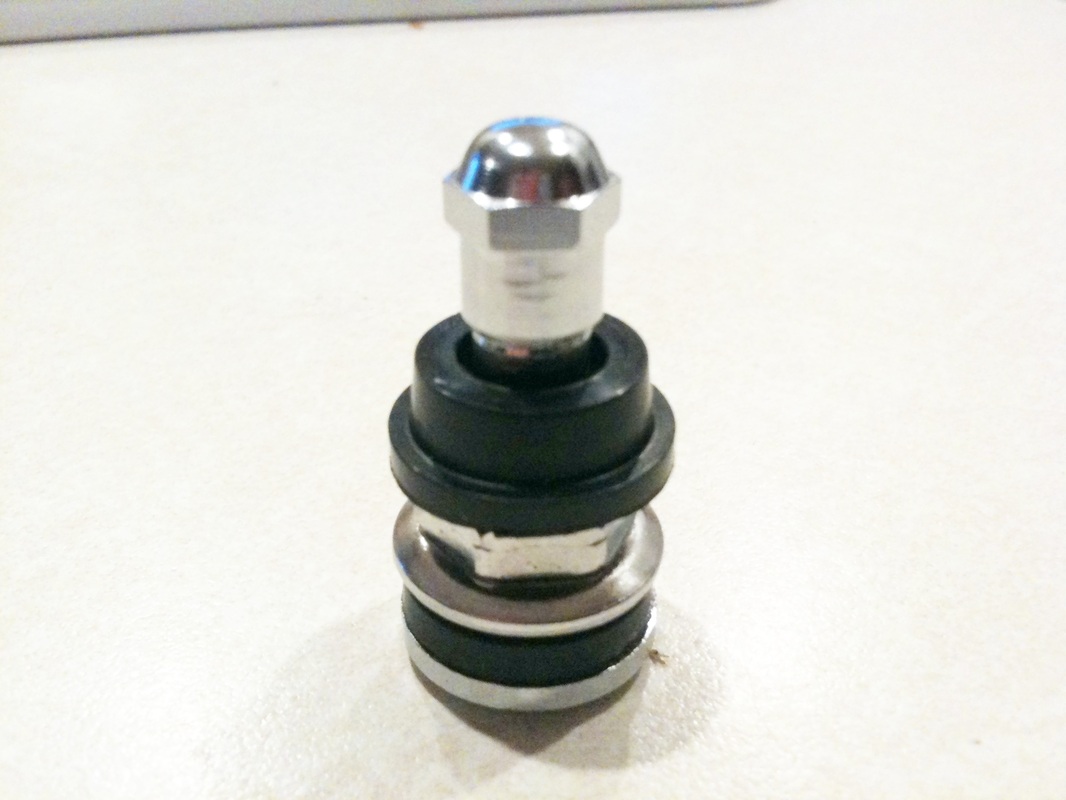
The finished product! Pretty simple.
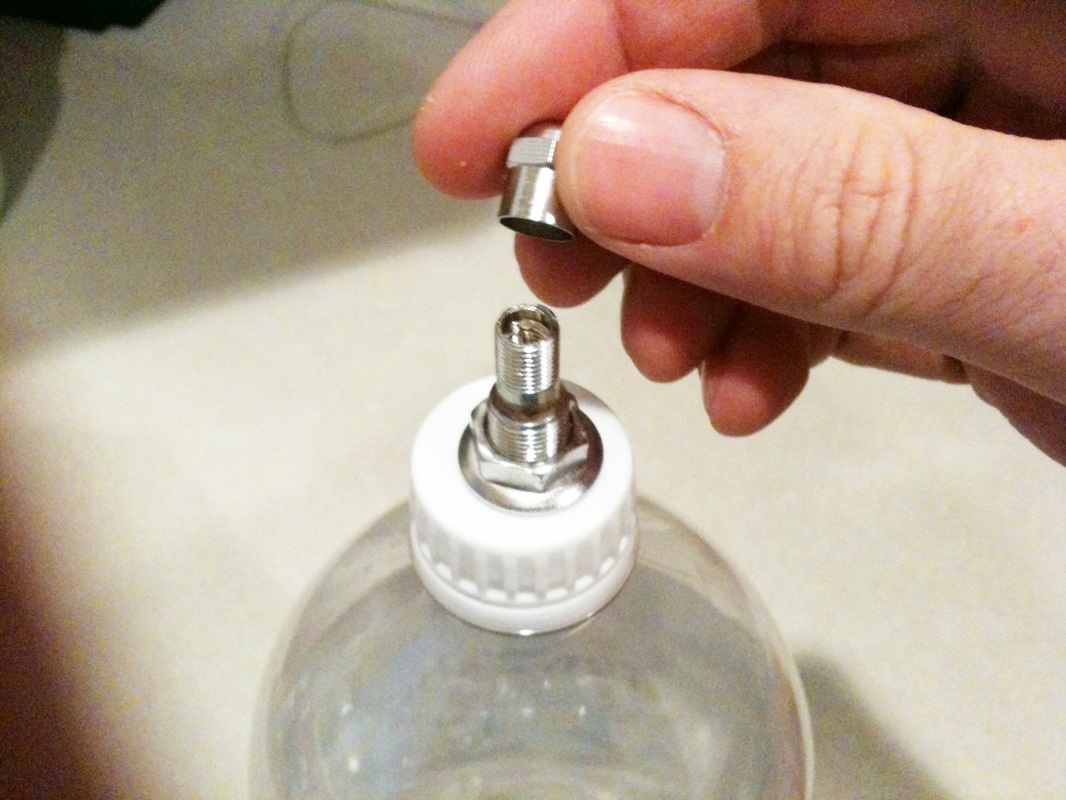
Now your carbonator cap is ready to go. Feel free to screw the valve stem cap on or search the web for a custom stem cap like this.
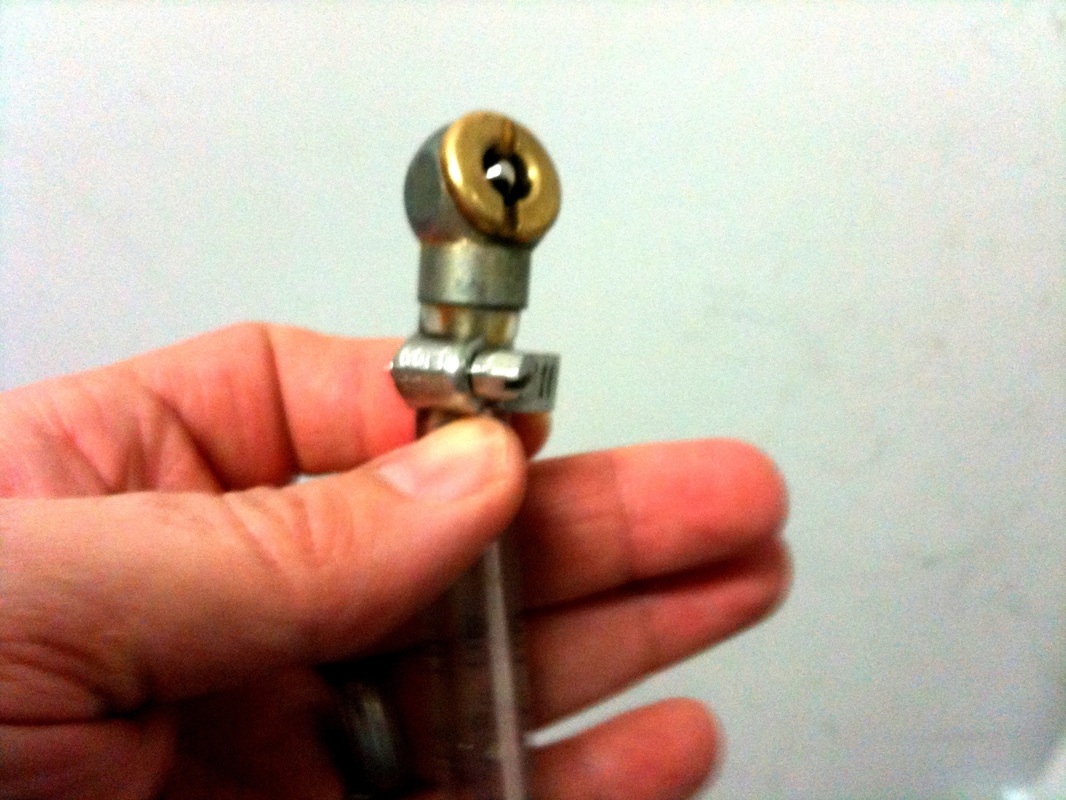
You will need to integrate the 1/4 inch barbed female air chuck into your CO2 system. Everybody's system is unique but I used a T barb to split my gas line and added an on/off valve to stop gas from going to my kegs.

|

|
Carbonation procedure.

Occasionally, I use this method for quickly carbing beer for pool parties and trips to the park, but I really use it to test every beer I brew, right after I rack it.
Once my beer is in a keg, I tap 16oz into a water bottle then put it in the freezer for 30 minutes.
When 30 minutes is up, I shut off the gas to my kegs and bump the pressure to to 30psi. Then, I attach the air chuck to it and shake it like hell until I can't hear the hiss from the regulator. You'll look like a fool, but only for about 3-5 minutes. Next, I throw it in the fridge to settle for 10 minutes. After 10 minutes, my 16oz of perfectly carbed award winning Imperial Double Barleywine is ready to drink!
Update!!!
There's been a lot of discussion around whether using valve stems in this tutorial are a lead concern. The valve stems I bought were from Advance and sure enough there was the stock California lead warning. So I bought a lead kit and I have to say, after using my carbonator caps for a few years, I was worried. The test swab turns pink in the presence of 5 ppm of lead and red when there is significant lead. So the results are... negative. I saturated the crap out of every part of the valve stem and there was no sign of lead, so I'm gonna make more carbonator caps and sleep well tonight!
If you liked this guide, please have a look around at the rest of our site. We have written many articles on various homebrewing topics as well as showcased lots of DIY projects from around the web. Everything on the site can be found using the navigation menu at the top-left corner of the page.
Here are a few links to get you started:
Process
Equipment > DIY Projects
Cheers!
Here are a few links to get you started:
Process
Equipment > DIY Projects
Cheers!
