Making Yeast Starters
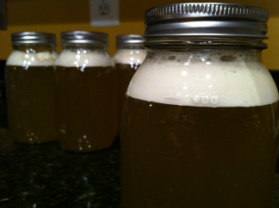
The right amount of yeast should always be pitched for beer to ferment properly. The best way we have found to do this is by making a yeast "starter" which allows the yeast to multiply before pitching.
We like to make one 24 hours before brewing so the yeast are pitched when they are most active. You can do this on the stove top by combining 80 grams of light dry malt extract with water, then cool to 70F degrees (21C) before adding the yeast. Another great option is to make many starters in advance to keep it nice and simple. Here's how:
Making Starters in Advance
Since water can't be heated past boiling, a pressure cooker must be used to raise the temp of the starter wort to a level that is safe for storage. If not, you could end up with a nasty disease called botulism!
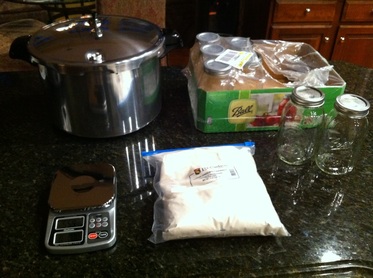
Begin with the following items:
- Pressure cooker (ours holds seven jars)
- One quart (950 mL) mason jars (small or wide mouth)
- A few lbs of dry malt extract
- Scale
Step 1
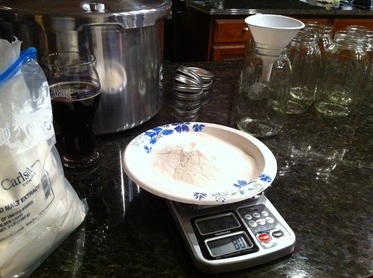
Measure out 80 grams of DME per jar. Go ahead and close the blinds for this one, we don't need any nosey neighbors thinking we're up to no good!
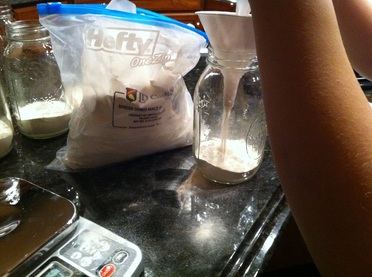
Tip: A small funnel works great to keep the mess under control. Kids love this part (which I mention so you don't think those are my arms).
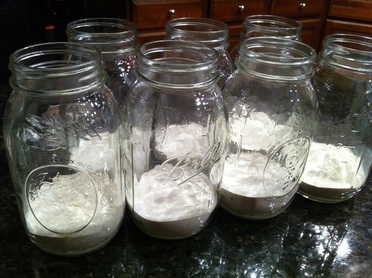
The jars should be clean inside but do not need to be sanitized.
Step 2
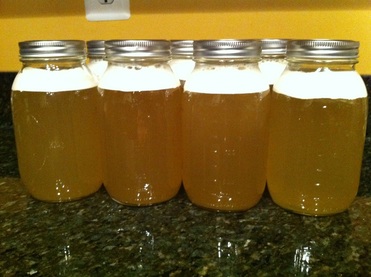
Fill each jar with water so the liquid, not DME, comes close to the 800mL line. Assemble and screw on the lids. They don't need to be extremely tight, just snug.
Step 3
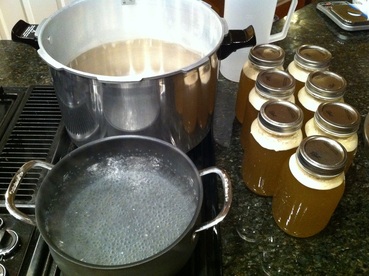
Heat three quarts of water to boiling and pour into the pressure cooker. I'm not sure why I used another pot here :)
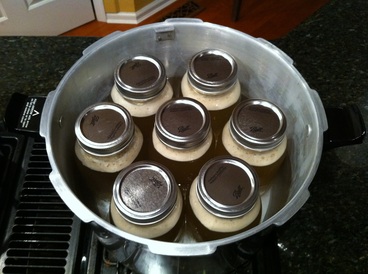
This may be a good time to read through the instruction booklet that came with the pressure cooker if you haven't already.
Step 4
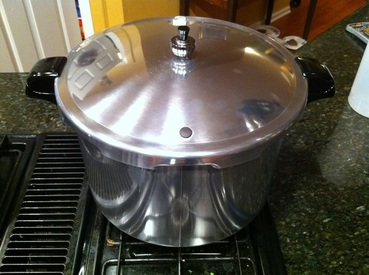
Once the lid and weight (use 25lbs or 11.3kg) are securely in place, turn the burner on high until the weight starts rocking (this can take 20-30 mins).
Next, lower the flame so the weight rocks steady and set a timer for 15 minutes. This is all the time it takes to be sure the canning process is successful.
Allow the pot to cool before opening.
Next, lower the flame so the weight rocks steady and set a timer for 15 minutes. This is all the time it takes to be sure the canning process is successful.
Allow the pot to cool before opening.
Making a Yeast Starter One starter reporting for duty Sir!
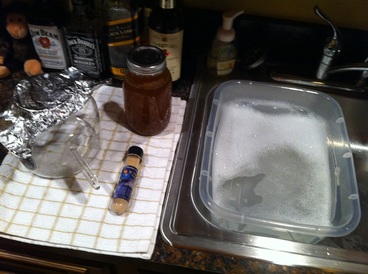
This part is easy since we made our starter wort in advance. Grab a bin and add some water and starsan or other sanitizer. Put everything in the water including the starter jar, yeast, container, tin foil, and stir bar if you are using one.
Add the starter wort and yeast together in your starter container. Any half (1.9L) or full gallon (3.9L) jug should work fine.
Tip: To loosen up yeast from the side wall of the vial, open and close the lid before lightly shaking. This will release pressure so it doesn't spray everywhere. You can also add a little wort to the vial if needed.
If you don't have a stir plate yet, don't worry, one of the great things about brewing is that you don't need every single gadget to brew great beer. Make the starter the same way and place it in an area that you pass by often and give it a little swirl. Ideal locations are dark with a temp range that suits the yeast you are using.
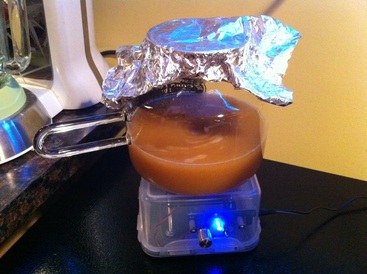
A stir plate will keep the yeast in suspension and allow them to eat longer and facilitate growth. We like to run it on high for 10 minutes to add some oxygen, then switch to low keeping the yeast suspended.
It's probably a good idea to bend up a corner of the tin foil so co2 can escape--just be sure no contaminates get in.
Pictured right is a half gallon glass container with one 800mL starter, perfect for a 5 gallon (19L) batch. Look for a container with a flat bottom to avoid throwing the stirbar (another reason to run it slower).
Tip: If the bottom of your container is curved and you have a kegging system, then you probably have a few dip tube o-rings lying around. Place an o-ring about a centimeter in from each end of a large stirbar. This should stabilize it enough to get a good stir going. Test with water first.
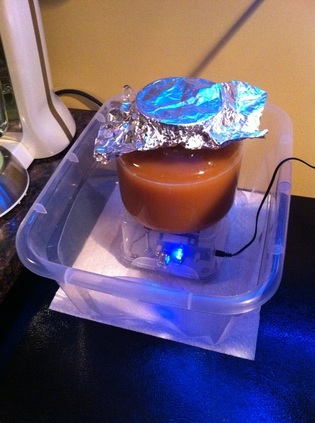
When brewing larger batches, we like to "step up" the yeast by adding another vial and starter after 12 hours.
More often than not, we pitch the whole starter including the wort and account for it in our beer volume. If you make one a few days in advance, you can always put it in the fridge overnight, then decant leaving only the yeast. Add some sterilized water on brew day and pitch the slurry.
Tip: When pitching, hold a magnet to the bottom of the container so the stirbar doesn't fall into the fermenter. We've all forgotten this a few times!
If you liked this guide, please have a look around at the rest of our site. We have written many articles on various homebrewing topics as well as showcased lots of DIY projects from around the web. Everything on the site can be found using the navigation menu at the top-left corner of the page.
Here are a few links to get you started:
Process
Equipment > DIY Projects
Cheers,
TK
Here are a few links to get you started:
Process
Equipment > DIY Projects
Cheers,
TK
