A BIAB Brew day (tknice)
This post outlines a typical brewday. My goal has always been to brew great beer while minimizing time and equipment and above all, find a process that works for me.
Cheers!
Cheers!
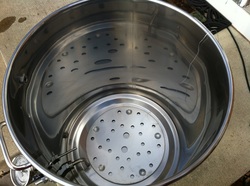
We begin with a 15 gallon (56.7L) empty kettle...
I use the canning rack from our pressure cooker and tie a line of dental floss so it can be pulled out before the boil. This will prevent any chance of scorching and make cleaning the pot easier.
I use the canning rack from our pressure cooker and tie a line of dental floss so it can be pulled out before the boil. This will prevent any chance of scorching and make cleaning the pot easier.
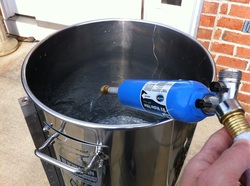
11.97 gallons (45.3L) of water is added. I use a Y splitter on the hose; one side goes to a carbon RV filter and the other connects to the wort chiller when it's time to cool. Valves on the splitter control the flow of water for each.
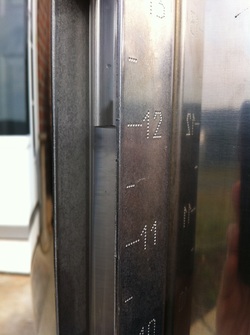
The sight glass on the kettle shows 12 (45.4L), which is close enough for government work.
Some people put marks on their mash paddle or have a dowel with markings that indicate water volume--or they do as I did for years by measuring from buckets.
Some people put marks on their mash paddle or have a dowel with markings that indicate water volume--or they do as I did for years by measuring from buckets.
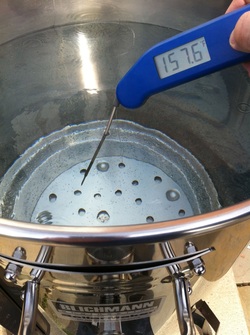
This beer will be mashed at 150F (65.5C) and BeerSmith is calling for around 157.5F (69.7C) for the dough-in temp (to adjust for the grain).
Pictured is a very accurate thermometer called a Thermapen. I can't recommend these enough. Although expensive, it will become a staple of your brewing equipment for many years.
Pictured is a very accurate thermometer called a Thermapen. I can't recommend these enough. Although expensive, it will become a staple of your brewing equipment for many years.
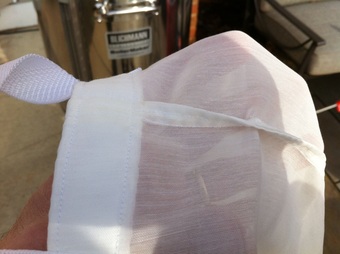
If the bag you are using has a seam, you may want to turn it inside-out before placing it in the pot. It will be easier to clean later.
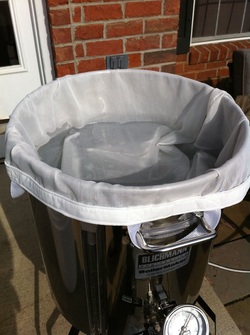
If your kettle and bag have handles, they make a nice place to hook the bag. For kettles or bags that do not, a bungie cord wrapped around the top of the pot is a great way to secure it.
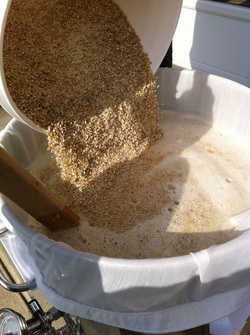
Time to mash in!
One thing I love about full volume BIAB is there are rarely any dough balls with this much water.
One thing I love about full volume BIAB is there are rarely any dough balls with this much water.
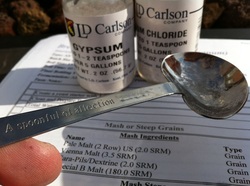
Hmmm.. Do either Gypsum or Sodium Chloride count as a spoonful of affection? I don't know.
The directions say to use 1-2 teaspoons in 5 gallons (19L) but I'm getting used to what these do so let's use 1 teaspoon in 10 gallons (37.9L) for now. The filtered water I use should give a pretty good baseline PH to begin with.
The directions say to use 1-2 teaspoons in 5 gallons (19L) but I'm getting used to what these do so let's use 1 teaspoon in 10 gallons (37.9L) for now. The filtered water I use should give a pretty good baseline PH to begin with.
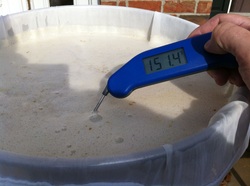
Looks like our temps are checking in nicely. I'll stir a little longer and let it drop another degree before closing the lid.
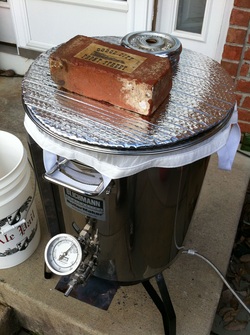
I find that creases in the bag can effect how tightly the lid seals and placing a heavy object on top reduces temperature loss.
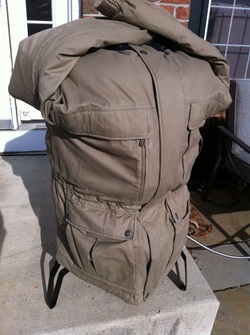
Another option is to insulate the kettle with a sleeping bag or large jacket. There are plenty of other things that can be used as well.
Wait, who are you and what have you done with my brewpot??
Wait, who are you and what have you done with my brewpot??

Brewcat.
That is all.
That is all.
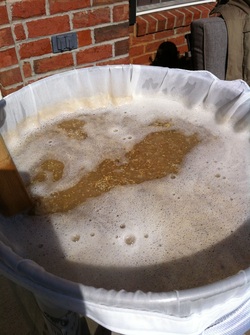
The mash temp held pretty well. I fired the burner at around the 45 minute mark to raise it up a degree.
Mashed out by raising the temp to 168F (75.5C) and stirred constantly.
Rest for 15 minutes.
Mashed out by raising the temp to 168F (75.5C) and stirred constantly.
Rest for 15 minutes.
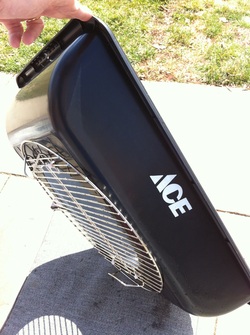
I use this contraption for draining the bag. It's a rigid utility tub from the hardware store with a barbeque grate that is wire-tied to the bottom. I used a dremmel to cut out the drainage hole. There are also handles on the grate that were bent inward enough so they fit perfectly inside the kettle (acting as a guide).
It drops right in!
It drops right in!
|
UPDATE: Added a winch to the setup which makes pulling the bag on those large grain bills MUCH easier!
Here's a video of it in action. |
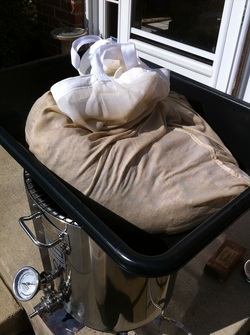
Draining the bag.
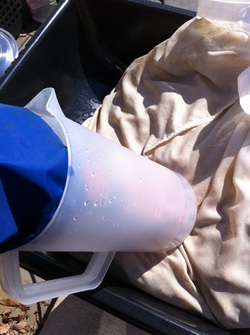
Some people use their kettle lid or another means of squeezing the bag. I've found that a standard plastic pitcher works well.
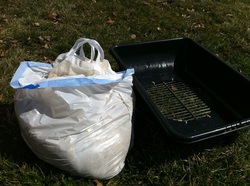
Dispose of the grain (or recycle it). The tray makes a nice carrier and also takes some stress off the bag.
I up-end the BIAB bag into a trash bag and hose off the drain tub with water.
I up-end the BIAB bag into a trash bag and hose off the drain tub with water.
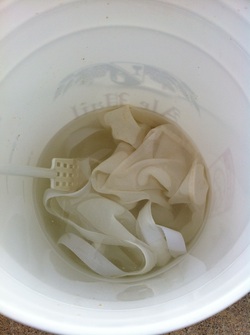
Soak the bag in a bucket of water for the rest of the brew session. I find this removes most of the grain and stickiness.
This is the second bucket of water and you can see it's almost clean.
Shake it out the next day when dry.
This is the second bucket of water and you can see it's almost clean.
Shake it out the next day when dry.
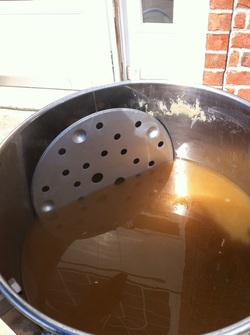
We're almost ready to start the boil.
Need to remove the rack from the bottom using the dental floss I tied earlier, then top off with water to 13.5 gallons (51.1L).
Need to remove the rack from the bottom using the dental floss I tied earlier, then top off with water to 13.5 gallons (51.1L).
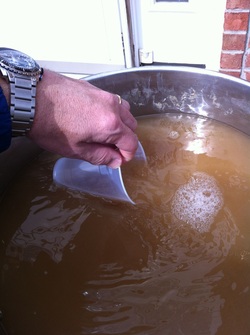
Next, I stir the wort well and take a hydrometer reading to check the pre-boil gravity.
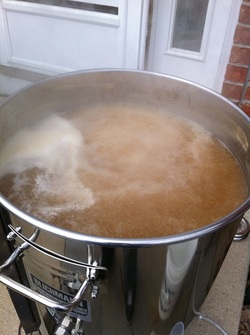
Bring the wort to a boil.
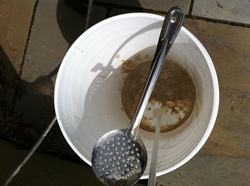
Skim the scum? I didn't skim the hotbreak (pre-break is probably more accurate) for a very long time and still don't honestly know if it makes any difference.
I've read it can help with clarity in lighter beers like pilsners etc. but some say removing it hurts by adversely affecting head retention.
Who knows?!
I've read it can help with clarity in lighter beers like pilsners etc. but some say removing it hurts by adversely affecting head retention.
Who knows?!
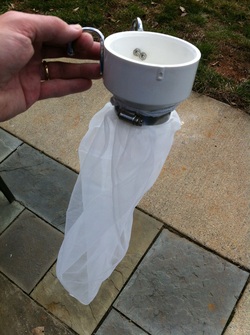
I don't usually use a bag for hops, but when I do, I use this homemade hop bag hanger with a 5 gallon (19L) paint strainer bag attached.
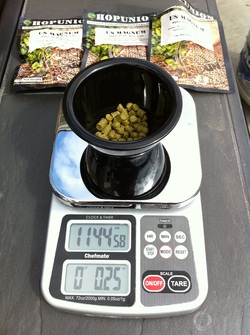
Our house pale ale is modestly hopped with magnum and a schedule of:
.25oz @ 60, 50, 40, and 30 minutes
.50oz at 20 and 10
1oz at knockout
.25oz @ 60, 50, 40, and 30 minutes
.50oz at 20 and 10
1oz at knockout
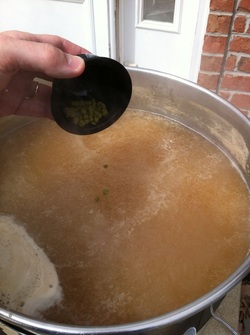
Bombs away!!
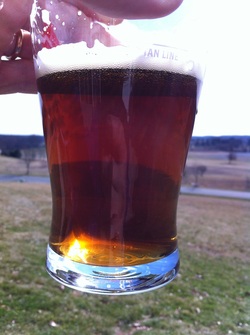
I think there's a rule that you have to drink a few homebrews during every brewing session... or at least it's a rule of ours!
How about some house amber?
MMMMmm good.
How about some house amber?
MMMMmm good.
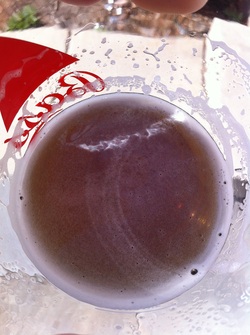
Down the hatch!
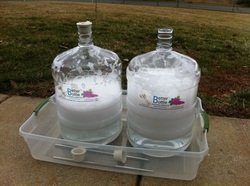
Once I begin hop additions, I normally start thinking about what should be sanitized. I fill each carboy with some water and starsan, shake it up, and dump it in a tray containing tubing, funnels, air-locks, stoppers, thermowells, plastic paddle etc.
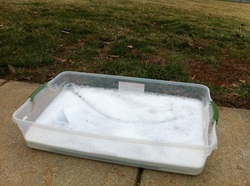
This is a simple storage bin that you can find at any all-purpose store. I find they are great as an overall container to store stuff required for brew day. They're also nice for sanitizing a racking cane or other large object instead of using a bucket.
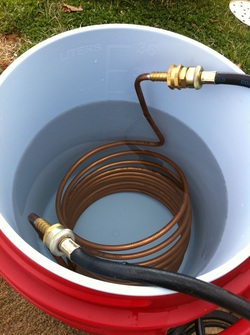
Get the immersion chiller ready. We don't need to sanitize this because it's dropped into boiling wort.
I like to soak it in water for a while before and after use. This pretty much eliminates the need for any real cleaning.
I like to soak it in water for a while before and after use. This pretty much eliminates the need for any real cleaning.
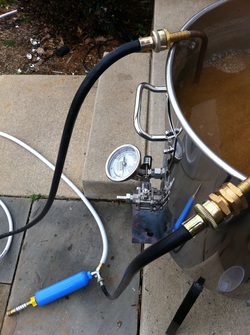
The input for the chiller is connected to the other side of the Y splitter.
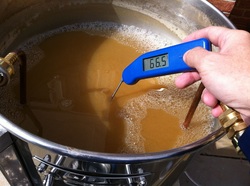
Cool the wort to below 70F (21C) so the yeast don't freak out.
66.5F is even better!
66.5F is even better!
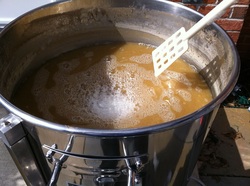
Next, I use a sanitized paddle (not the mash paddle!) to whirlpool the hops into a nice cone.
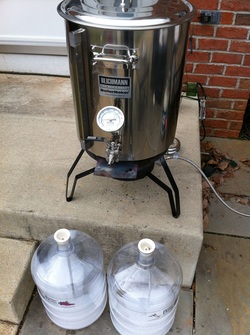
Get the carboys ready and dump out the last bit of starsan solution.
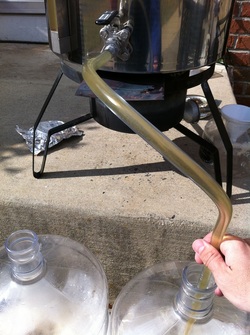
When brewing 5 gallon (19L) batches, I would pick up the kettle and pour it into the carboy using a large funnel. Unless you regularly enter strong man contests, you are probably not lifting a 10 gallon (38L) batch.
I slowly open the valve and split the batch evenly between both carboys. I switch back and forth filling each about an inch at a time.
If you don't have a valve on your kettle, you can always use an auto siphon.
I slowly open the valve and split the batch evenly between both carboys. I switch back and forth filling each about an inch at a time.
If you don't have a valve on your kettle, you can always use an auto siphon.
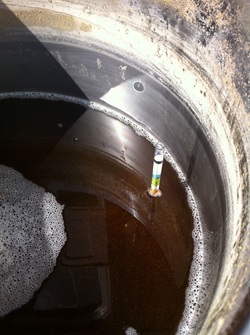
Oops, forgot to check the post-boil gravity. Toss the sanitized hydrometer in there and take a reading.
1.050 is a little higher than the 1.048 I was looking for.
Nice!
1.050 is a little higher than the 1.048 I was looking for.
Nice!
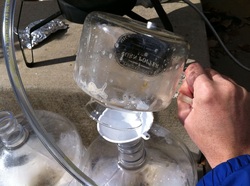
Next, pitch the liquid "starter" using a small, sanitized funnel. I put a magnet on the bottom to keep the stirbar from taking a dive. This part is not very scientific. I pour a "two count" switching between the two carboys until it's gone.
When using dry yeast, always hydrate it in a cup of 70 degree water around 15 minutes before it's time to pitch. One packet of (style appropriate) yeast per 5 gallons for most standard 4-7% abv beers is pretty typical. Swirl it around to make them happy!
When using dry yeast, always hydrate it in a cup of 70 degree water around 15 minutes before it's time to pitch. One packet of (style appropriate) yeast per 5 gallons for most standard 4-7% abv beers is pretty typical. Swirl it around to make them happy!
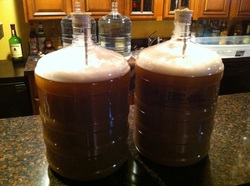
And there you have it, two fermenters filled with delicious soon-to-be beer!
The last step is to shake each one for about a minute or use an oxygen wand to be sure the yeast are ready to go.
The last step is to shake each one for about a minute or use an oxygen wand to be sure the yeast are ready to go.
If you liked this guide, please have a look around at the rest of our site. We have written many articles on various homebrewing topics as well as showcased lots of DIY projects from around the web. Everything on the site can be found using the navigation menu at the top-left corner of the page.
Here are a few links to get you started:
Process
Equipment > DIY Projects
Cheers,
TK
Here are a few links to get you started:
Process
Equipment > DIY Projects
Cheers,
TK
