Add Oak And Bourbon To Keg
So you made an amazing barleywine or vanilla porter and want to take it to the next level? Easy, go buy a large barrel and follow these instructions.
If that's too much trouble, perhaps the method of oaking I'm using here will work instead. The basic idea is to soak the chips in bourbon and suspend them in a way that can be removed later according to taste. We are infusing two 5 gallon batches, one that will age for 6 months and another for a full year. |
|
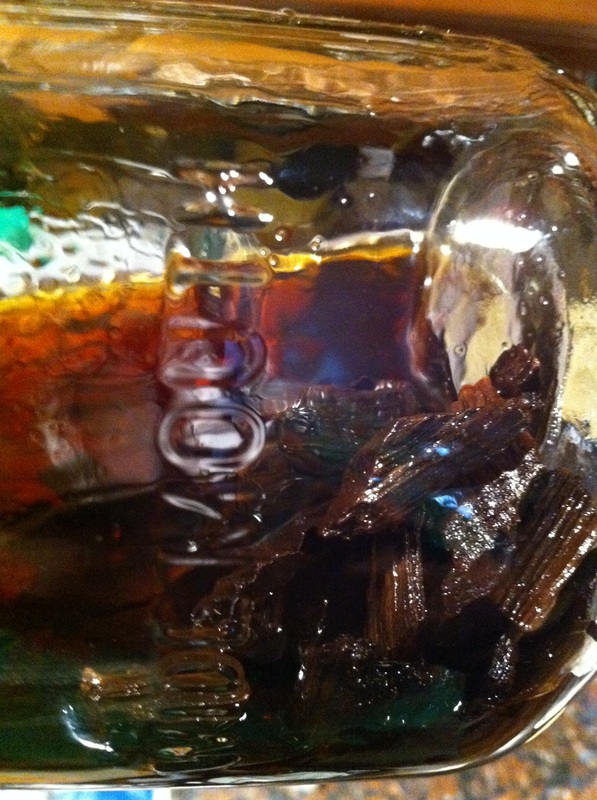
On brewday, we started with two clean and sanitized mason jars and combined 1 cup of Buffalo Trace Bourbon (our favorite for this) and 1oz of medium french oak chips in each jar. They sat mingling for 45 days until the beer was racked.
Prepare The Area
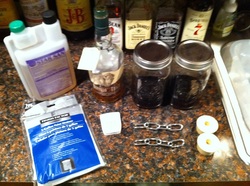
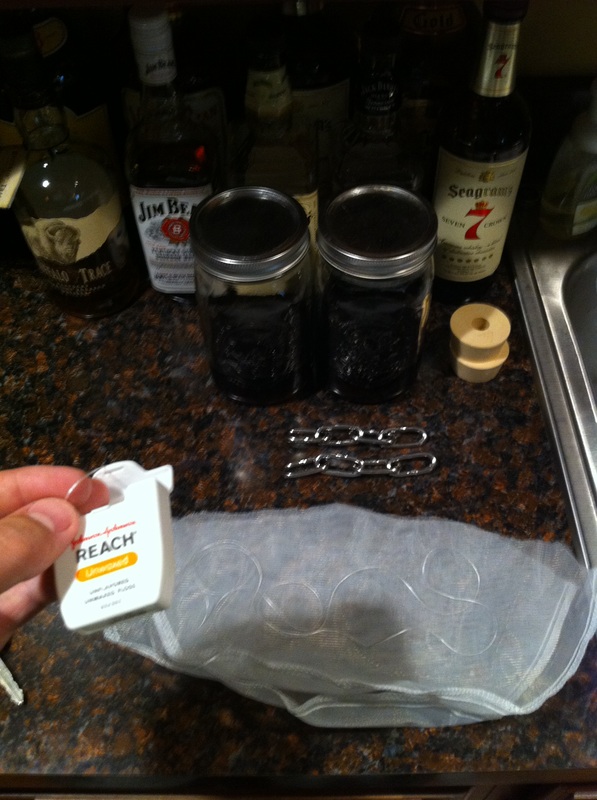
To begin, gather the following supplies:
- 1 or 5 gallon paint strainer bags
- Non-wax dental floss
- An item to sink the bag (we like stainless steel chains)
- An item to tie on floss end
- Jars of chips and bourbon
- Sanitizer
The Bag
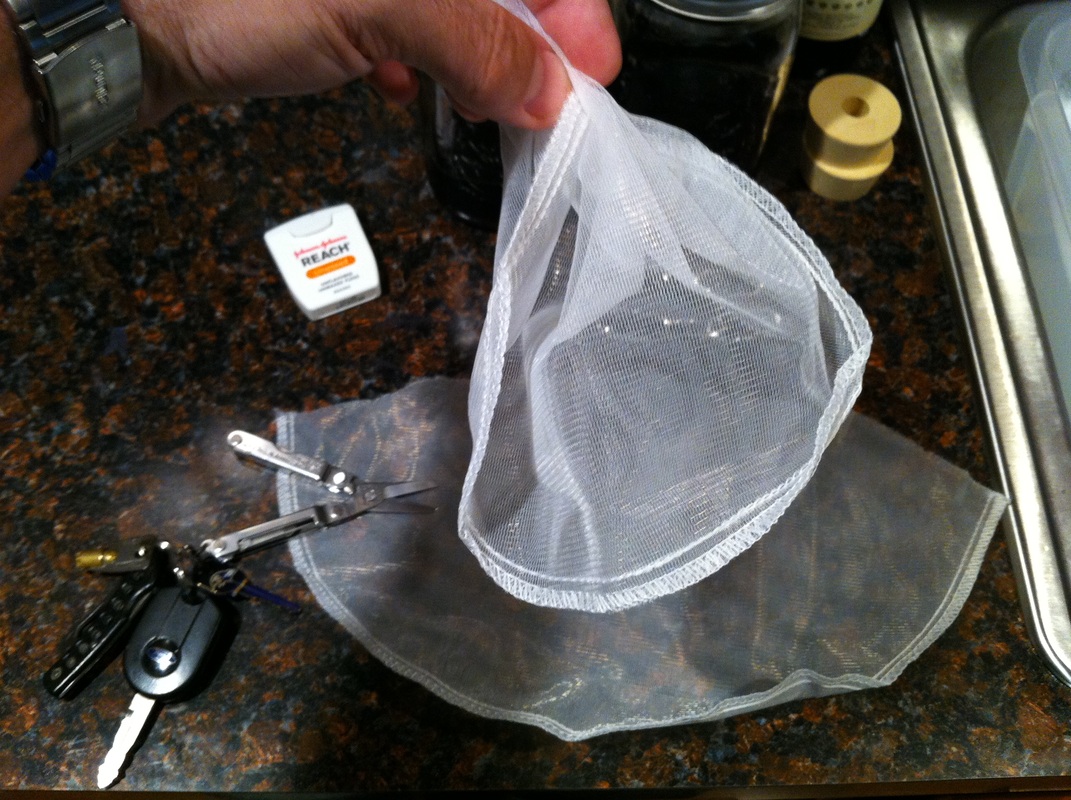
Disposable paint strainer bags and dental floss are well suited for this process (and dry hopping) because they are made of nylon and will not impart any flavors into the beer. They are also easily sanitized and pretty sterile.
We don't want to use the fullsize bag, just a portion of the bottom. Use a pair of sharp sissors and cut about 4-5 inches off.
We don't want to use the fullsize bag, just a portion of the bottom. Use a pair of sharp sissors and cut about 4-5 inches off.
The Floss
Pull out a few feet of floss for each bag.
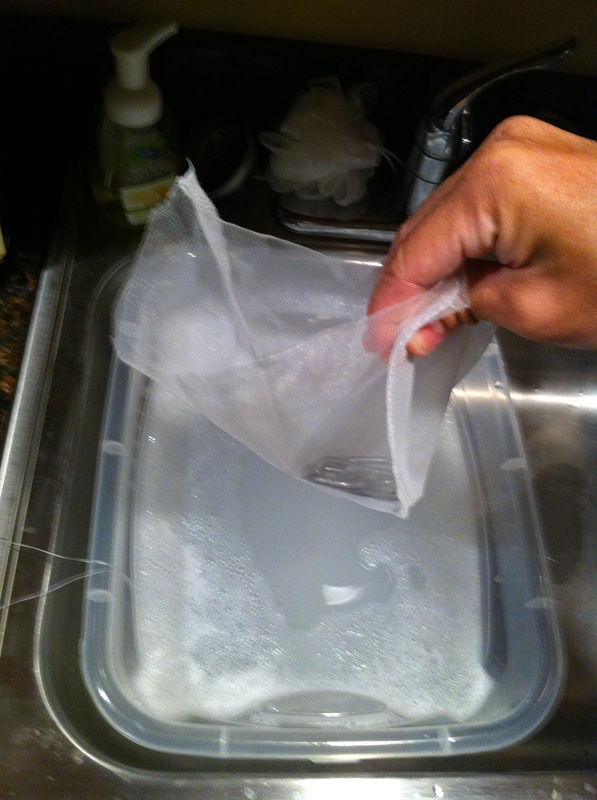
Sanitize Everything
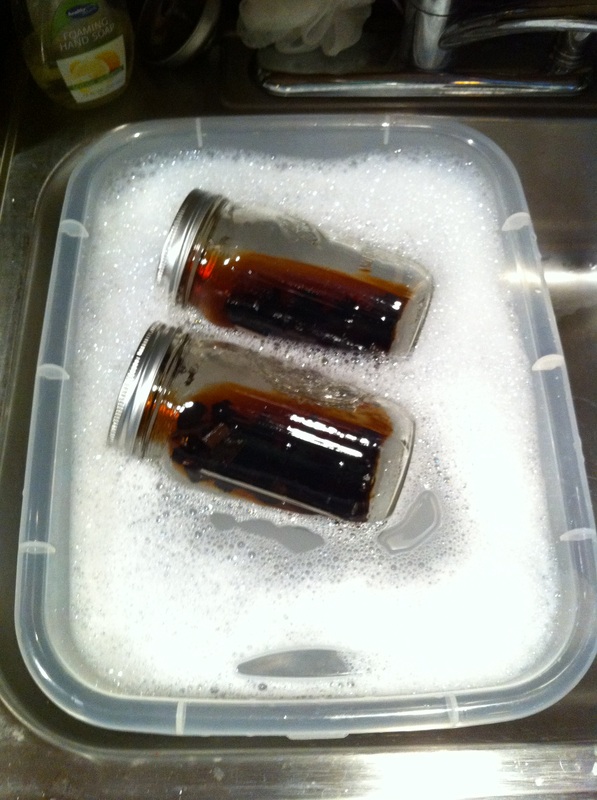
Sanitize the jars, floss, chains and bags in your favorite sanitizer.
|
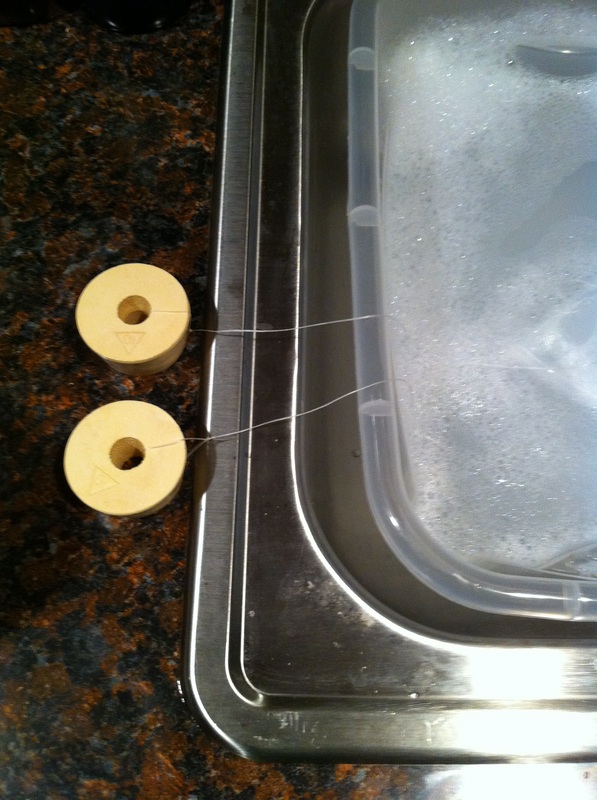
We use stoppers at the end of our floss which make it easy to grab and also ensure the floss isn't lost in the beer.
|
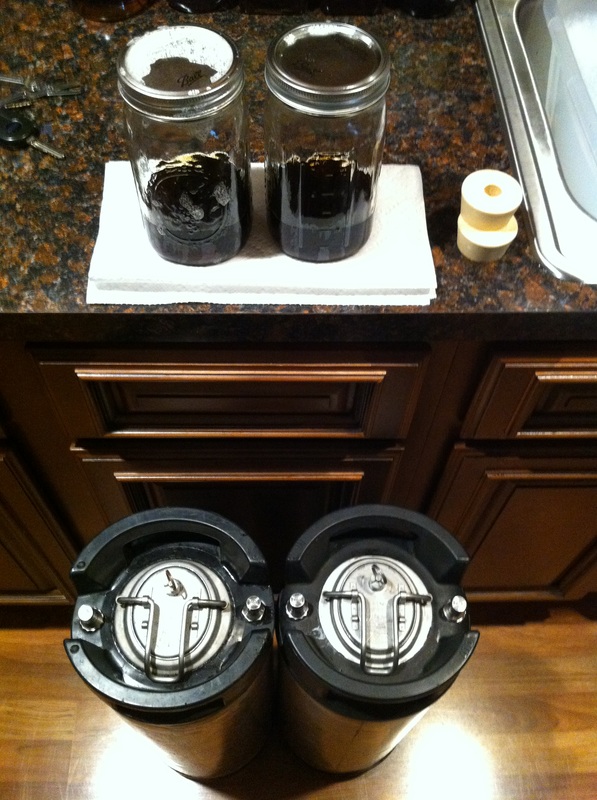
Position the kegs and loosen the lids so we're ready once the oak bags are made.
|
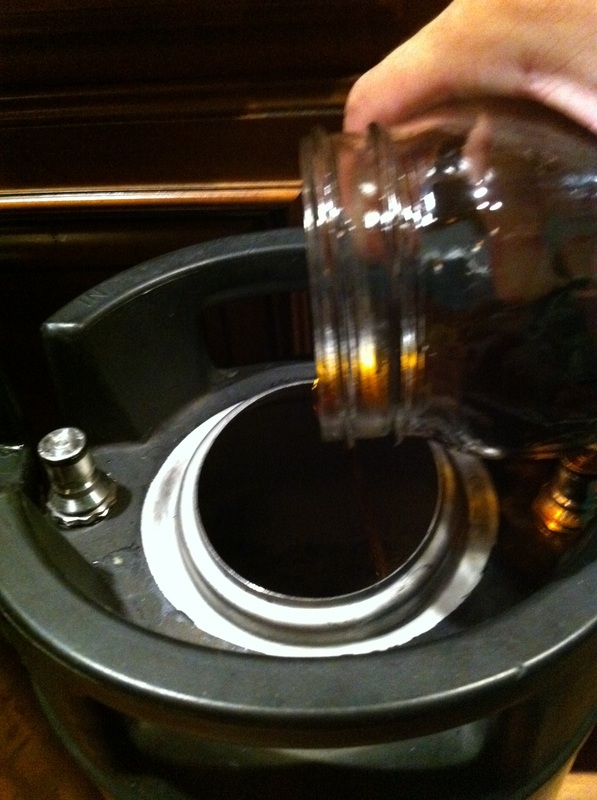
Add The Bourbon
|
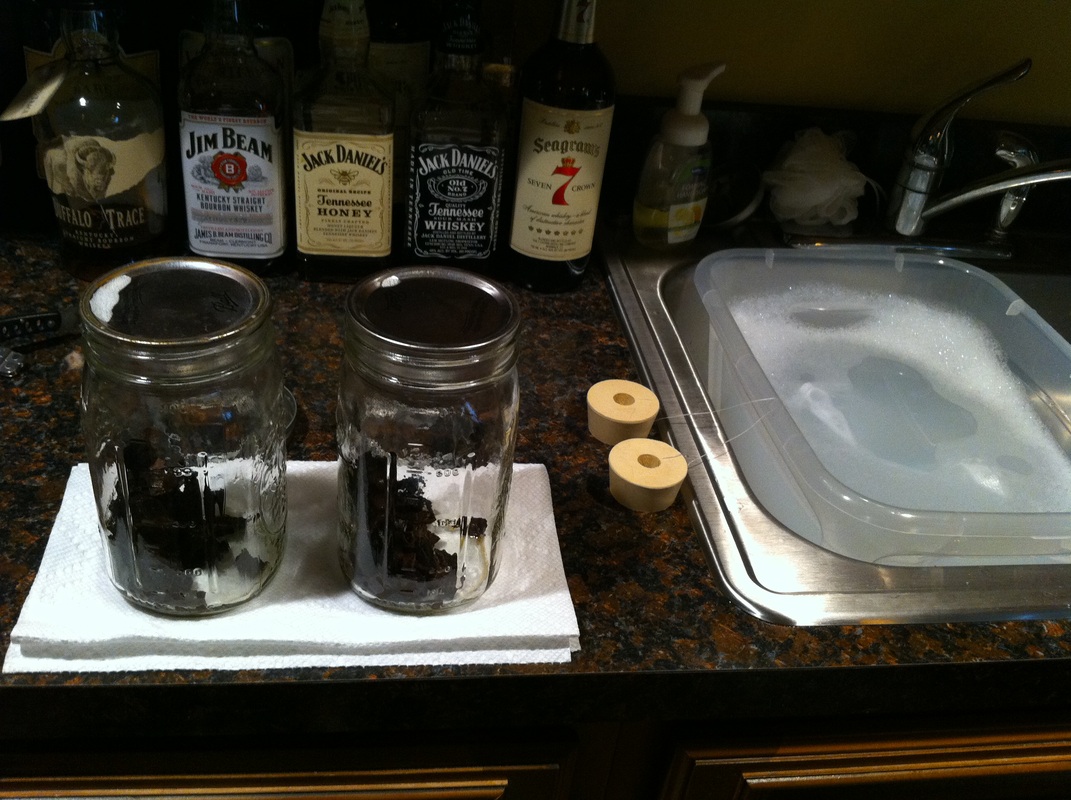
Next, carefully pour in the bourbon and be sure none of the chips take a dive! I try to keep the keg lids somewhere relatively sanitary while off. Here are the jars without bourbon.
|
Tie The Bag
Gather the side of the bag so it makes a little pocket and add the weight (steel chain).
|

Pour in the chips!
|
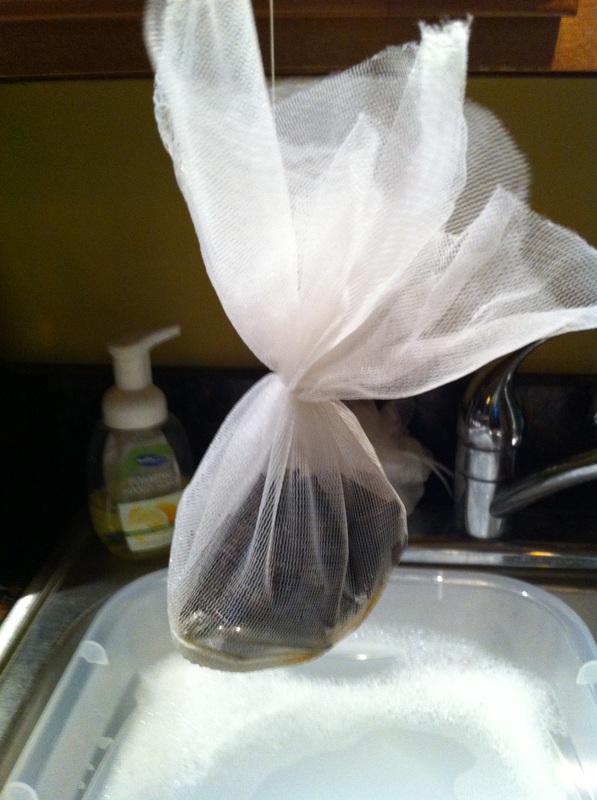
Tie the floss toward the middle of the bag and make a double knot. We don't want it coming loose while in keg.
|
Add The Oak
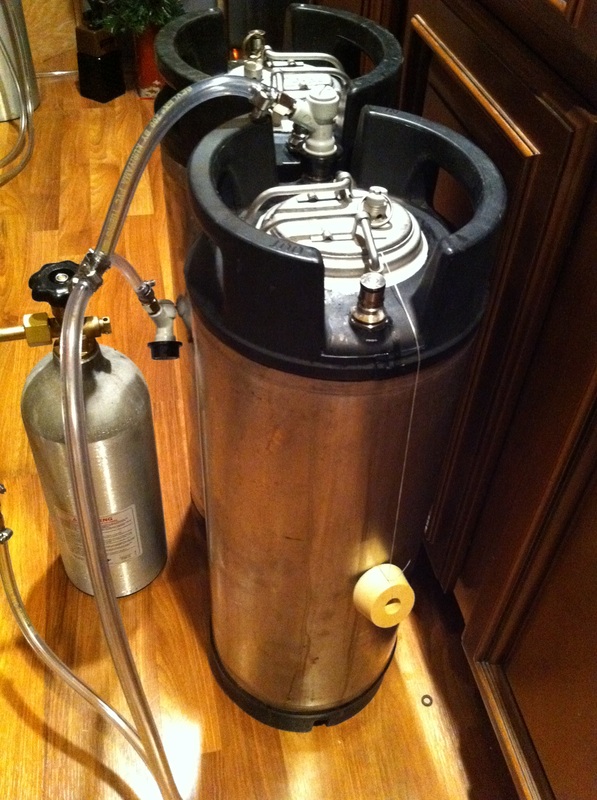
Finally, replace the lid and add some pressure. I would suggest using a keg where the lid o-ring has been recently lubed. The dental floss should not affect the seal, but if you have trouble, put some lube on the area of floss that exits the keg.
Our kegs are aged warm so they don't hold up a spot in the bright tank (another keezer). Now I just need to be patient for six months to a year! haha
Our kegs are aged warm so they don't hold up a spot in the bright tank (another keezer). Now I just need to be patient for six months to a year! haha
