Carboy/Keg Pressure Washer - by Casey Weed
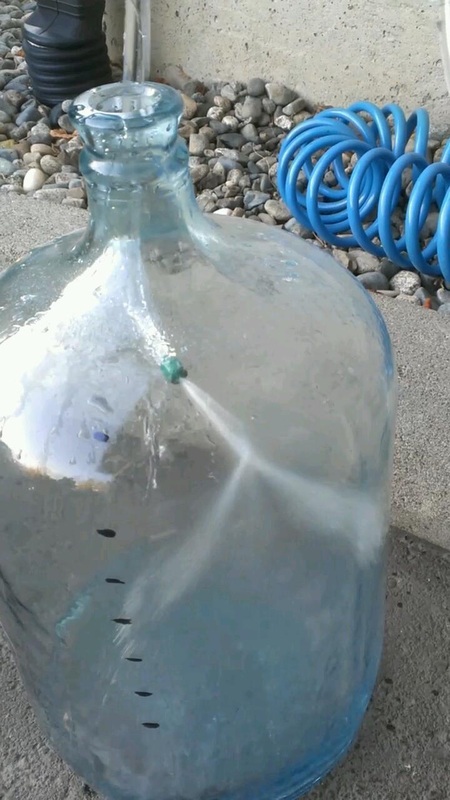
I recently put together a handheld carboy/keg pressure washer and hadn’t see anything like it so I thought I would share. I always have trouble getting the dried up krausen on the top of the carboy off with my brush and always felt like it would come right off if I could get a little pressure on it. This is what I came up with.
Parts List
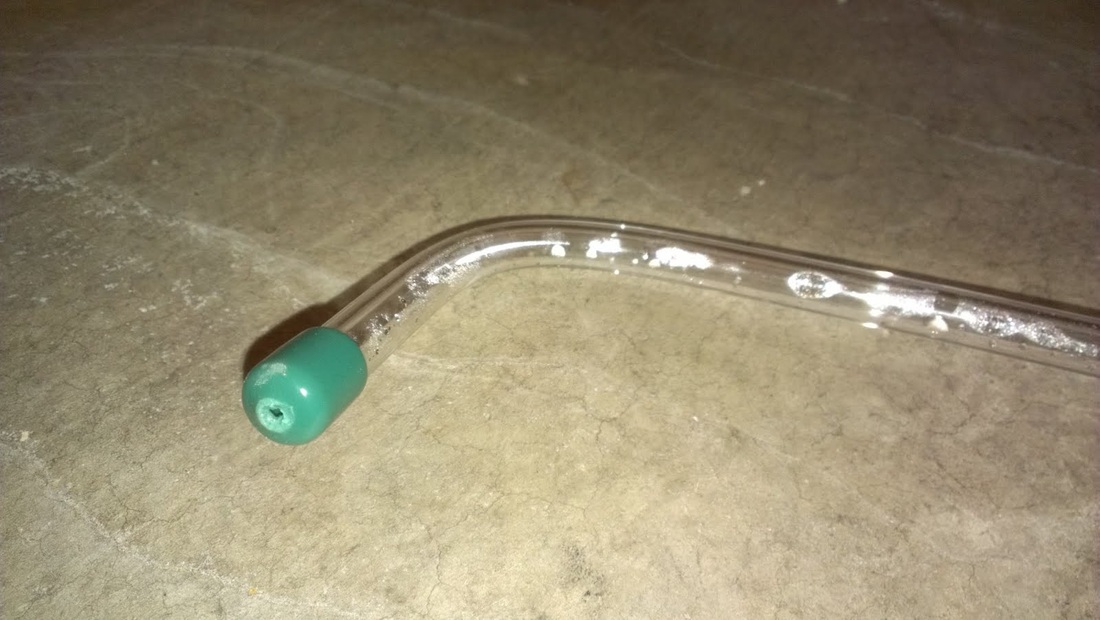
- Racking cane
- 6’ 3/8” vinyl tubing
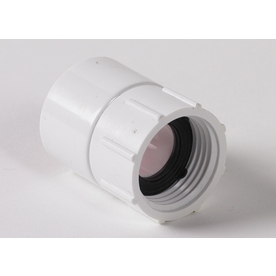
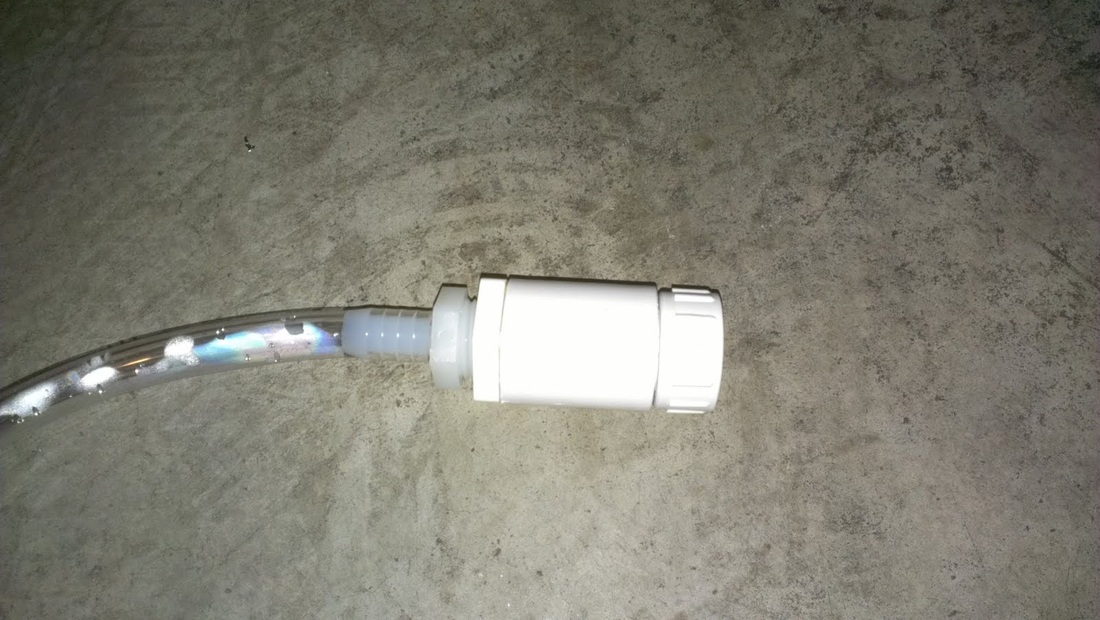
- 3/4” Slip to 3/4 FHT (PVC) adapter
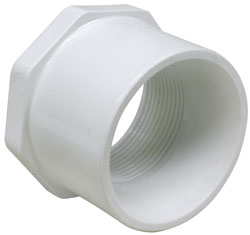
- 1/2" FPT X 3/4" Slip (PVC)
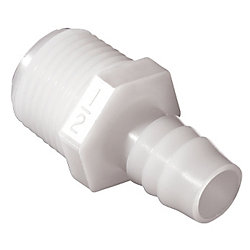
- 1/2” MPT x 3/8 barbed (vinyl)
- Two small stainless hope clamps (I think 5/16”, I already had these)
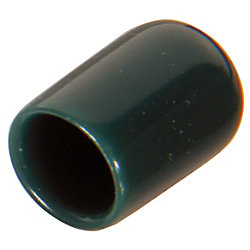
- Screw thread protector (sorry, I don’t recall the exact size. Get the tightest you can) Drill a hole in the tip, I used a 1/8” bit.
|
|
|
|
Assembly
The assembly is pretty straight forward. I did use PVC glue on the slip fittings to keep everything together.
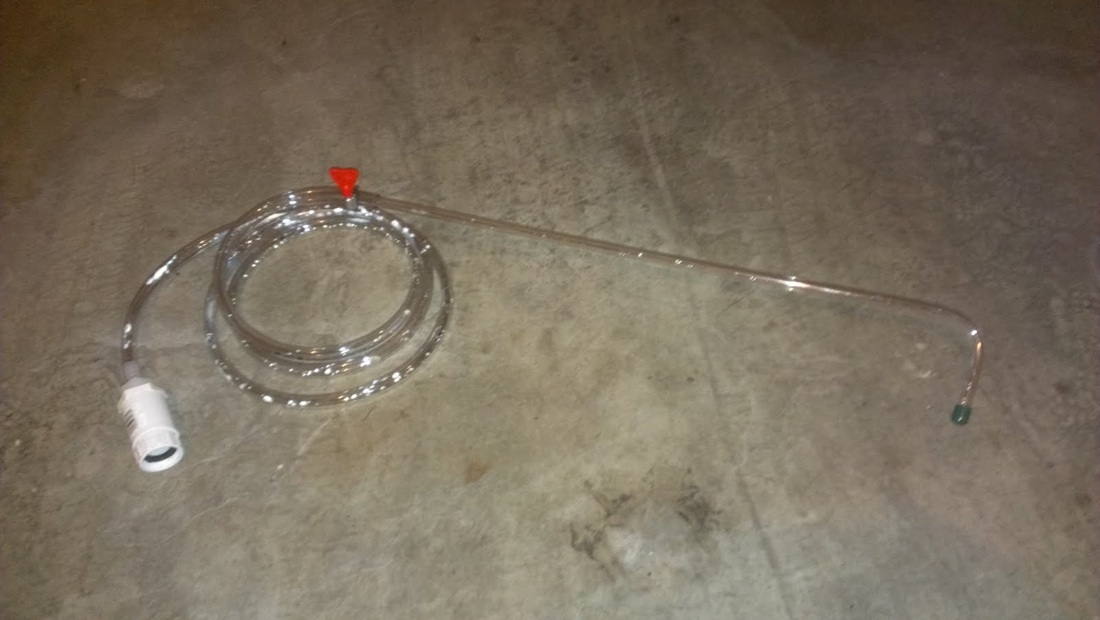
Here is the finished item.
Here is the finished item.
Total Cost
Around $15 give or take, depending on costs in your location.
I think at some point I will work in an inline valve so I can shut it off easily. You could probably make this even cheaper than the listed cost. I mean, who doesn't have a racking cane and some extra tubing laying around! |
|
