Mash Rake - by TJPfeister
Here's a relatively quick-n-dirty demonstration on how to construct a mash rake like the one I use.

You will need:
Items that aren't required, but make life a little easier:
- Two 3/4" x 36" pieces of poplar square stock (retails for ~$2.50 at local hardware stores)
- One 3/8" x 36" poplar dowel (retails for ~$1.00 at local hardware stores)
- A drill and bits
- Some sort of clamping device
- A saw
- A hammer
- Some finishing nails
- Diagonal cutters or something similar
- A small punch
- A means of measuring
Items that aren't required, but make life a little easier:
- A drill press
- A finishing nail gun
- A mitre box
- An assistant
Step 1 - Measure out 21" on one of your pieces of square stock and cut it, discard the remainder.
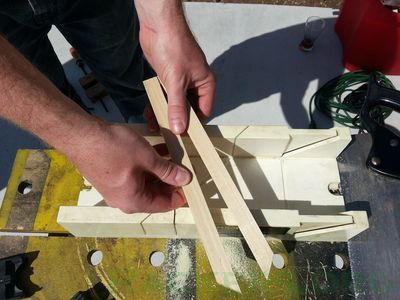
Step 2 - Measure out 10.5" on your previously cut piece and mark it with a pencil. Here's where a mitre box comes in handy because you want to make a 45 degree cut that bisects the line you drew. The result will be two identical pieces with the same angle.
Step 2 - Measure out 10.5" on your previously cut piece and mark it with a pencil. Here's where a mitre box comes in handy because you want to make a 45 degree cut that bisects the line you drew. The result will be two identical pieces with the same angle.
Step 3 - Line the two new pieces up on either side of your other 36" piece of square stock and mark them. Trust me, unless you are using a drill press, marking them will save you from confusion during assembly!
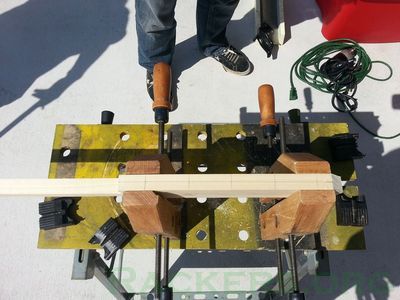
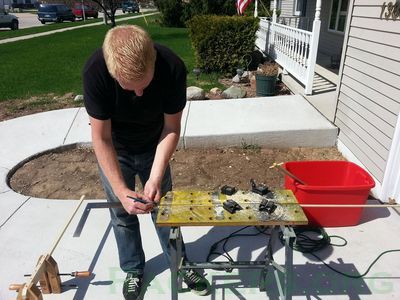
Step 4 - Mount the three pieces of square stock in your vice, c-clamps, etc. Tighter = Gooder
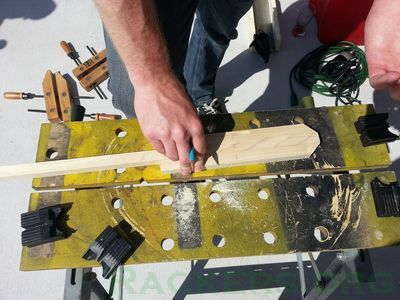
Step 5 - Measuring in 1" from the angled portion, make your first mark. Then make four more marks every 2" following that. Then draw your center line 3/8" in from the sides. This will be where you will drill.
|
|
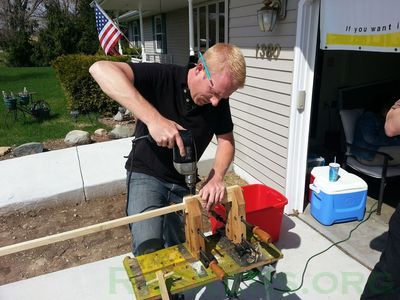
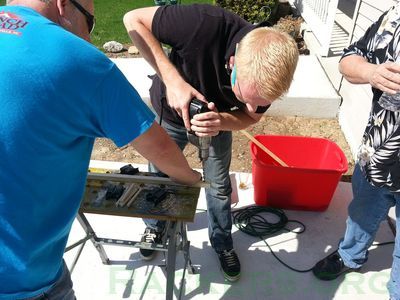
Step 6 - Using a small bit, drill pilot holes as squarely as possible. These holes will allow your 3/8" bit to simply cut without worrying too much about being square. Once the pilots are drilled, use a your 3/8" bit to expand the wholes to the correct size to accept the dowel. **NOTE** You may consider using your scrap piece of square stock here. If you clamp it down under your stack of three pieces (making for a total stack of four) it will give you a cleaner hole and avoid some of the damage caused by the exiting bit.
|
|
Step 7 - Measure and cut six 4" pieces from your 3/8" dowel; discard the remainder.
|
|
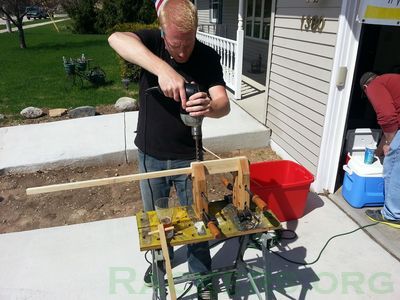
Step 8 - Go back and add the hole you forgot at the top of the rake. Measure in 1", center, and drill a 3/8" hole.
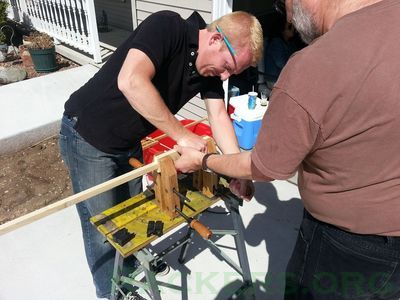
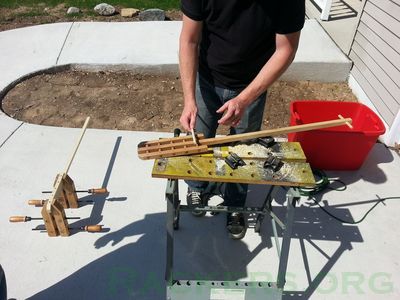
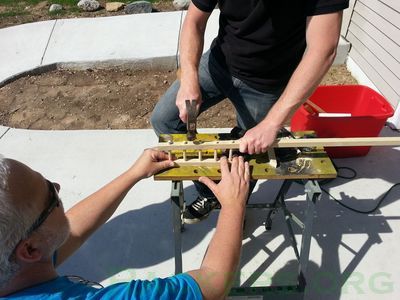
Step 9 - Start the dowel pieces into one of the shorter segments of square stock. Once started, tap them in place with a hammer until they bottom out. Now add the other two segments in a similar fashion. If you marked them earlier, this should be relatively easy, but an assistant still makes things go smoother. Check your spacing before the final step.
|

|
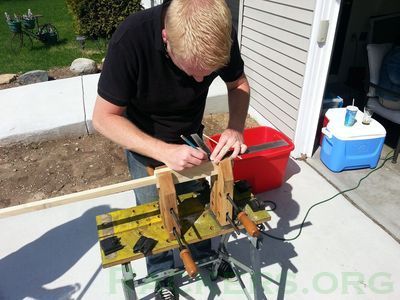
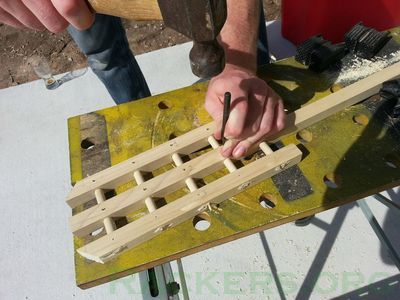
Step 10 - Carefully pin the square stock and the dowels together with your finishing nails. Tap them in just deep enough that you are sure that you penetrated about half way through. Don't forget to pin the dowel at the top of the handle! Once everything is pinned in place, use your cutters to snip off the portion of the nails still sticking out. Finally, carefully go back with your punch and sink the exposed bits of nail under the surface of the wood.

|
|
Pat yourself on the back- You just spent an hour or less and about six dollars making a killer mash rake! Use a bit of sand paper to clean up any splinters and get brewing!
