Rack Beer to a Keg
Racking is the term brewers use to describe transferring wort or beer from one vessel to another.
Since I store clean kegs filled with CO2 and there's always a little starsan sanitizer left at the bottom, the first step is to use a picnic or cobra tap to remove it.
Next, the racking cane (also called an auto siphon), tubing, liquid ball lock, and a paper tower should be sanitized.
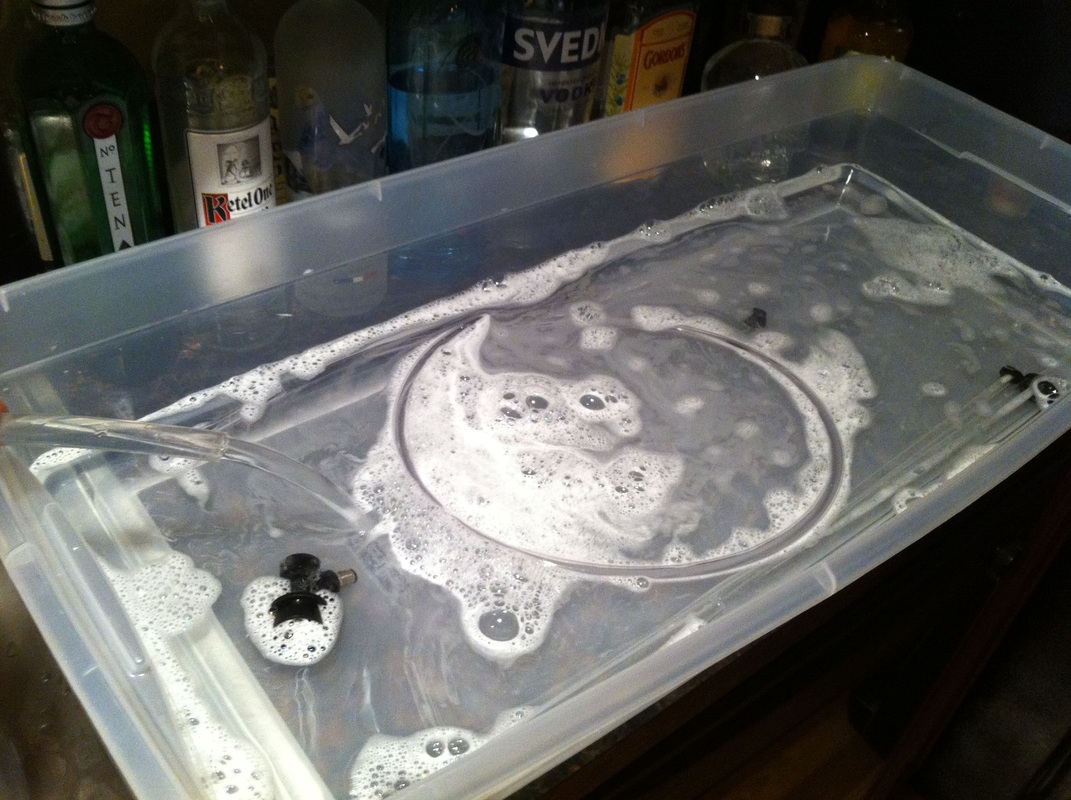
Pictured is a simple storage bin that you can find at any all-purpose store like Walmart or Target. I find they are great as an overall container to store stuff required for brew day and also work well for sanitizing large objects instead of using a bucket.
Pictured is a simple storage bin that you can find at any all-purpose store like Walmart or Target. I find they are great as an overall container to store stuff required for brew day and also work well for sanitizing large objects instead of using a bucket.
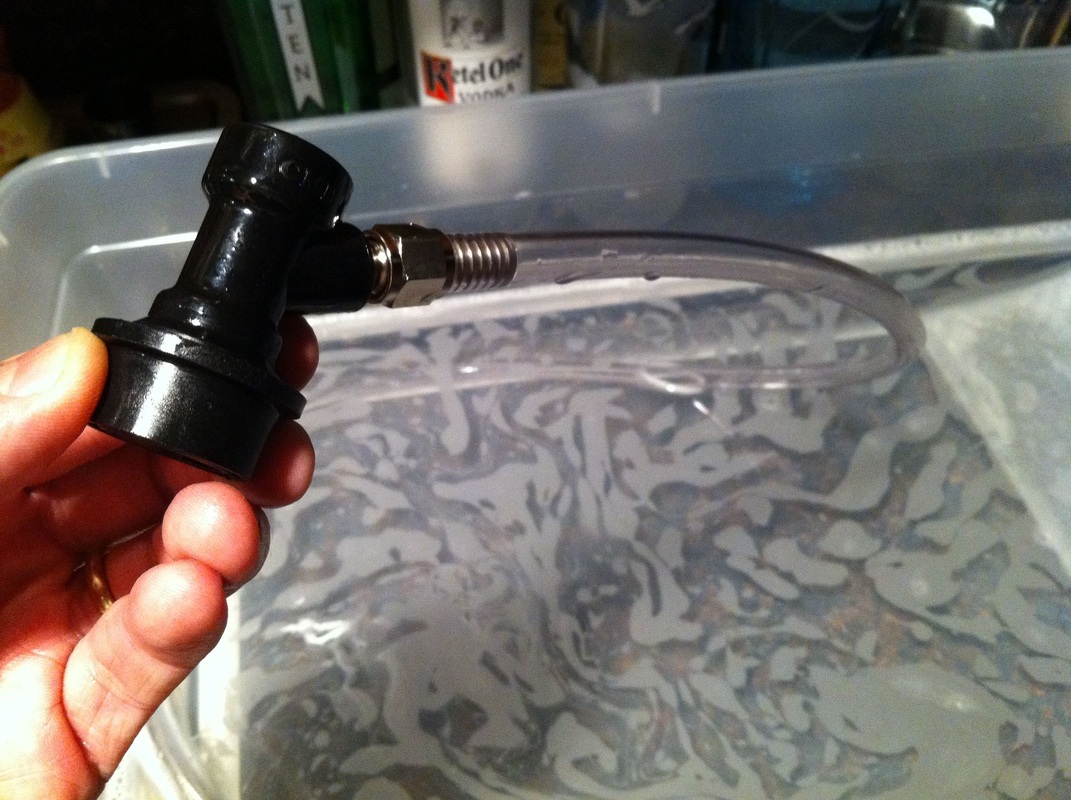
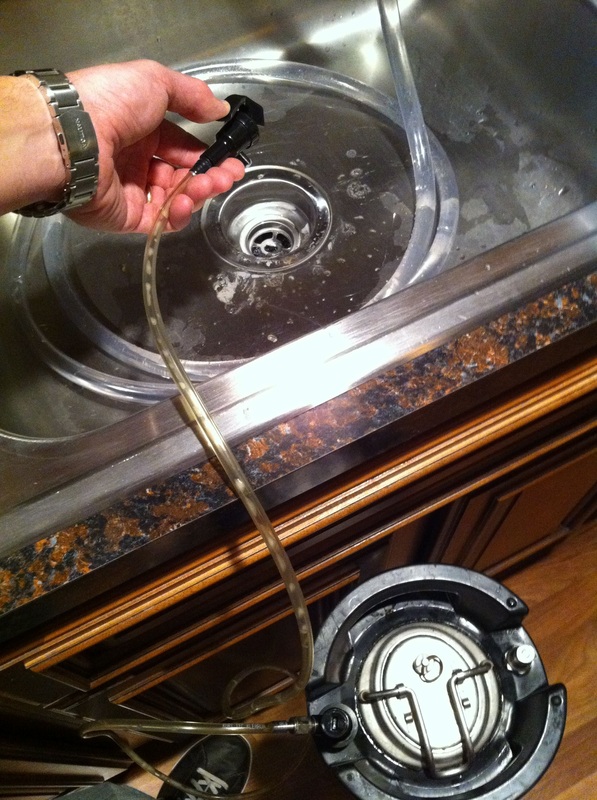
Why are we sanitizing a ball lock you ask?
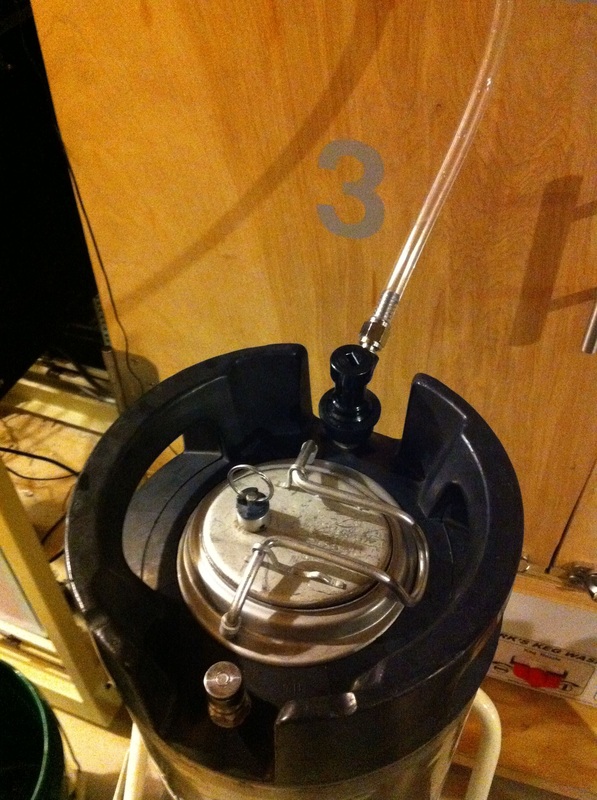
The idea is to attach this to the end of the racking tube so the lid to the keg can remain closed while beer is transferred. Liquid enters through the "out" dip tube and fills from the bottom with a nice cusion of CO2 on top.
GAH!! I think I see the debil in those soap bubbles!!
The idea is to attach this to the end of the racking tube so the lid to the keg can remain closed while beer is transferred. Liquid enters through the "out" dip tube and fills from the bottom with a nice cusion of CO2 on top.
GAH!! I think I see the debil in those soap bubbles!!
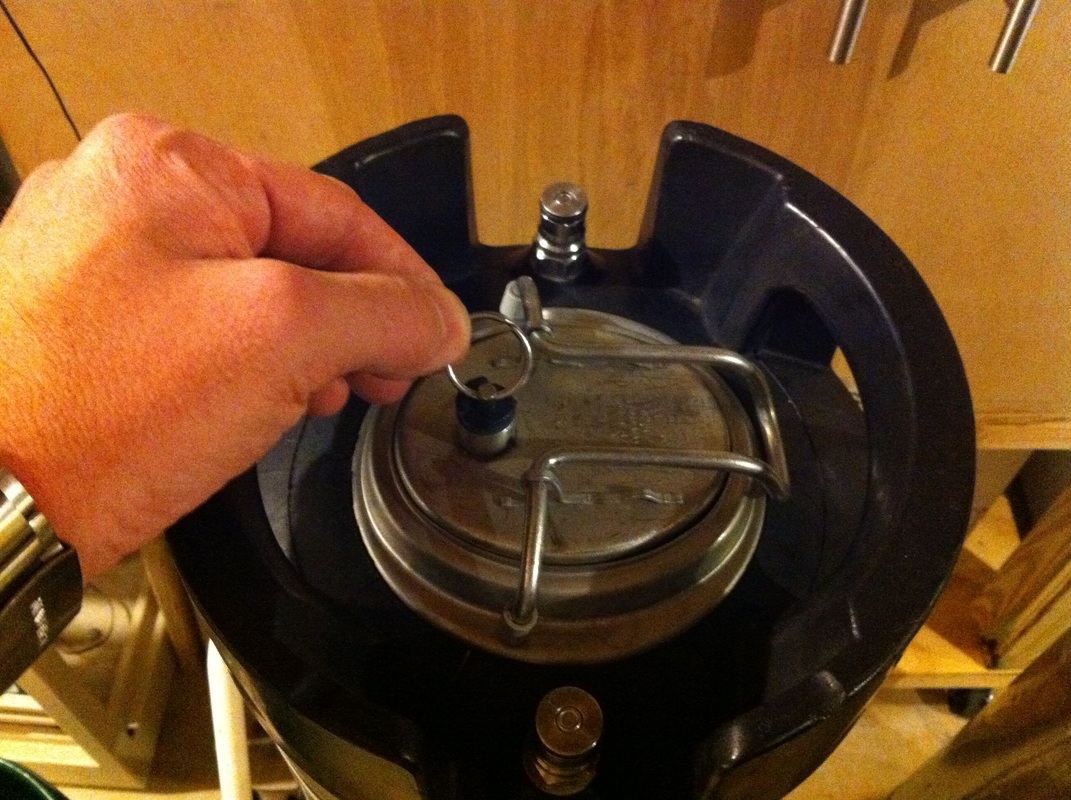
The pressure valve on the keg MUST remain open for beer to flow.
The more elevated the carboy is relative to the keg, the faster the beer will flow.
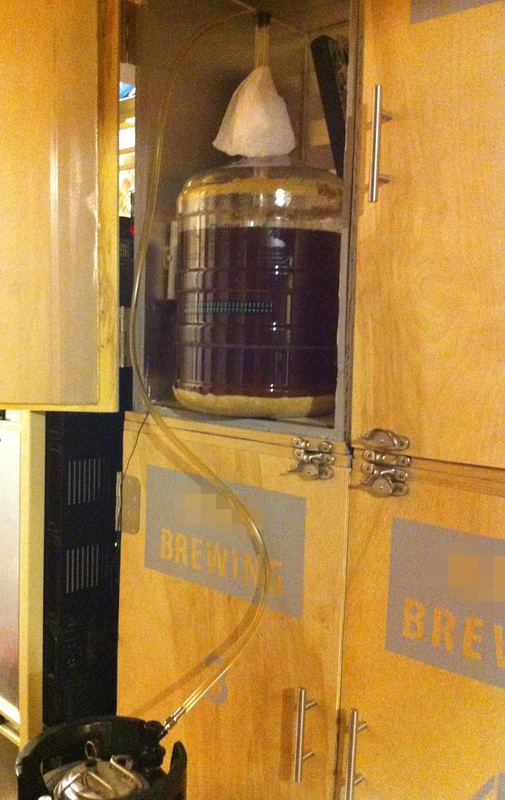
Another reason I like the better bottle carboys is the curved bottom they have. Yeast collects here and the bump works well as a raised spot to rest the siphon. A racking cane clip secures it to the opening. Once it's set, I can walk away!
Be sure the cane has the small plastic cap on the end or this method will not work.
I usually wrap a sanitized paper towel around the carboy opening while racking.
Be sure the cane has the small plastic cap on the end or this method will not work.
I usually wrap a sanitized paper towel around the carboy opening while racking.
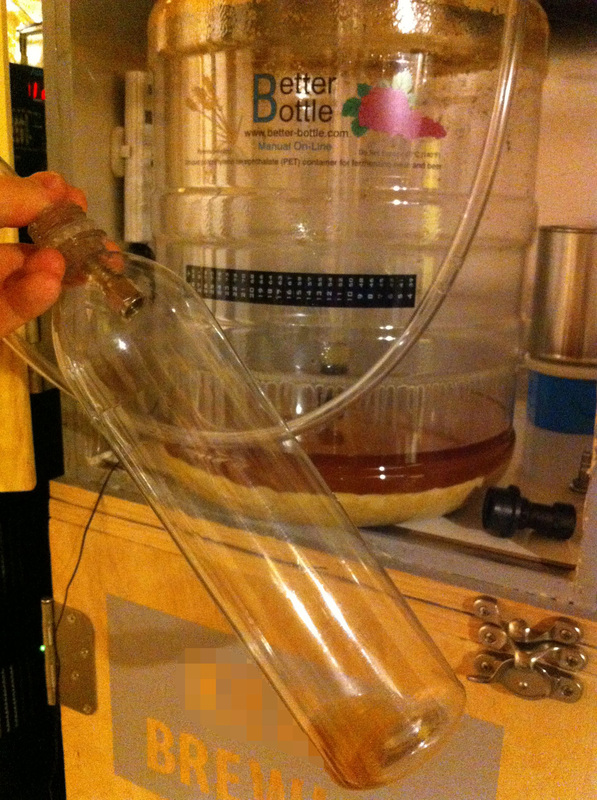
TIP: In my ongoing quest for clear beer, I've found a process that I think works extremely well. I've always tilted the carboy to get every last drop and eventually realized this puts more yeast into the keg. I've used gelatin and other finings in the past but finally settled on whirlfloc (or irish moss) in the boil and then the process below.
The beer will stop flowing when it reaches the bottom of the cane. At this point, very little yeast was siphoned except for suspended yeast that will drop out when the keg is cold crashed. Next, pull off and unscrew the ball lock and use the tilt method to fill up a plastic bottle. Use this to take a final gravity reading and then carbonate it up for a taste test!
That "homebrewy" taste that is really just young, yeasty beer is gone for good!
