Ferment multiple quart batches to taste different specialty grains!
|
Building recipes is perhaps the most creative and rewarding part of brewing, but in order to design world class beer, you need to have a full understanding of the ingredients at your disposal. Great chefs know this and will go to great lengths to sample new ingredients, understand their complexity and find a way to incorporate them into their dishes.
For a chef, acquiring and trying new ingredients is easy. It involves a trip to the neighborhood grocery store or farmers market. Unfortunately, for brewers, fermentation needs to take place first before you can get a clear understanding of what an ingredient contributes to the taste, flavor and aroma of a beer. Brewers get around this by making teas, tasting wort or chewing on grain, but wouldn’t it be nice to focus on individual ingredients once its actually a beer? |
Well you can. There are several standard approaches to isolate ingredients and experiment. Pro-brewers make test batches that they serve at their brewpubs, while many homebrewers make one gallon batches to mimic that approach. In fact, many one gallon brewers may throw a few pots on the stove and make a couple different batches or split up a batch into quarts to try dry-hopping different hop varieties. Even New Glarus Brewery went so far as to prepare wort in six Erlenmeyer flasks to try hops throughout different stages of the boil. SMASH (Single Malt and Single Hop) beers are also a good way to experiment, but if they don’t turn out as expected, you could find yourself offloading what’s left to your in-laws. All of these methods are effective, but usually involve about the same amount of effort as a normal brew day.
As a father of three young kids, brew days are precious and I don’t want to spend them brewing an experimental beer that may or may not be good. So, I started thinking of a method that will allow me to maximize ingredient experiment efficiency on off brew days, so that I can focus on only brewing beers I want to make and not on beers I “think” might be good.
In this tutorial, I will demonstrate how to brew multiple quart size beers at a time, that have the same base malt extract, yeast and hops but with different specialty grains. The object is to get an authentic representation each specialty grain. If you follow this tutorial verbatim, you will know what Amber, Honey and Aromatic malt taste and smell like, but you are not limited to just grains. With the information provided, you can test different yeasts, hops or even design a beer from scratch and test it before you brew it! The options are limitless!
What You’ll Need For Boil Phase:
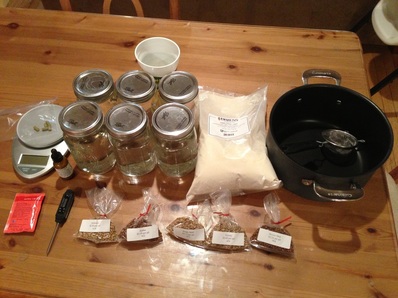
Most of the items I will list, you probably already have. The key to this whole process is the microwave and partial boils. It doesn't hurt head retention and without it, this technique would not be possible. In our test, we will be isolating different grains, but testing grains is not the only ingredient you can do. This test will also work for trying hops or yeast.
1. Roughly a .25 pound of the grains you want to test. In our example, we’ll test five.
2. Mason jars to test the grain plus one additional jar.
3. A bag of light DME.
4. Hops. Lower alpha acid hops are easier to measure.
5. Yeast. A packet of dry Saf-05 is perfect for an experiment like this.
6. Pot to heat water.
7. Strainer.
8. Scale.
9. Thermometer.
10. Foam Control (optional).
11. Microwave.
12. Plastic cup to pour DME (optional).
13. Brewing software (optional but highly recommended).
Scale It Down
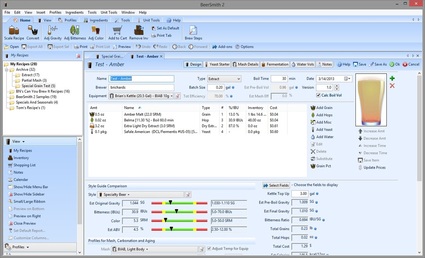
So the first thing to do is build a recipe. I use Beersmith and will use it in this demonstration. You can use any brewing software as long as it can do fractional gallons. In my opinion, Beersmith is a great tool and in a world of over-priced software, the current price of $27.95 with unlimited updates is a steal.
In Beersmith, make a new extract recipe. Set the Batch Size to .25 gal. Add 4oz of extra light DME. Add the hops. I don’t care about flavor or aroma so we just need hops for bittering. I am using Belma since I have a ton of it. Basically .002 oz is a single medium size pellet. Now enter an amount for the grain to isolate. I add enough to get about 10% of the grist. You can add or reduce the amount but 10% is about .5oz and should make the grain stand out. As for yeast, it’s not much of an issue because you won’t need much to ferment. Since I’m testing 5 grains, I’ll use .5 pack of dry yeast and split it five ways to .1 per beer. The boil is 60 minutes but since we’re just testing, you could reduce the time to 30 minutes and adjust the recipe accordingly. You should end up with a 1.040ish beer.
In Beersmith, make a new extract recipe. Set the Batch Size to .25 gal. Add 4oz of extra light DME. Add the hops. I don’t care about flavor or aroma so we just need hops for bittering. I am using Belma since I have a ton of it. Basically .002 oz is a single medium size pellet. Now enter an amount for the grain to isolate. I add enough to get about 10% of the grist. You can add or reduce the amount but 10% is about .5oz and should make the grain stand out. As for yeast, it’s not much of an issue because you won’t need much to ferment. Since I’m testing 5 grains, I’ll use .5 pack of dry yeast and split it five ways to .1 per beer. The boil is 60 minutes but since we’re just testing, you could reduce the time to 30 minutes and adjust the recipe accordingly. You should end up with a 1.040ish beer.
Steps To Success
Get the Water to 150 degrees
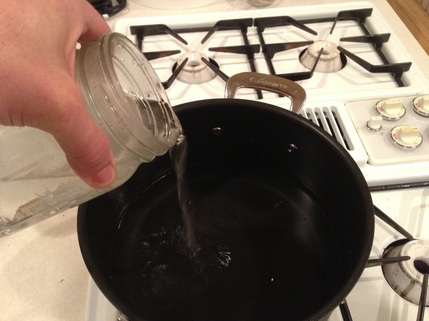
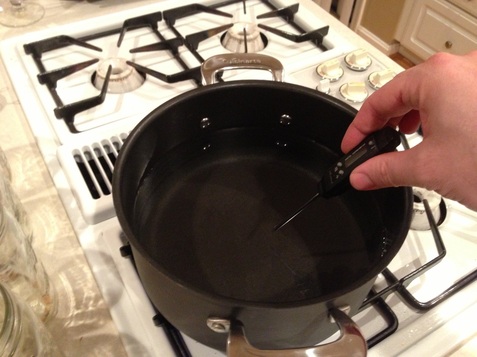
We start by filling a 6 quart pot with about 5 quarts of water. We want to get it to around 150 degrees to steep the grains.
Label your jars
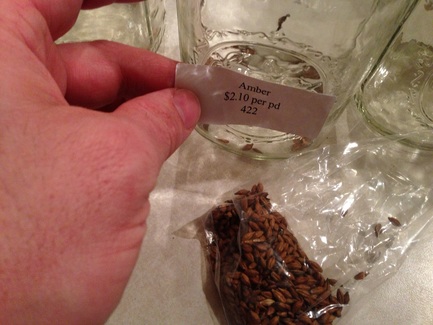
I was lucky enough to have labels from the grain bags themselves but you could use painters tape or any other type of label.
Steep The Grains
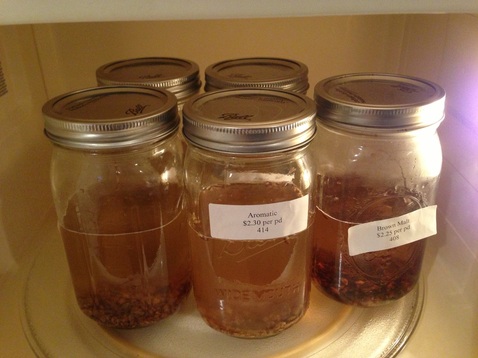
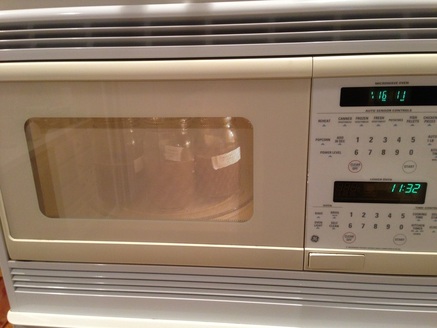
With the grains in the jar, ensure the water in your pot is at the desired temperature. In our case, that’s 150 degrees. Then put the mason jar lids on tight and group them together in your microwave and steep for about 20 minutes. The microwave will help insulate and hold the temperature (don't turn it on!).
Strain The Grains
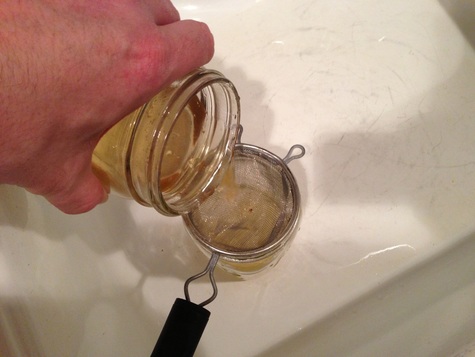
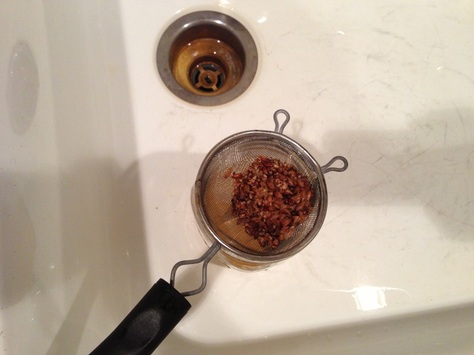
When steeping is done, we need to remove the grains. I figured the best way is to use a stainless steel strainer. It works well!
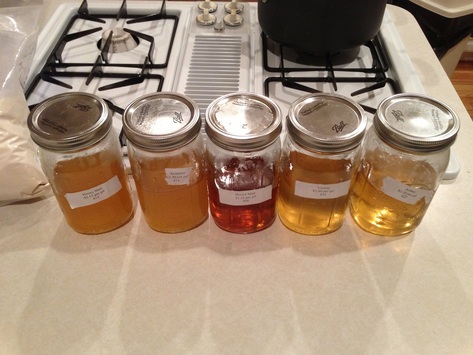
When you’re done, you’ll end up with five jars that look similar to this.
Add DME
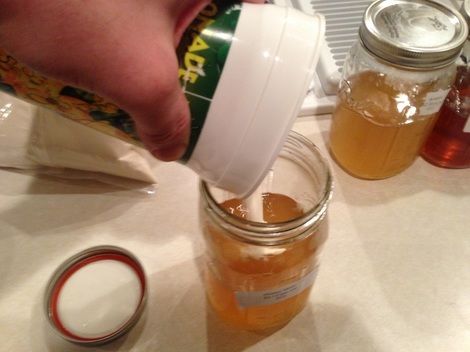
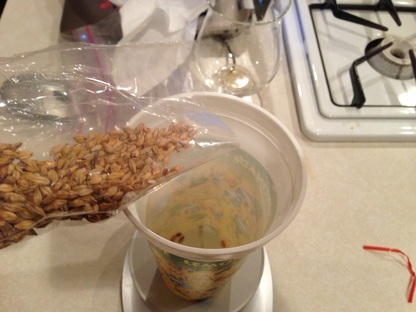
Weigh out the DME according to the recipe. This is where a plastic cup comes in handy. It allows you to control the flow of the pour and that stuff is messy.
Add Foam Control (optional)
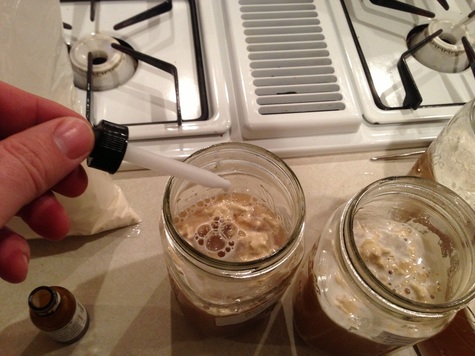
UPDATE: It was brought to my attention over concerns with silicone based foam control and unfiltered beer. Although I used Fermcap S in the illustration, you can do partial boils without it, by filling the jar 1/3 of the way and adding more water back. You'll just have to wait for the hot break. There are alternatives like Fermcap AT and Birko Antifoam 100. I cannot recommend either one until I get responses that they are safe for this procedure. In the mean time, the 1/3 jar partial boil will work just fine.
Microwave, Microwave, Microwave!
There are tons of tutorials on the web about making starters in pots or Erlenmeyer flasks. Well what about microwaves? I make all of my starters in the microwave, mostly because its hands off. Regardless, I don’t want to knock others for their methods, microwaves just work best for me.
Put your jars in the microwave and let it go until they boil. Once they start to boil, stop the microwave and add a hop pellet to each jar. Then, set the microwave to one hour and let it go.
If you prefer to avoid the microwave you can alternatively put the jars in your brew kettle, and fill the kettle to the level of the wort and boil that way.
Add Back Water
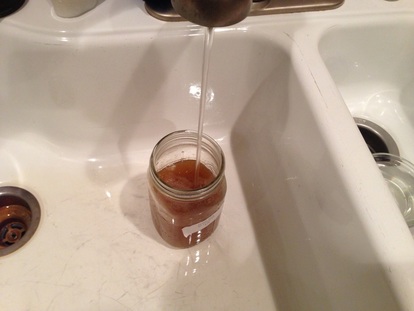
After the hour is up, add water to get to roughly the 800ml line. The rest of the space is needed if a Krausen forms.
Time To Chill
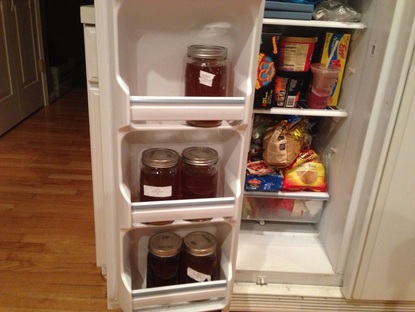
The water will cool the wort a bit but its time to put them in the freezer to get the wort to pitching temperature. It will take about an hour, so grab a beer and relax.
Prep The Yeast
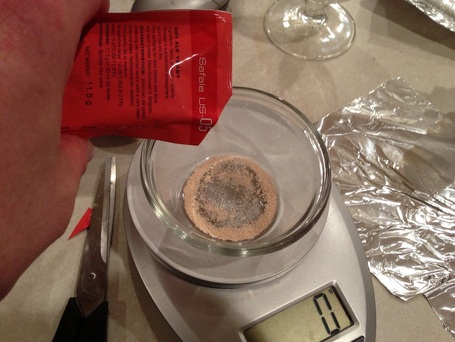
We’re going to use US-05 for this experiment. You can use any yeast you want and any technique to prepare it. For me, I want to try to be as sanitary as possible but not to the same degree as I would if it were making a full size batch. We’ll use 5 grams and add 1 gram to each quart. You can rehydrate if you like but this is more than enough yeast to get the job done.
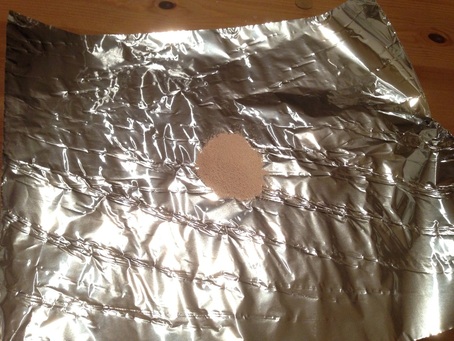
So we’ll start by measuring off 5 grams in a sanitized glass bowl and pour it on a sanitized piece of aluminum.
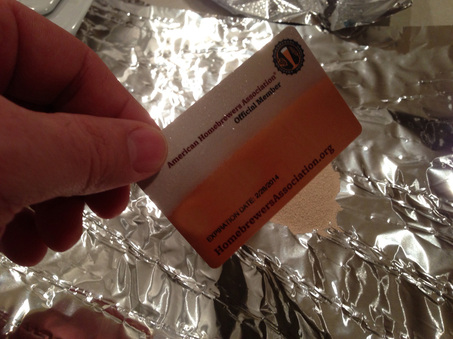
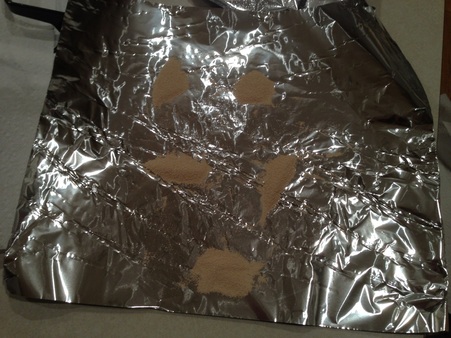
Using your sanitized AHA card, separate the yeast into five piles. Here’s what you will end up with.
Pour the yeast into each of the cooled down jars.
Pour the yeast into each of the cooled down jars.
Fermentation, Open Style
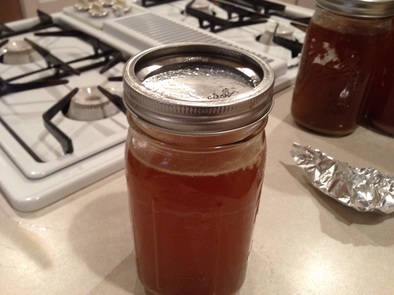
Mason jars are great since their lids are separated from the rim. This is convenient since we can ferment without an airlock. By screwing the rim on with a quarter turn, the lid can allow CO2 to escape while staying in place and preventing critters from getting in.
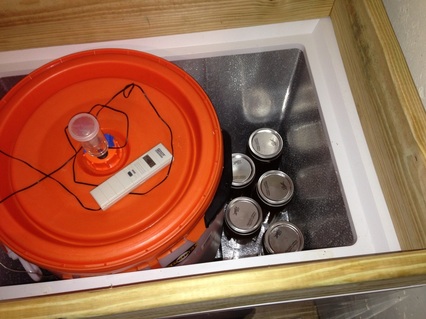
Put them where you want them to ferment. I placed them in with my Belgian Dubbel.
2 Weeks Later...
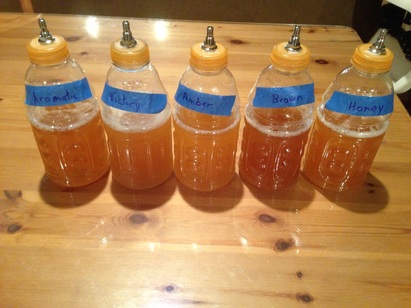
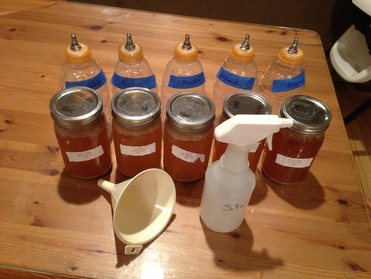
Well it’s 2 weeks later. I picked up five Gatorade bottles, labeled them and made carbonator caps for each one. You can probably bottle condition these, if you like, but I’m not going to get into that. I just don’t bottle condition very often these days. Additionally, you'll need sanitizer and a funnel. Now we just need to transfer the beer to the bottles and we're ready to carbonate!
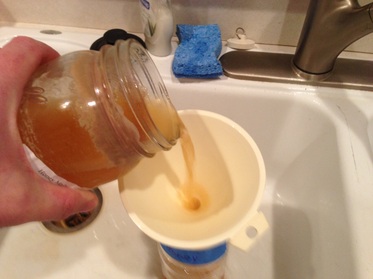
I know, I know, this looks terrible. I don’t normally pour like this but it’s hard to pour with a camera in your hand. The rest of the jars (and the remainder of this jar) were poured with care. So fill each Gatorade bottle with the beer, carbonate it, and you’re ready to taste test!
Taste Test!
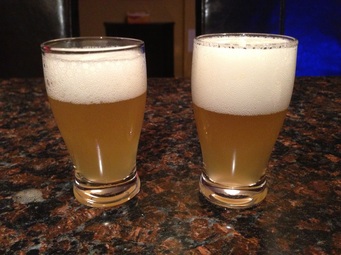
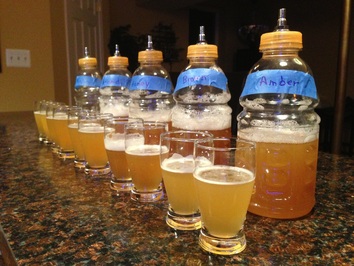
We’re ready to taste test. Below are our carbonated beer samples!
Conclusion:
It may seem like a lot of steps but it really was very straight forward. This technique really gives brewers the flexibility to learn and truly understand the ingredients they use. In our example, we focused on grains, but you can use this technique to isolate other ingredients. You can focus on hop timings, aroma and flavor profiles. You can also focus on the the impact of different yeast on the same wort. Brewers who freeze or make slants can really learn about which yeasts work best for different recipes. You could even build recipes from the ground up and make slight variations to come up with the perfect recipe. The options are endless! Good luck and I hope this was helpful!!!
If you liked this guide, please have a look around at the rest of our site. We have written many articles on various homebrewing topics as well as showcased lots of DIY projects from around the web. Everything on the site can be found using the navigation menu at the top-left corner of the page.
Here are a few links to get you started:
Process
Equipment > DIY Projects
Cheers!
Here are a few links to get you started:
Process
Equipment > DIY Projects
Cheers!
