All Grain Brew in a Bag
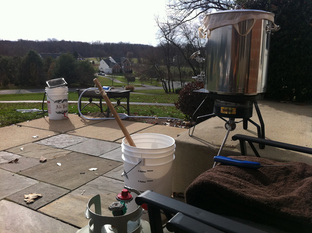
Best described by the Home Brewing Wiki, Brewing in a Bag is an all-grain brewing method which differs somewhat from the traditional three-vessel method of brewing. It is an extremely simple method of brewing requiring a low level of equipment, knowledge and space. It is also highly flexible and the methods highlighted here can be highly modified to suit the brewer’s resources.
In layman’s terms, BIAB can be summarized as follows: You put a nylon bag in a big pot of water, pour in some grain, heat it to a specific temperature and hold it at that temperature for 60 (sometimes up to 90) minutes. At the end of the mash time, the bag holding the grain is removed and then the remaining liquid (hot liquor) is boiled with hops being added at several stages during the boil. After the boil, the resulting wort is cooled rapidly and the yeast pitched. All other stages of the brewing process should be familiar to those who have done a few kit brews.
There are two main types of brewing in a bag. The first uses a single pot and the entire volume of water needed for a brew is added to the kettle at the beginning of the process. This method is called no sparge brew in a bag. The second type involves two pots and grain is mashed in one, then sparged (or rinsed) in the other. Which you use depends on a number of factors including the size of your pot, whether a stove top or propane burner is used, and the gravity of beer you intend to brew. For this guide, we will be summarizing the single pot, no sparge method.
Step 1
Start by running a few numbers to determine how much water is needed. This example is based on a 5.5 gallon batch and uses 13 lbs of grain.
- Absorption – Account for absorption at the rate of .1 gallon per pound of grain.
- Boil-off – This differs per elevation. Around 1 gallon per hour is common
- Total volume of water needed = 7.8 gallons
Step 2
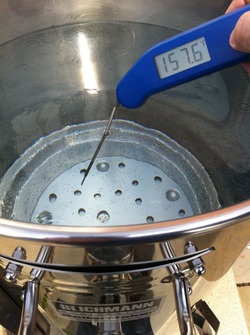
Heat the mash water (also called strike water) to approx 12 degrees above the mash temperature and ensure the grains are at room temperature. Mash between 148 and 152 to get a "light bodied" beer, 154 for "medium body", and 156 to 158 for "Full body”. More sugar will be converted at lower temperatures (thus resulting in more alcohol). Typical mash times are 60, 75 or 90 minutes.
Pictured is a very accurate thermometer called a Thermapen. I can't recommend these enough. Although expensive, it will become a staple of your brewing equipment for many years.
Pictured is a very accurate thermometer called a Thermapen. I can't recommend these enough. Although expensive, it will become a staple of your brewing equipment for many years.
Step 3
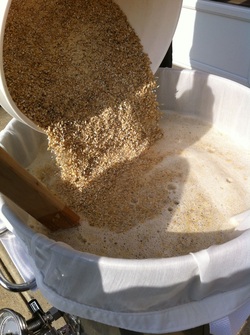
Place the mash bag around the rim of the kettle and slowly stir in all of the grains. This is called “doughing in”. Be sure there are no dough balls forming that will reduce efficiency. Water should permeate all of the grains evenly.
Check the temperature of the mash at the middle, sides, top and bottom and be sure all readings are close to the target temperature.
Place the lid on the kettle and wrap a towel around the opening to provide extra insulation. When brewing outside in a colder climate, consider insulating the kettle with a jacket, sleeping bag, or some other method. Set a timer for your mash.
Step 4
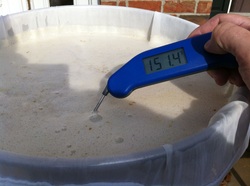
Until you know your system, check the temperature and stir at 15 or 30-minute intervals. The burner can be fired to raise the temperature slightly if needed, or another trick is to add some boiling water that was prepared ahead of time.
Remember to stir.
Remember to stir.
Step 5
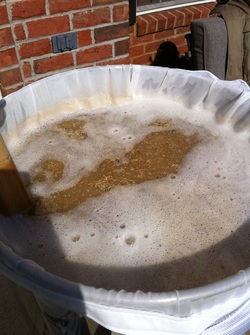
After the mash timer goes off, fire up the burner and stir the mash while bringing the temperature up to 170. Once the mash reaches 170 degrees, cut the heat and let it sit for 10 to 15 minutes. This "mash-out" step is important since it helps improve efficiency by assisting drainage in the following step.
Step 6
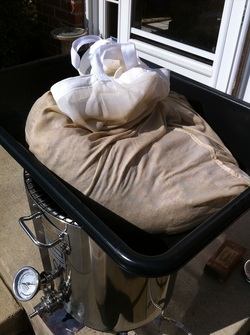
Lift the grain bag and let it drain for a few minutes. Waterlogged grain can be heavy, so it’s nice to use a strainer or BBQ grate that can support the bag over the kettle. Many people use a pulley and rope to lift the bag while it drains.
If you are using first wort hops, they can be added to the wort while the bag is draining.
If you are using first wort hops, they can be added to the wort while the bag is draining.
Step 7
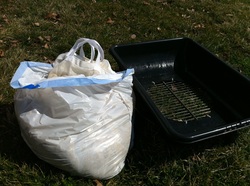
Dispose of the grain (or recycle it).
Step 8
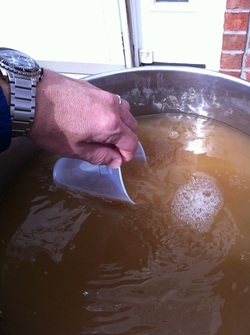
Stir the wort well and take a hydrometer reading. You will need to cool it or adjust for the temperature difference. This reading is used in determining how efficiently you converted fermentable sugar from the grains during the mash.
Step 9
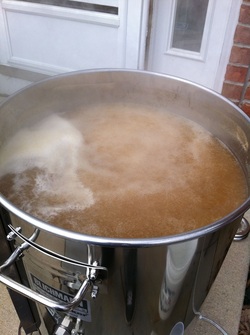
Start your boil and add hops as usual!
If you want to see the full process, check out our full walkthroughs:
tknice's typical all-grain BIAB brewday
scoundrel's typical all-grain BIAB brewday
tknice's typical all-grain BIAB brewday
scoundrel's typical all-grain BIAB brewday
