• Home
  • Hops
    • DIY Projects
    • Dry Hop
    • Grow Hops
    • Videos
  • Grain
    • DIY Projects
    • Dog Treats!
    • Toasted Oats
    • Weigh And Mill Grain
    • Videos
  • Yeast
    • DIY Projects
    • The Life Cycle of Yeast
    • Harvesting, Rinsing and Re-Pitching
    • Videos
  • Water
    • DIY Projects
    • Ward Labs Water Report
  • Process
    • Brewing Guides
  • Equipment
    • DIY Projects
    • Homebrewer's Guide to Plastics
    • Store Hops And Specialty Grains
    • Organize Keg Supplies
  • Polls
  • Lists
  • Charts
  • Creative
  • Favorite Things
  • Coming Soon
  • Contact Us
  • Home
  • Hops
    • DIY Projects
    • Dry Hop
    • Grow Hops
    • Videos
  • Grain
    • DIY Projects
    • Dog Treats!
    • Toasted Oats
    • Weigh And Mill Grain
    • Videos
  • Yeast
    • DIY Projects
    • The Life Cycle of Yeast
    • Harvesting, Rinsing and Re-Pitching
    • Videos
  • Water
    • DIY Projects
    • Ward Labs Water Report
  • Process
    • Brewing Guides
  • Equipment
    • DIY Projects
    • Homebrewer's Guide to Plastics
    • Store Hops And Specialty Grains
    • Organize Keg Supplies
  • Polls
  • Lists
  • Charts
  • Creative
  • Favorite Things
  • Coming Soon
  • Contact Us
   BrewGeeks

Sniffing Airlocks since 2010

Beer Clings are perfect for your naked beer!

7/22/2012

1 Comment

 
Picture
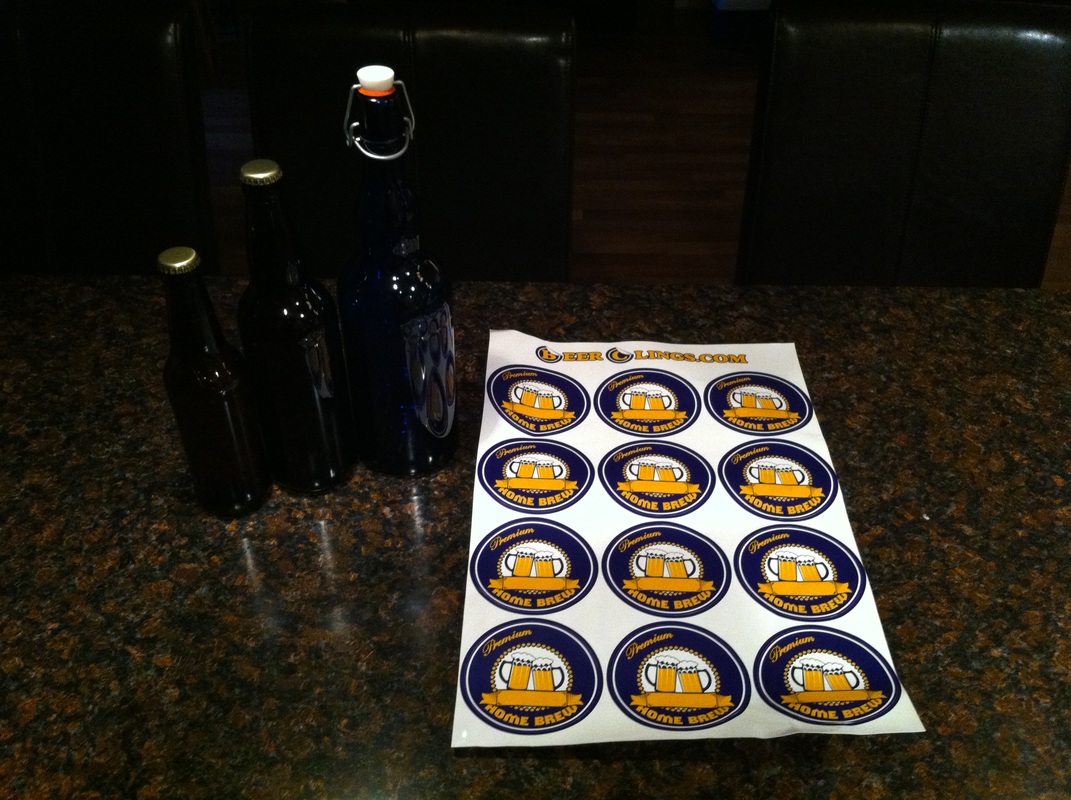
Beer clings are great looking, reusable vinyl labels that solve the problem of labeling homebrew bottles. 

While printed labels can be nice to add some customization, you just can't beat the ease of quickly applying a vinyl label.

Picture
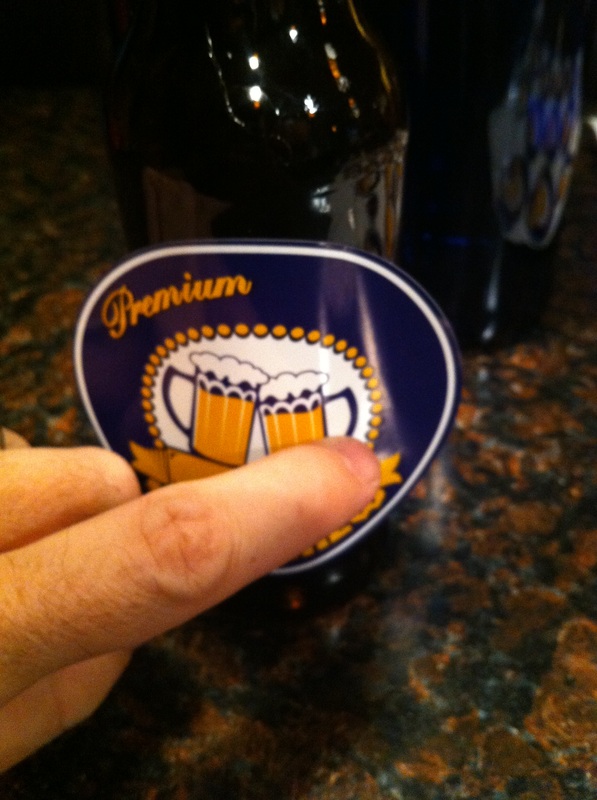
To use them, begin with a clean bottle that is dry and free of any residue.

Place the label on the center of the bottle and rub your thumb or finger from the middle to the outer edge.

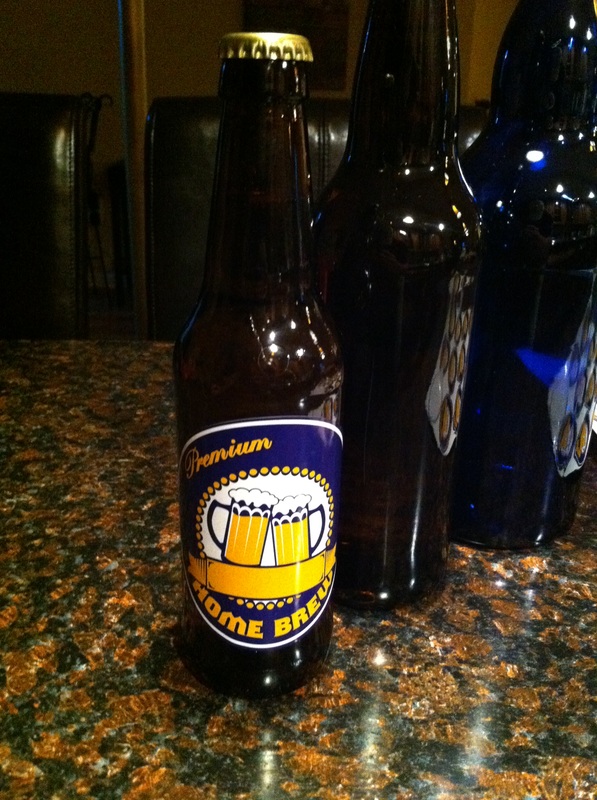
We tried the labels on three different sized bottles, a 12oz, 22oz, and 1 liter.

Picture
Picture
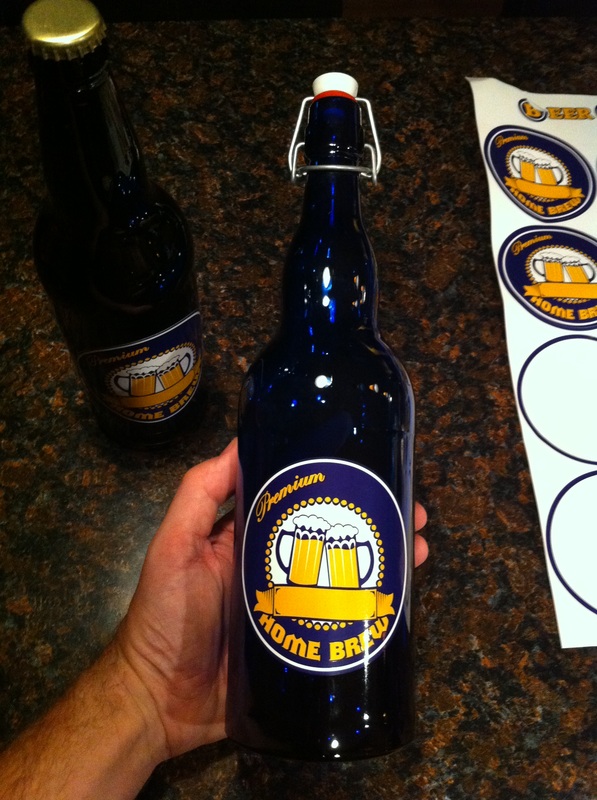
I really like the look on our cobalt blue swingtop bottles!
Picture
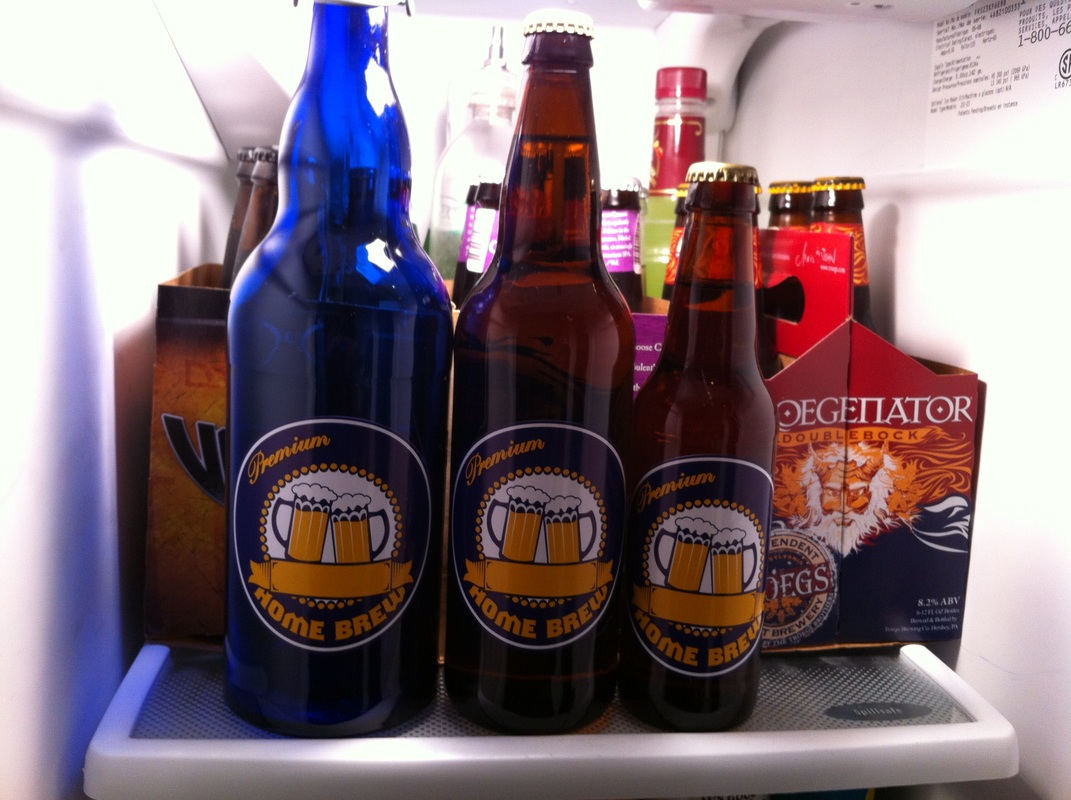
Finally, place the bottles in the refrigerator to strengthen the label's hold to the bottle. To remove, a fingernail at the label edge will take it right off.

Final thoughts
These labels are good quality and stay put during normal handling. There were no signs of the label peeling and I also noticed an area of the label designed to write a beer name or style, but didn't have a dry erase marker to give it a try. I assume it would work great judging by the way the material feels.

At a current cost of $6 for a sheet of 12 labels (plus a dollar to ship), I don't see how you can do better than these.

Check them out here.
1 Comment
Unusual presents for beer lovers link
5/2/2018 02:25:47 pm

Yes i am totally agreed with this article and i just want say that this article is very nice and very informative article.I will make sure to be reading your blog more. You made a good point but I can't help but wonder, what about the other side? !!!!!!THANKS!!!!!!

Reply


Leave a Reply.

    Thanks for visiting BrewGeeks!

    This site is dedicated to sharing information about homebrewing and beer. We hope you find something here that helps your brew day go a little more smoothly.

    If you like our site, please help spread the word. We really appreciate it!

    Cheers!


    Popular Articles

    Make Starters
    Grow Hops
    Dry Hop
    Track Your Beer
    Clean & Sanitize
    Carbonator Cap 

    Have Feedback or Suggestions?
    Contact Us

    Archives

    January 2022
    November 2015
    September 2015
    August 2015
    July 2015
    June 2015
    October 2013
    July 2013
    June 2013
    May 2013
    April 2013
    March 2013
    February 2013
    January 2013
    December 2012
    November 2012
    October 2012
    September 2012
    August 2012
    July 2012
    June 2012
    May 2012
    April 2012
    March 2012
    February 2012

    Categories

    All


    [ Powered by Yeast ]
Powered by Create your own unique website with customizable templates.