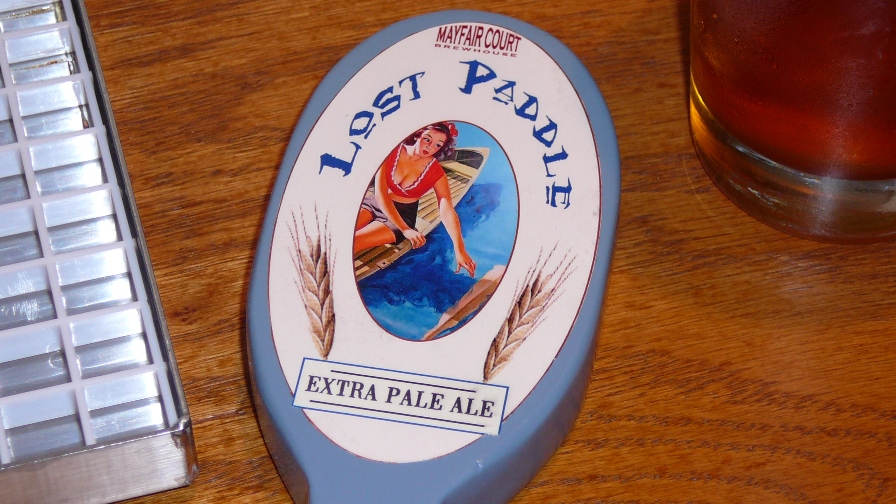
Tap handles can be made from all kinds of materials. We've seen screw drivers, billiards balls, antlers, and even a yeast vial filled with barley! The most common material by far is wood and for good reason. It can be cut and sanded into many different shapes and sizes, often with a logo carved at the top. Another alternative is to apply labels to the shapes like Ken has done in this article he shared with us. Be sure to click the link for more pictures.
"I have started playing with ways to make some sturdy, one-piece tap handles. Most of the ones I made earlier are in good working order but some have taken a jolt either from poor construction or drunken pirates pulling on them too hard.
Although I have admitted to having little-to-no skill, I have found that I can handle a coping saw pretty well and that combined with a good power sander can get you pretty far. So I have fashioned some new handles and used a chrome ferrule with a screw instead of the larger faucet adapter I used in the past. Here is a sampling of some in various stages of construction. The "T"-shaped ones will probably have a different label on each side and also use the chrome finials I found at Kegworks and the others will probably just have a label on one side. These should be infinitely more solid than the others..." [Read More]
